A124 Trientje P

Contribute to A124's gallery
Do you have photos of A124?
We would love to add them to this page - please use
this form
Do you have photos of A124?
We would love to add them to this page - please use
this form
| CLASS | Atalanta |
| BUILT | November 1960 |
| HULL No. | 118 |
| Condition | Sailing |
| Location | Ditzum, NW Germany |
-
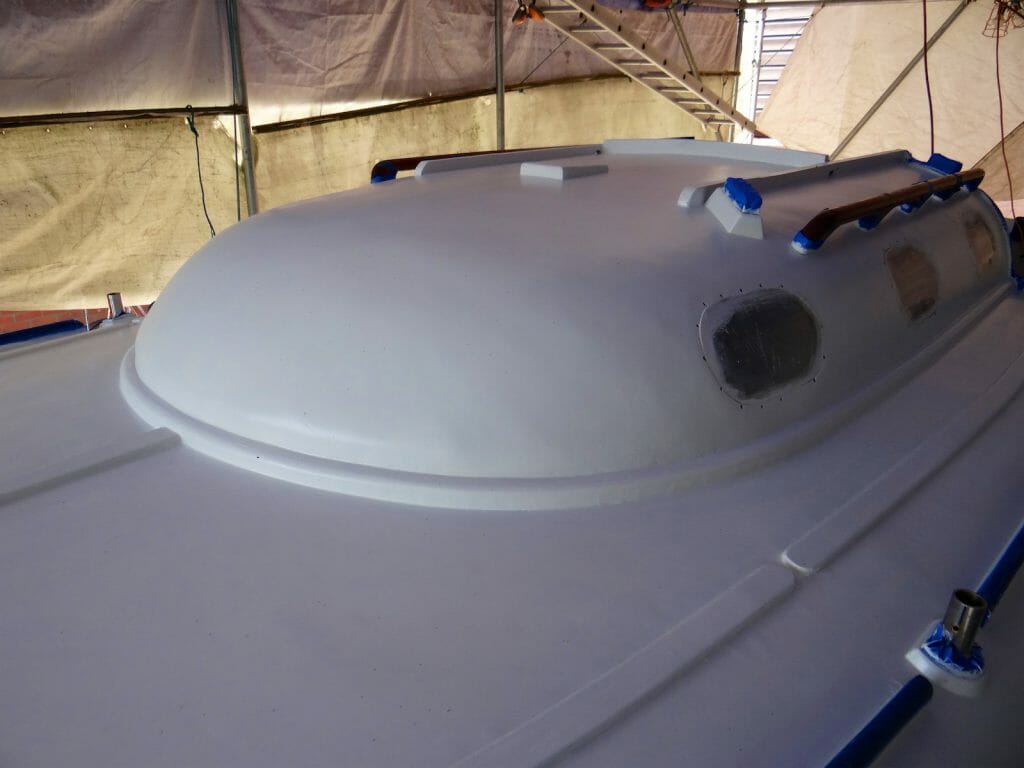
 A124 The deck was then faired with EasyFair S resin by Reactive Resins. This is a marvellous product – it sticks tenaciously to most surfaces and especially to wood, and is a delight to sand.

-
A124 2015 07 A124 Blister 20
-
A124 2015 07 A124 Foredeck 08

-
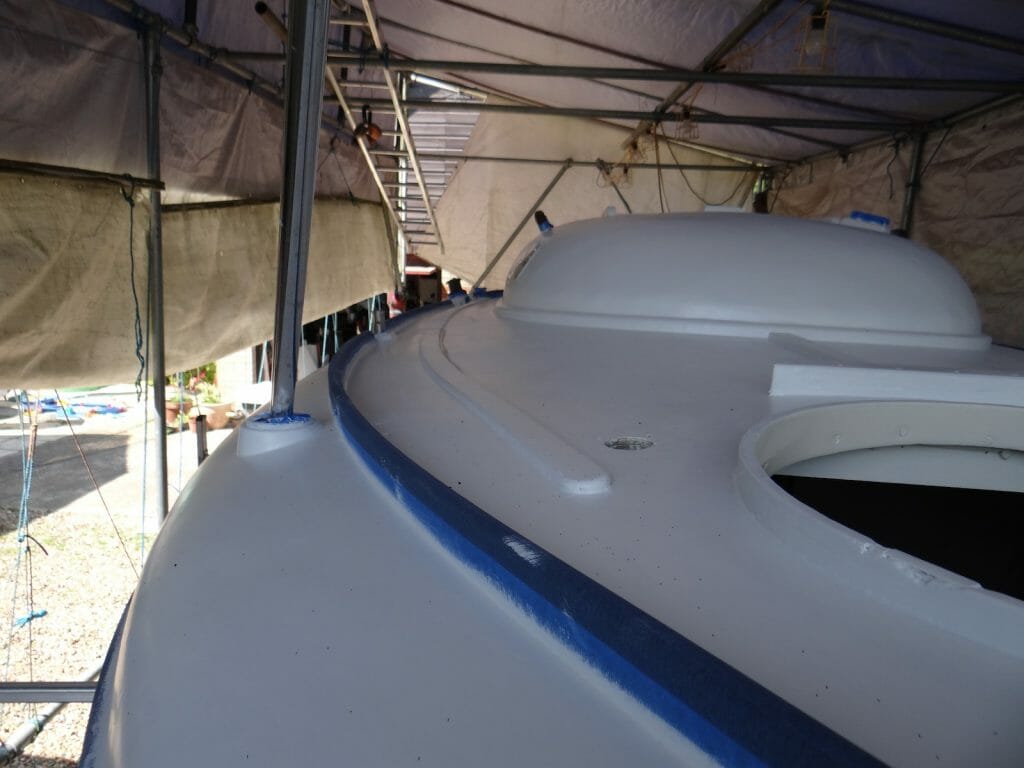
A124 Undercoats on
-
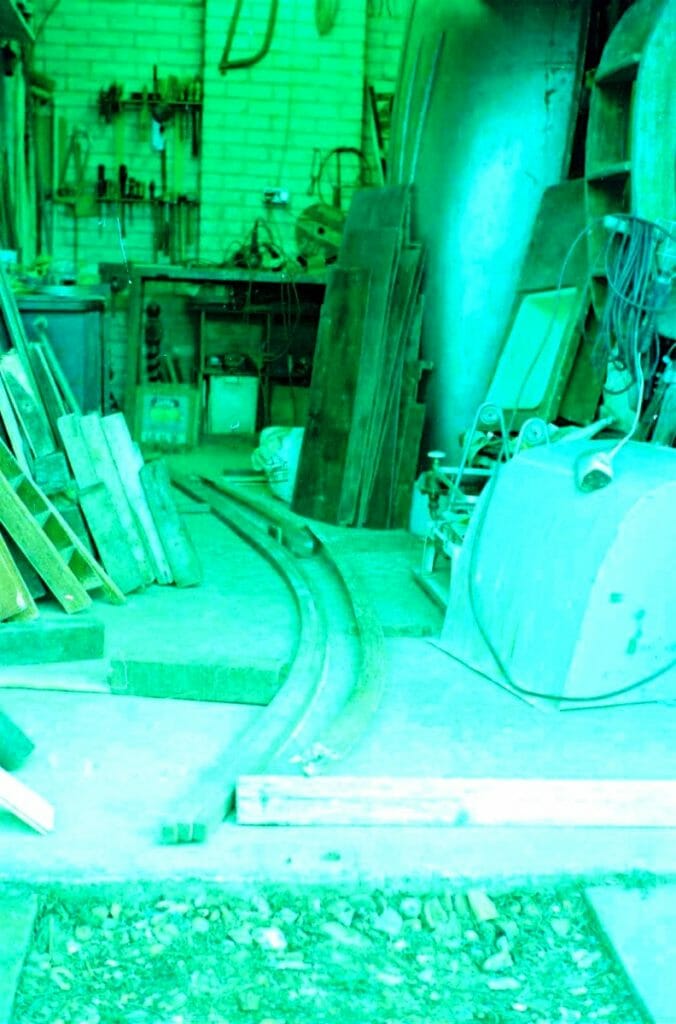
A124 The scaffold ‘barn’ proved useful as an engine hoist

-
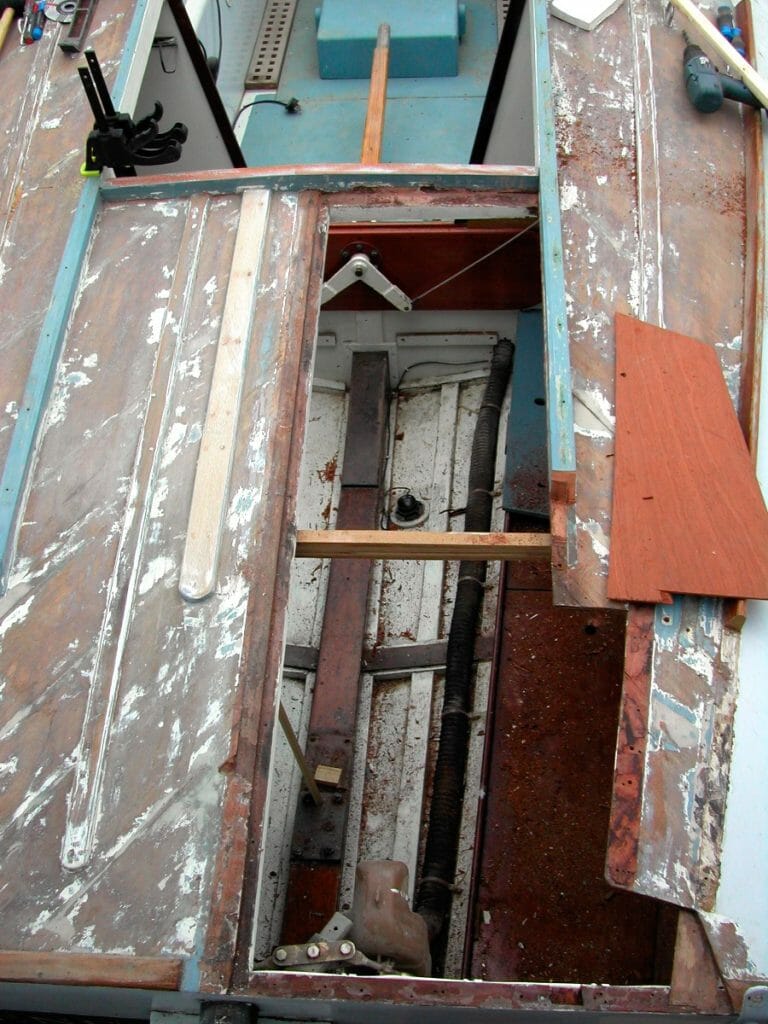
A124 The cockpit floor was removed so that the engine could be taken out.

-
A124 2015 05 A124 Blister 19
-
A124 2015 05 A124 Blister 18
-
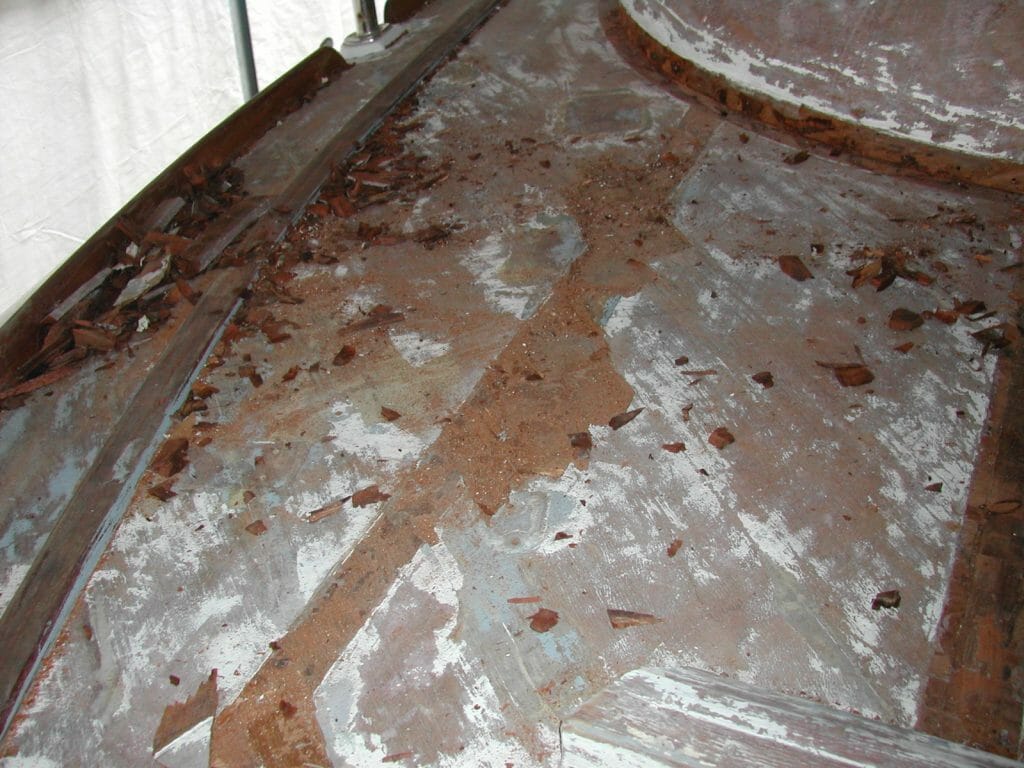
A124 Ready for finishing. After sanding the entire deck was treated to many coats of saturating epoxy (SP Eposes). This was applied until the wood was absorbing no more.

-
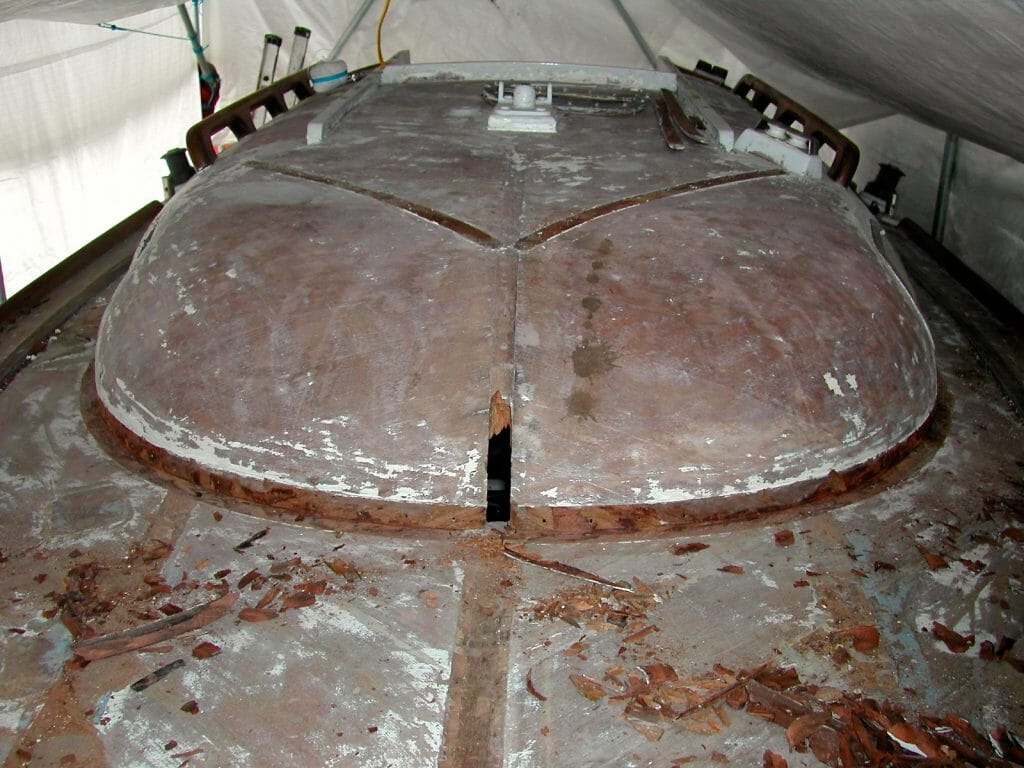
A124 A124 Fairing off the heavily reinforced blister

-
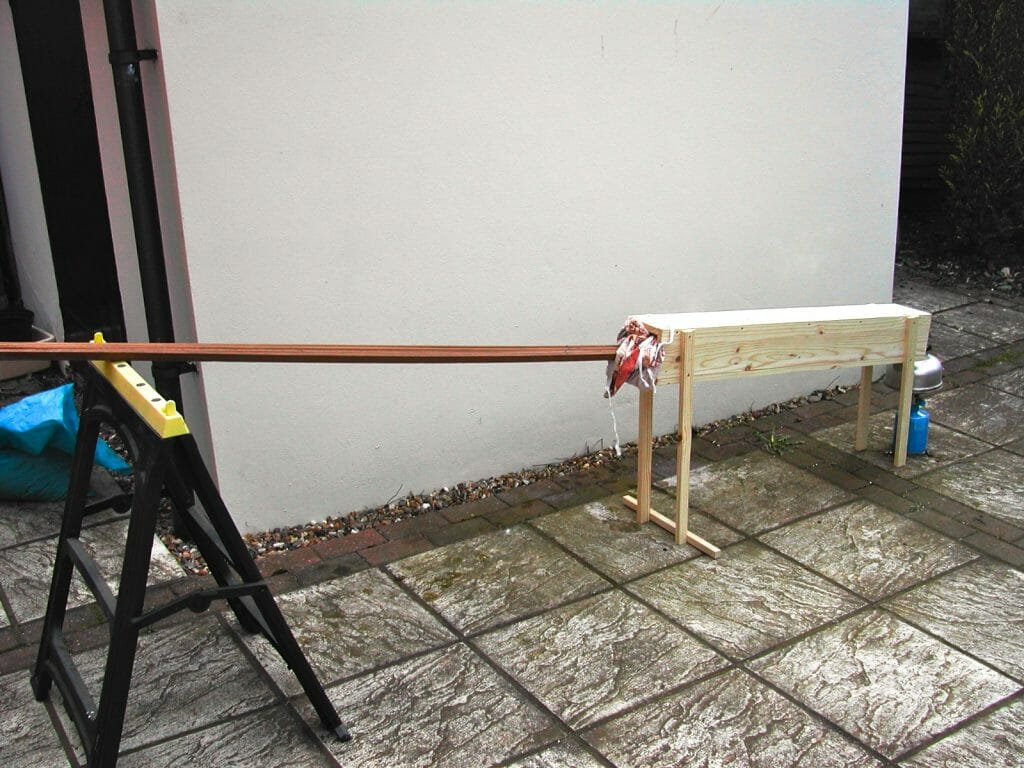
A124 A124 The new quadrant was scarfed to the old where the latter was still sound.
-
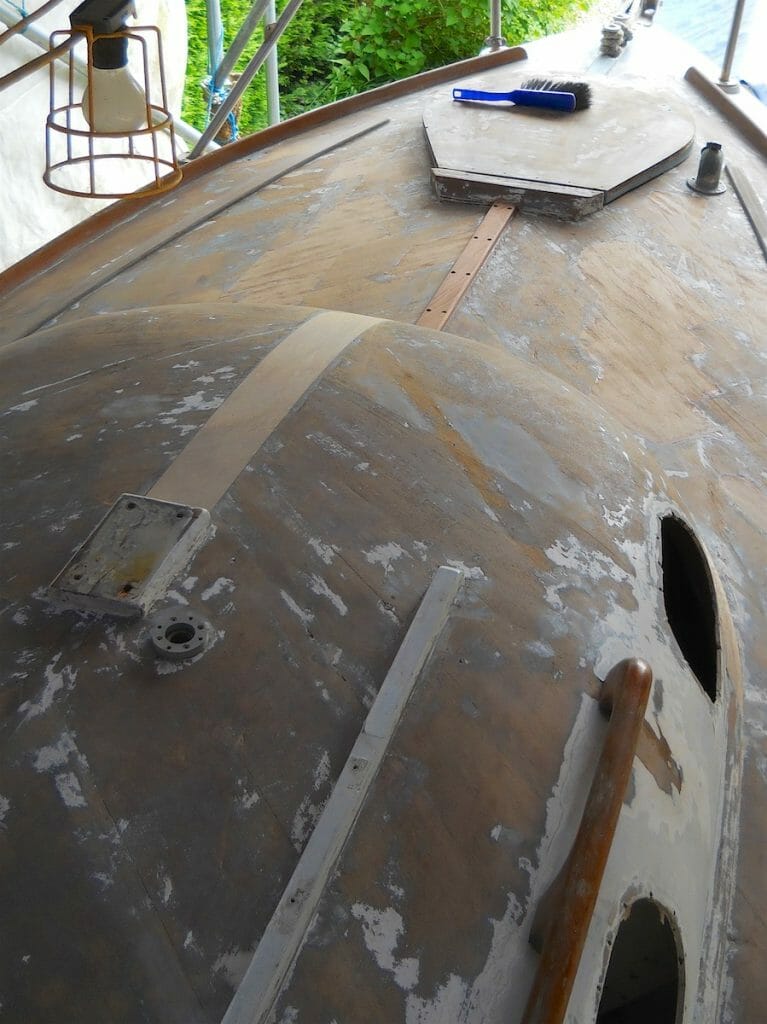
A124 New reinforcing / anti slip battens being added
-
A124 The damaged port quarter being tidied up

-
A124 Fairing off

-
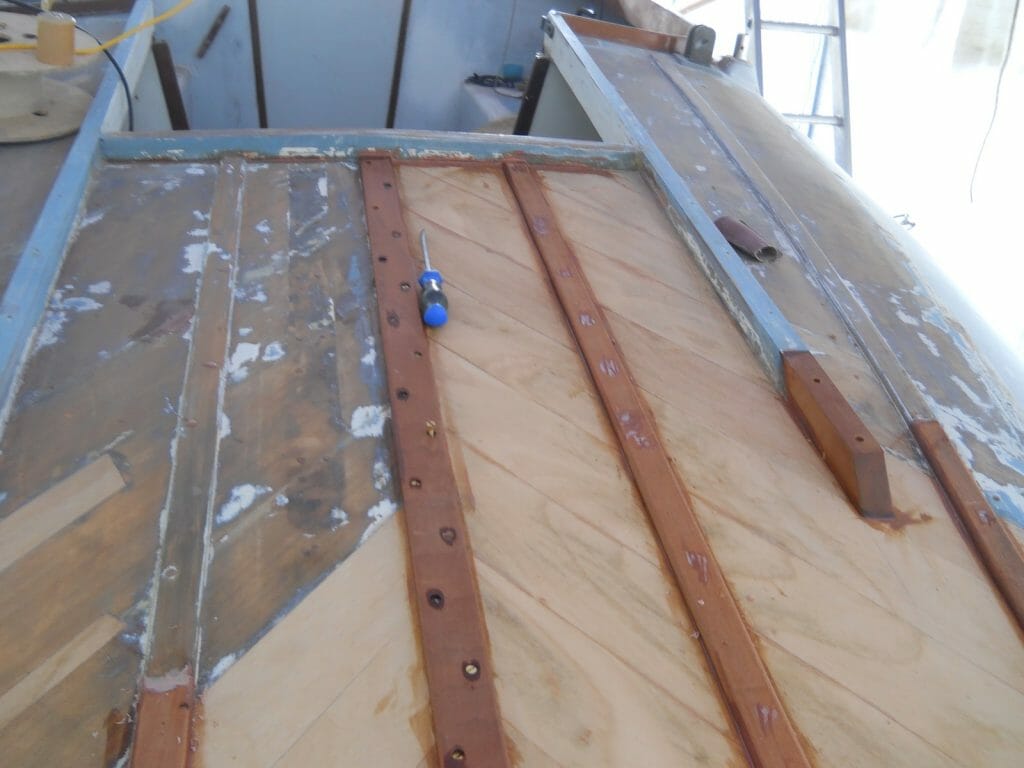
A124 Laminating finished, time to replace the missing hatch rail and deck stiffeners.
-
A124 On the port side the issue was mainly delimitation of the top layer. In two places the second layer was also rotten, and the join to the ‘king plank’ had come unglued.
-
A124 A124 Blister king plank complete. Top veneer removed either side of new king plank and veneer glued over the top to cover the joins.

-
A124 2014 02 A124 Windows 03
-
A124 2014 02 A124 Windows 02

-
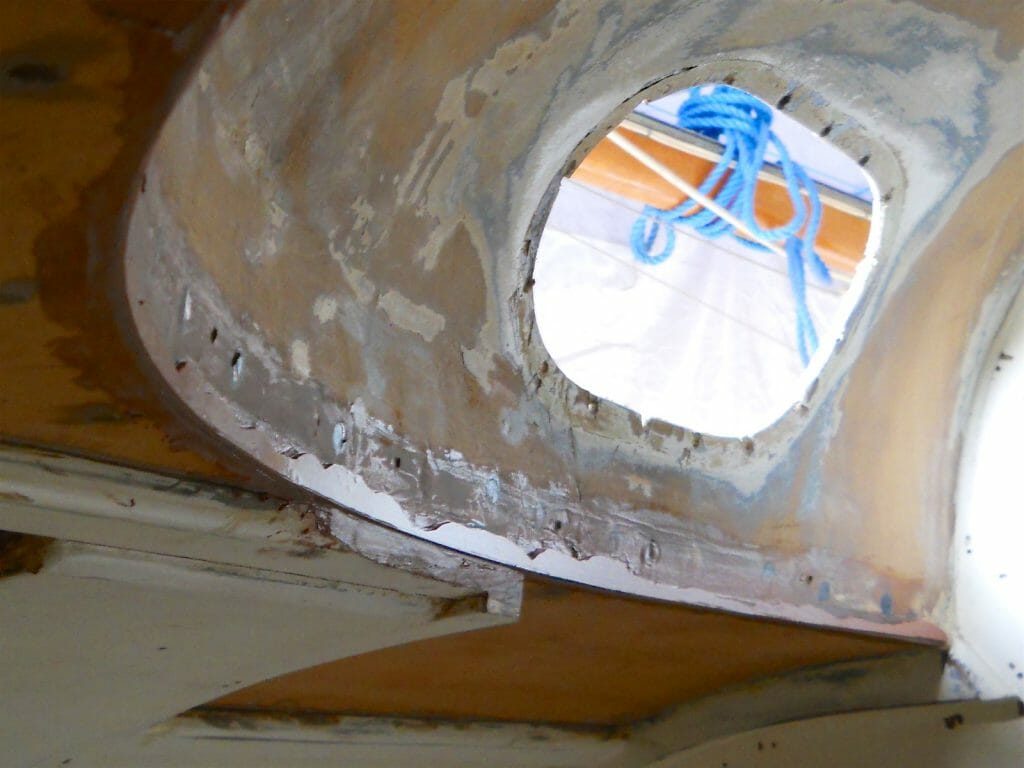
A124 A124 Window replacement
-
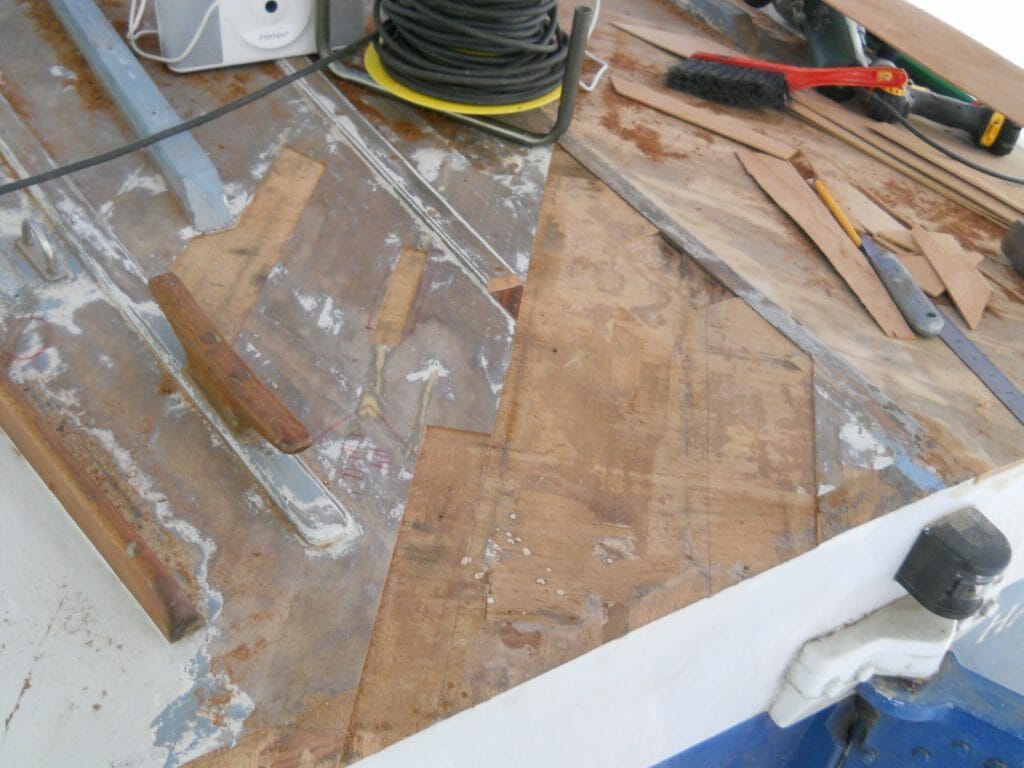
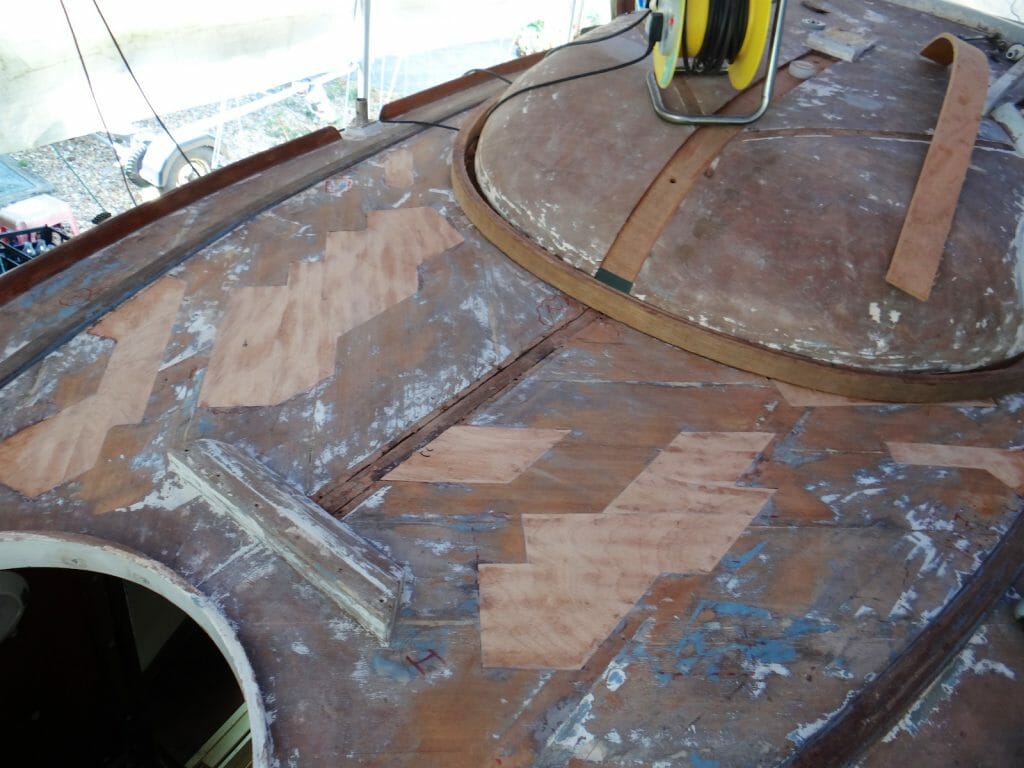
A124 Patches in place
-
A124 A124 Fitting the ‘infill’ on the king plank after the centre-line was cut back to sound wood.

-
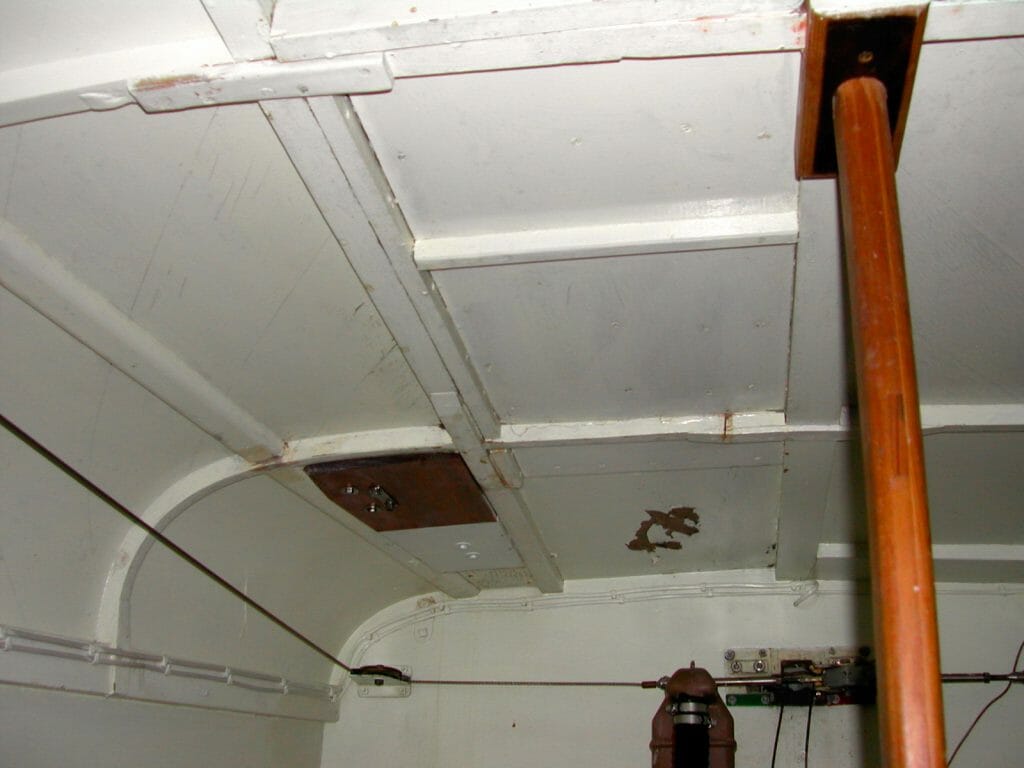
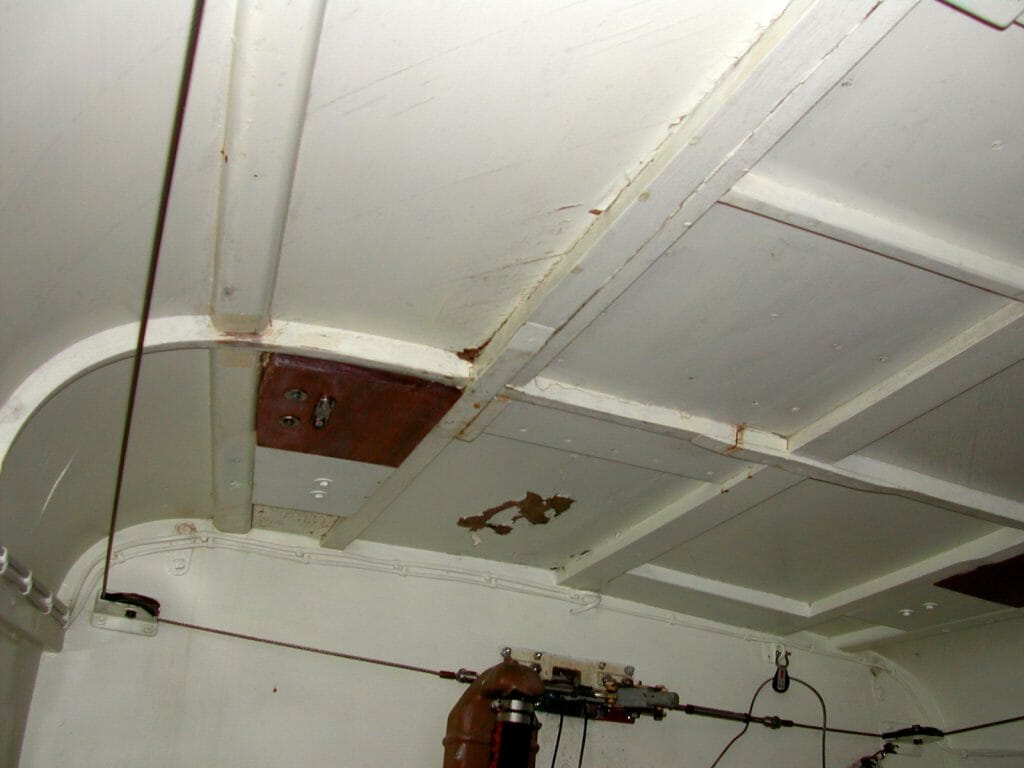
A124 A124 detail of the ply reinforcement under the foredeck. This has made such a difference.

-
A124 A124 thew new king plank and ply reinforcing panels can be seen clearly.
-
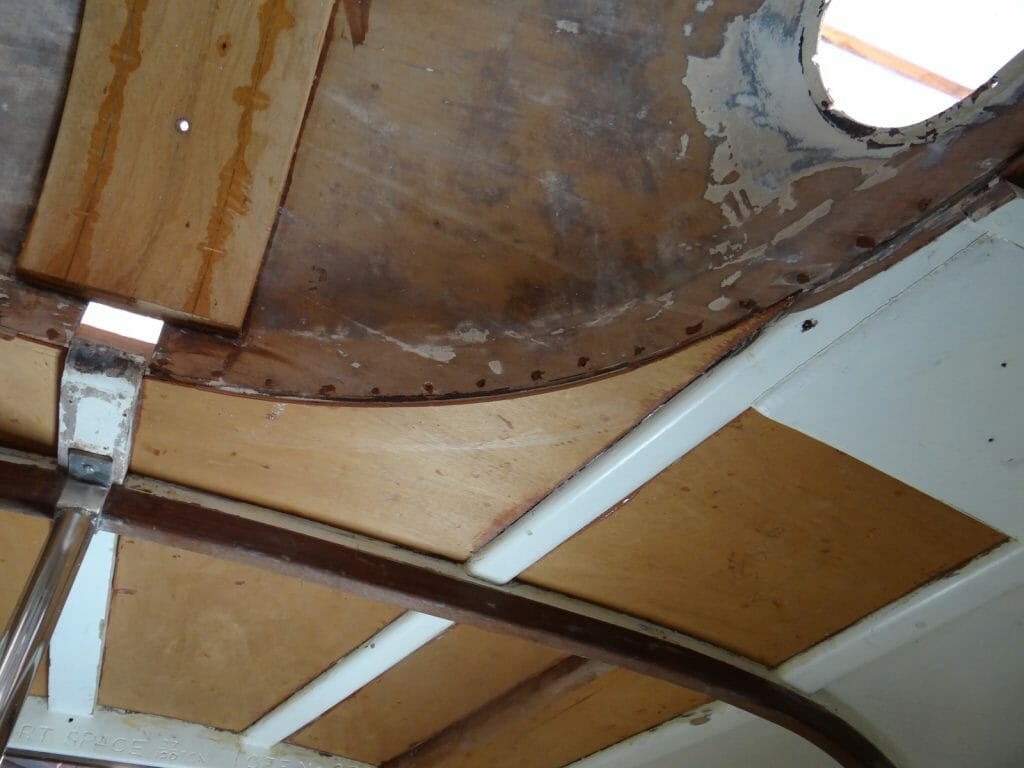
A124 A124 The decks were reinforced by gluing 6mm ply to the underside, using battens to hold the ply on the deckhead whilst the glue sets.

-
A124 A124 The new ‘king plank’ is glued in placed, the deck is repaired around the blister

-
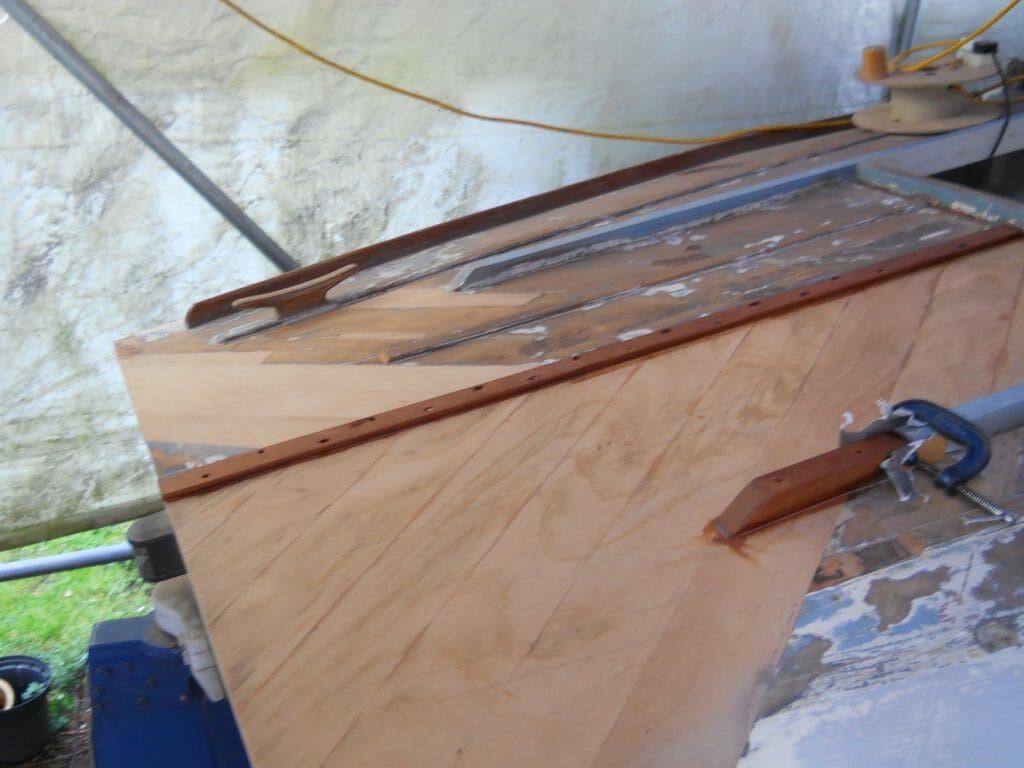
A124 A124 MDF jig to laminate up the quadrant for the blister-deck join.

-
A124 A124 damaged veneer, largely restricted to the top layer, was replaced

-
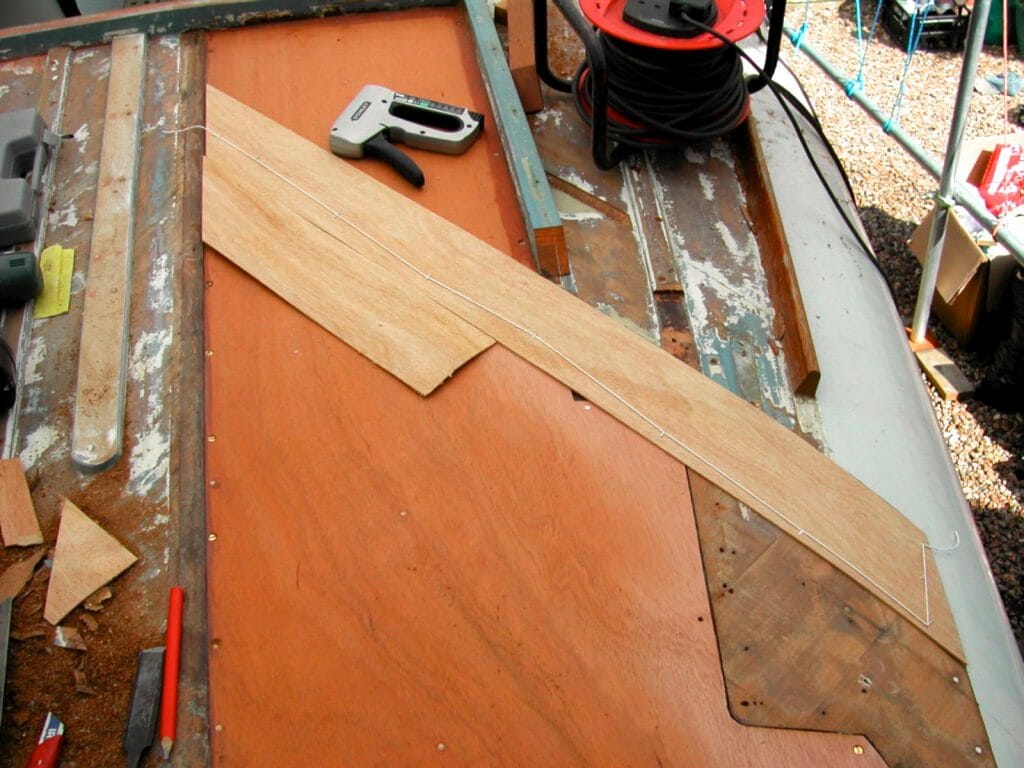
A124 Not too much veneer required on the foredeck

-
A124 A124 Preparing the deck join. Painstaking work to minimise damage to the edges of the mouldings

-
A124 A124 Stripping back the rotten blister centreline and laminated quadrant on the deck join
-
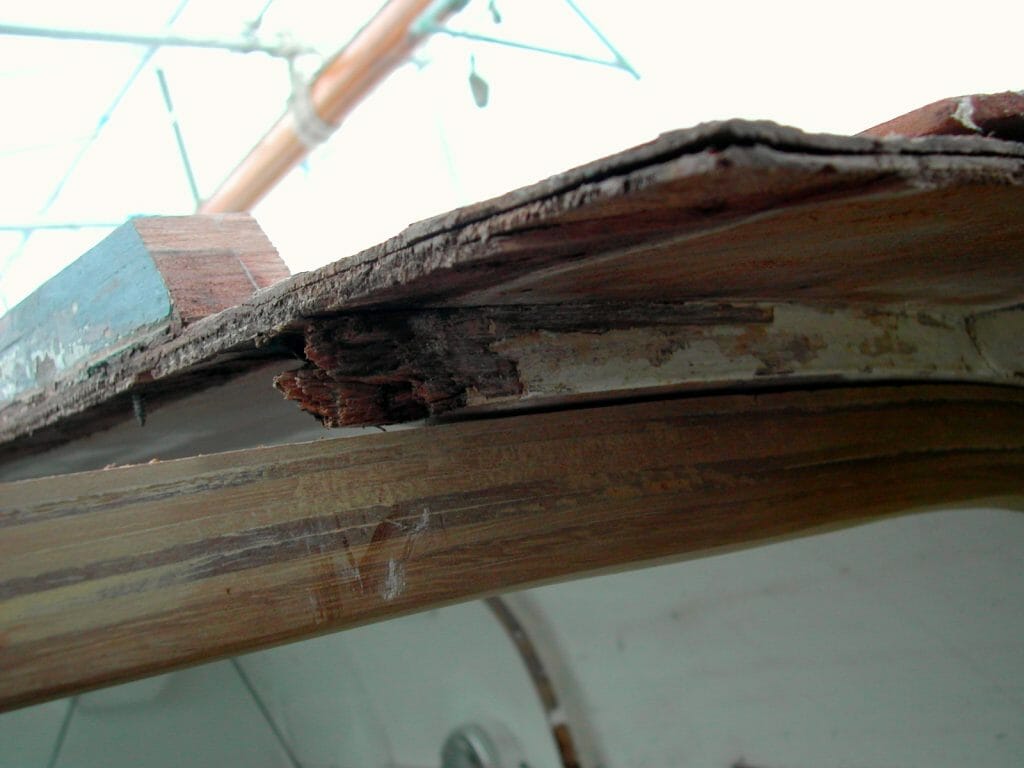
A124 A124 The king plank is rotten

-
A124 A124 The centreline of the blister was reinforced underneath with a laminated ‘king plank’. This is the mould in use.

-
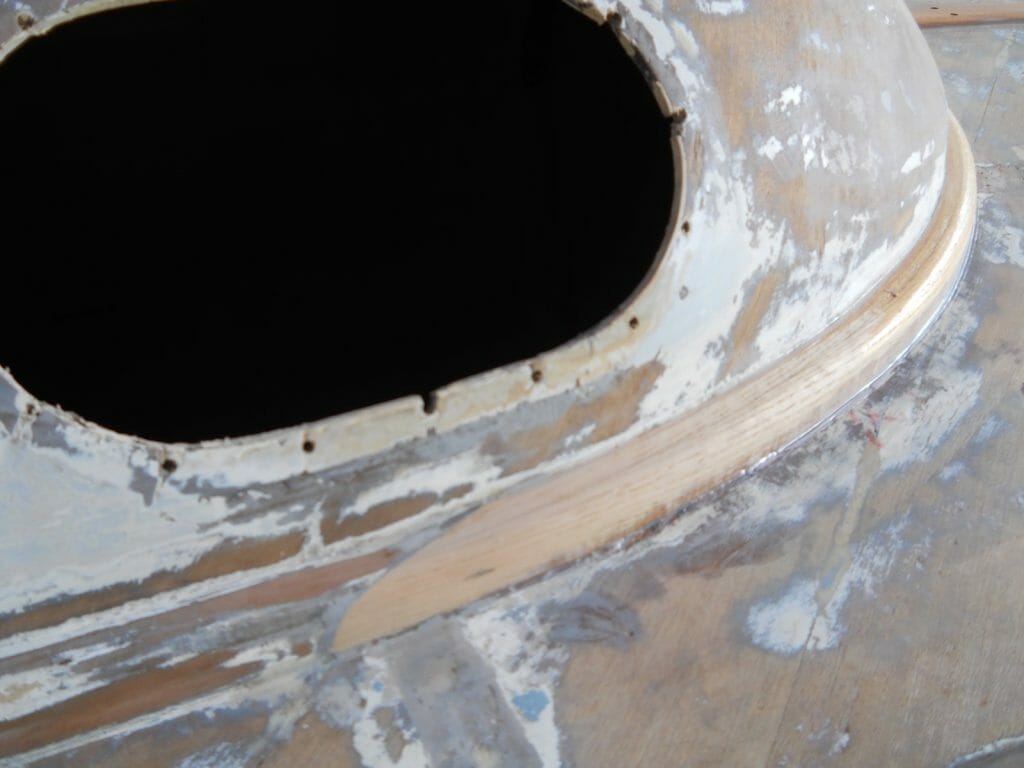
A124 There was damage to the top veneer where the non-slip battens had been applied. I decided not to replace them all and to cut drainage channels in those i left.
-
A124 Fixing 6mm ply to the underside of the decks.

-
A124 Fixing 6mm ply to the underside of the decks.

-
A124 … with a single lamination over the top. The ply was tied strongly to the existing deck by screws and epoxy on the framing. The top veneer of the old deck was then cut away well beyond the join and a 2.8mm veneer laid.
-
A124 The new framing was in iroko (rather than the original laminated form). Note the doubler required to form a landing for the new deck against the hatch rail to starboard.

-
A124 A detail view of the forward hoop also showing my willingness to use (appropriately thickened) epoxy to make up the inevitable gaps between old and new wood.

-
A124 Care was taken to ensure, within my limited woodworking skill and time, each deck beam sat ‘on top’ of the hoop frames.

-
A124 With new laminated deck frames braced to the gunwhale supporting new deck framing ….

-
A124 … the appearance and utility of the cabin was greatly enhanced, enabling removal of the support post. The frames were now very stiff – time to sort the panelling over the top!

-
A124 At the aft end I glued a plywood panel to the underside of the remains deck, between the longitudinal framing, to support the join between old and new.

-
A124 And then I cheated. Rather than laminate from 3 layers of agba, I chose to lay a base of 5mm quality marine ply ….

-
A124 Step 1 – cut out the ply repairs and back to sound laminates.
-
A124 The hole was cut with the intention of framing under the new edges and cutting back the top veneer to overlap with new wood.

-
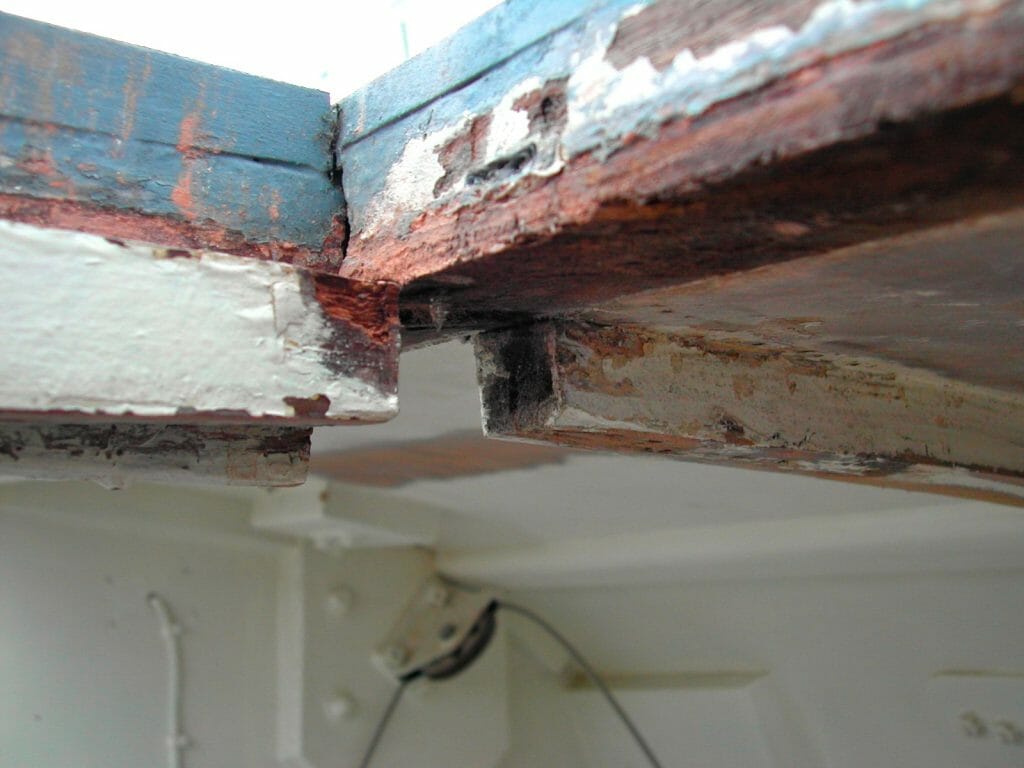
A124 The intersections of transverse and longitudinal deck ‘beams’ were very weak, and water ingress had caused some to rot.
-
A124 A view with the aft beam temporarily positioned showing the rot in the original framing and the deck delimitation.
-
A124 I decided to laminate two ‘hoop’ deck beams beneath the existing framing, tying the deck supports to the gunwale and doing away with the need for the deck support post. Each needed its own jig.
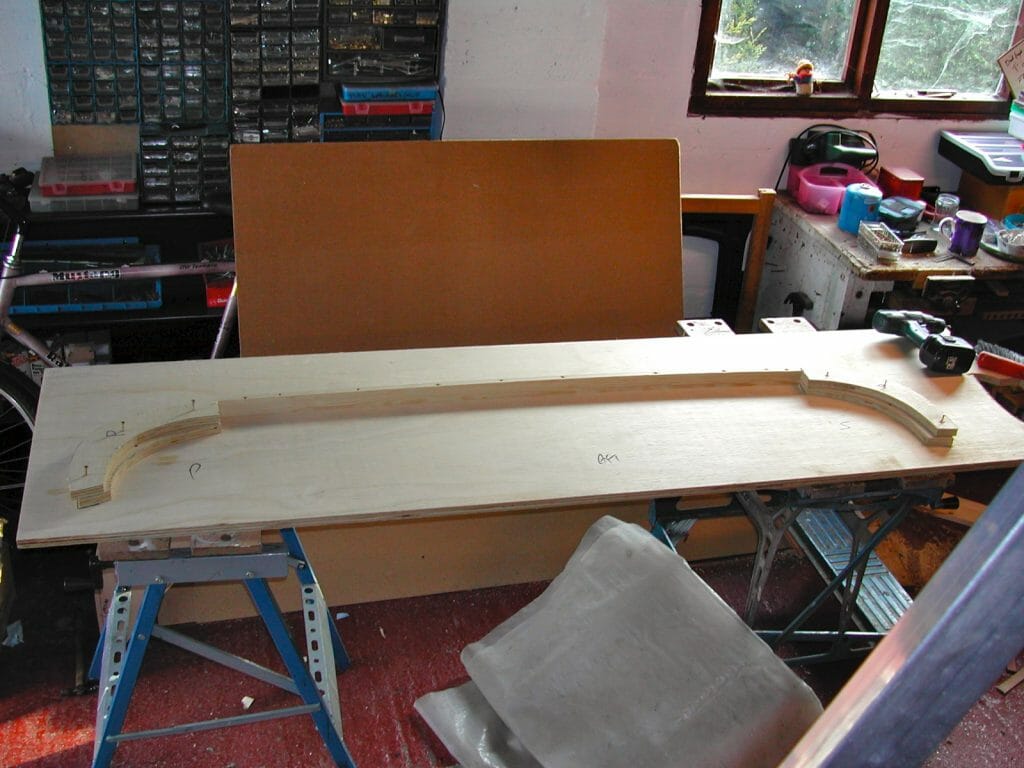
-
A124 These are iroko ‘slices’ in the steamer – one end on the jig at a time. The forward beam was made out of mahogany veneer left over from a previous cold-moulded project.
-
A124 Stripping the paint revealed the extent of the damage. The port deck surface delimitation. The starboard deck needed completely re-making.

-
A124 The starboard deck was supported by a series of doublers and ply panels. And the whole reinforced with a hog-to-kingplank post which complicated access.
-
A124 The underside of the rotten deck with weak ‘doublers’ and evidence of leaks.
-
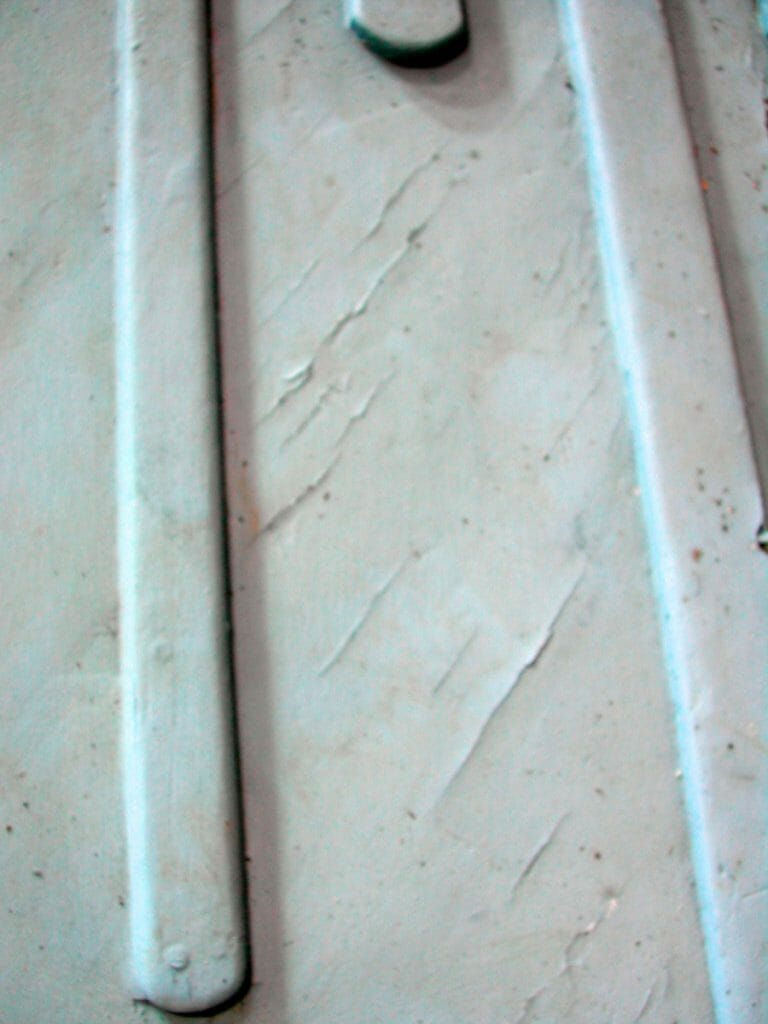
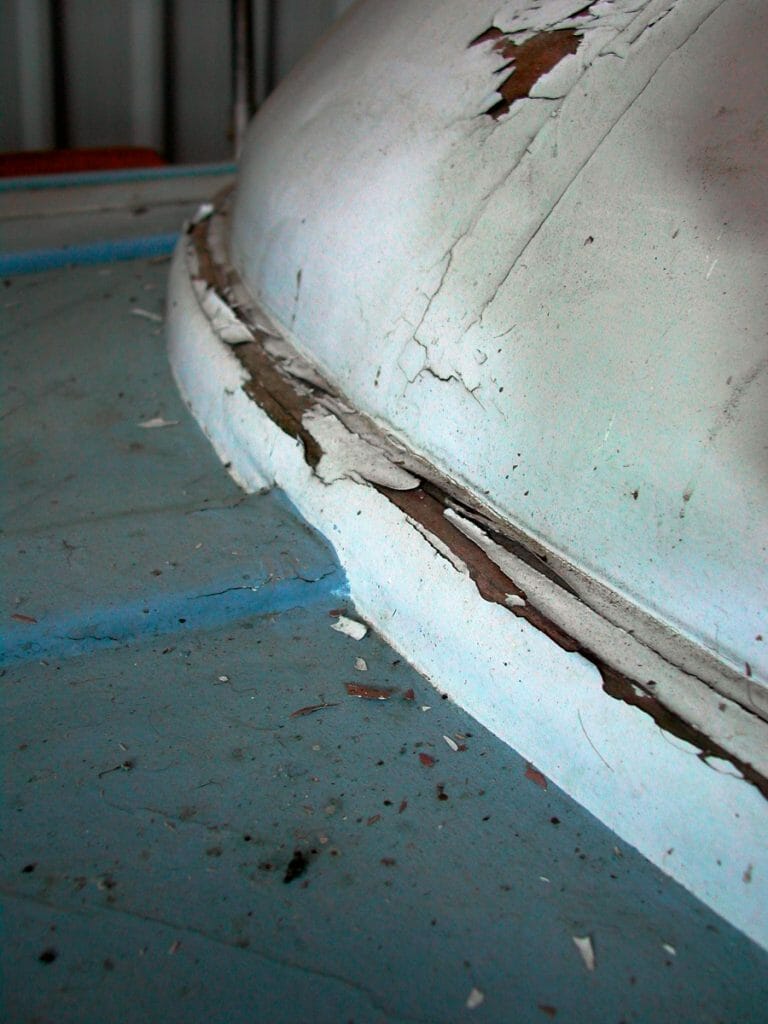
A124 The cracks weren’t just in the paint.
-
A124 The deck looked a bit ropey with some delamination and some poorly executed additional stiffeners.

-
A124 The blister is showing signs of distress on the centreline and the join with the deck.

-
A124 The blister is showing signs of distress on the centreline and the join with the deck.

-
A124 The blister is showing signs of distress on the centreline and the join with the deck.
-
A124 The Yanmar 1GM was in reasonable condition but the engine room needed an overhaul.

-
A124 2007 The decks

-
A124 2007 The Galley

-
A124 2007 The Galley

-
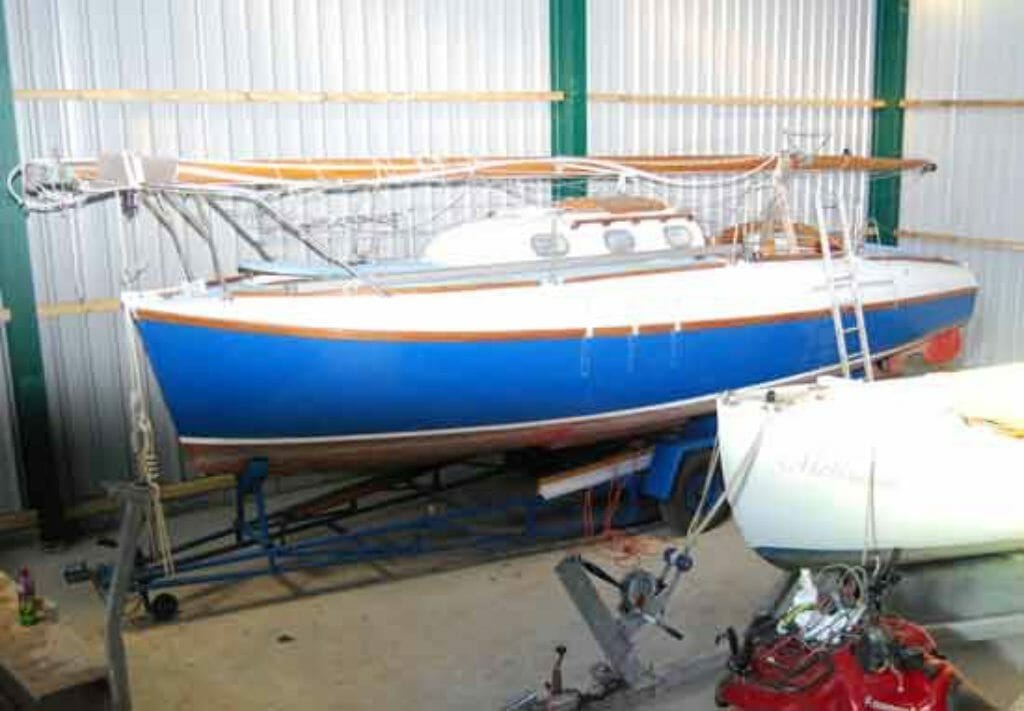
A124 2007 Looking good in her barn home
-
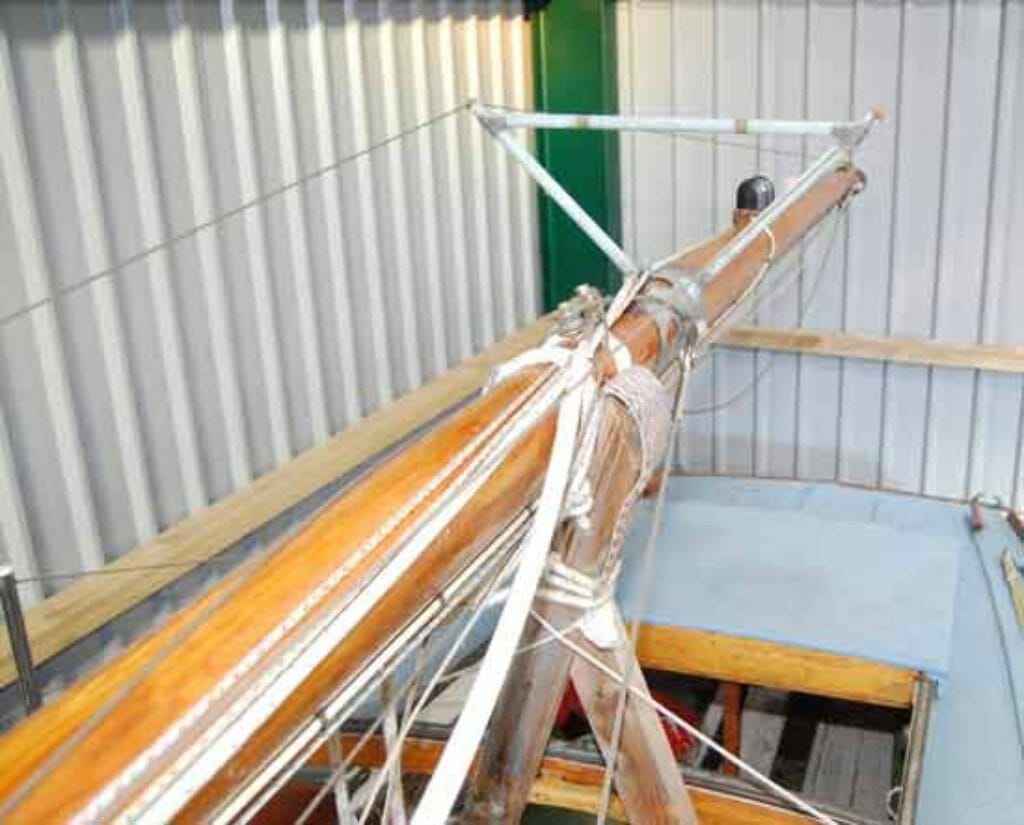
A124 2007 Wooden Mast in excellent condition
-
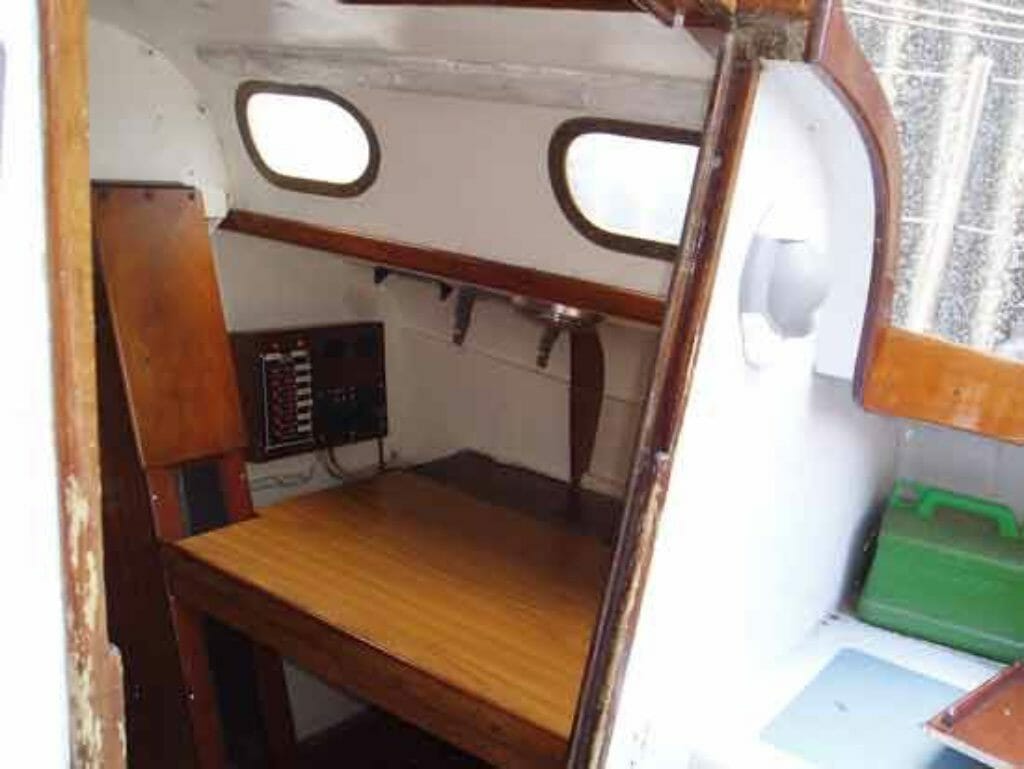
A124 2007 Chart table

-
A124 2007 Chart Table
-
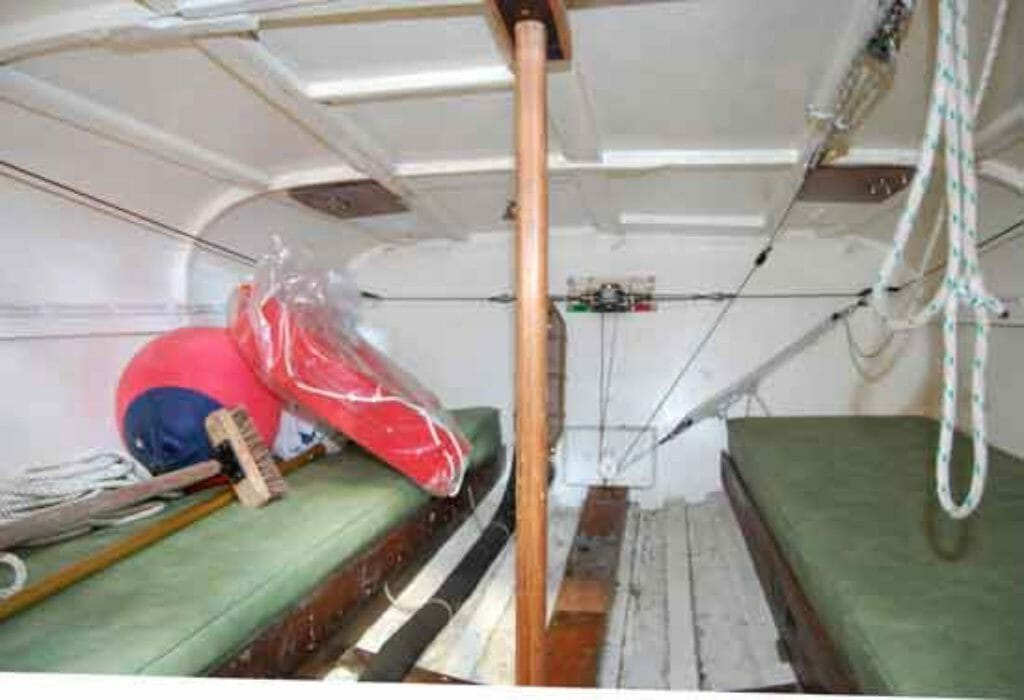
A124 2007 Simple fit out in the main cabin

-
A124 2007 Rudder and Skeg detail

-
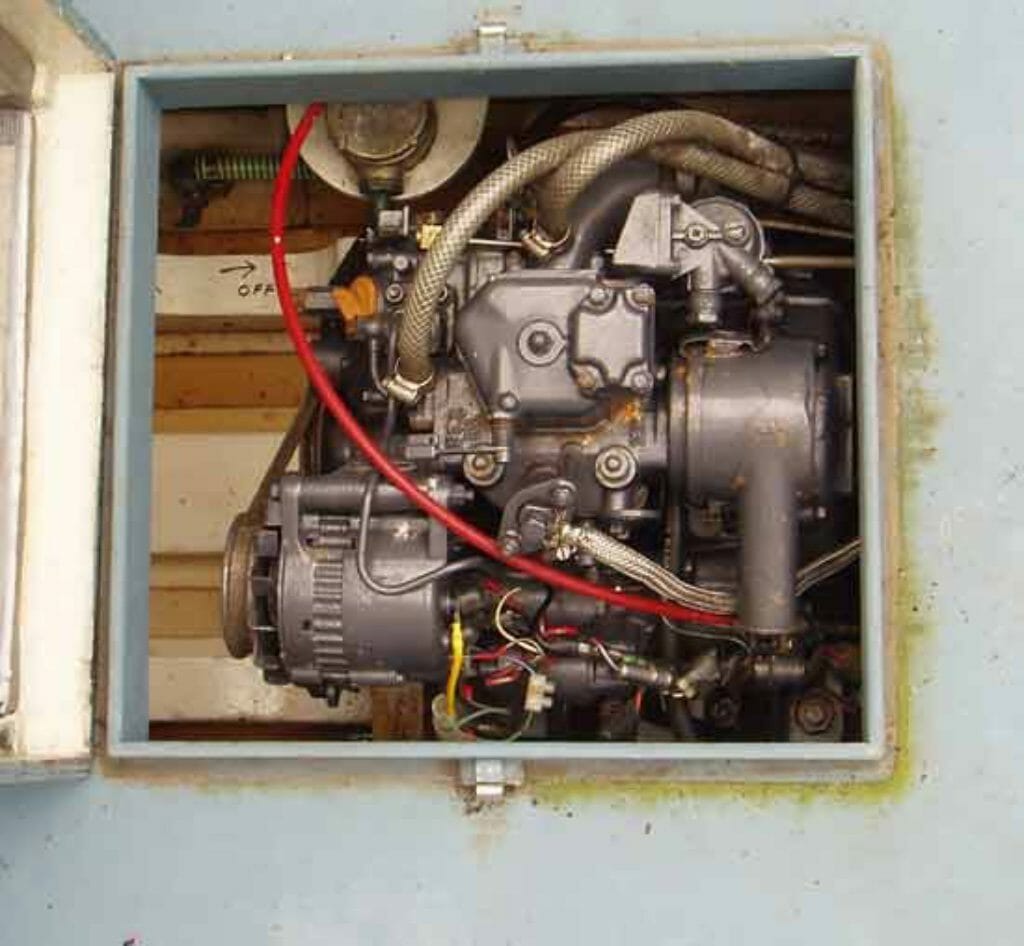
A124 2007 Yanmar 1GM
-
A124 2007 Stern Cabin very original
-
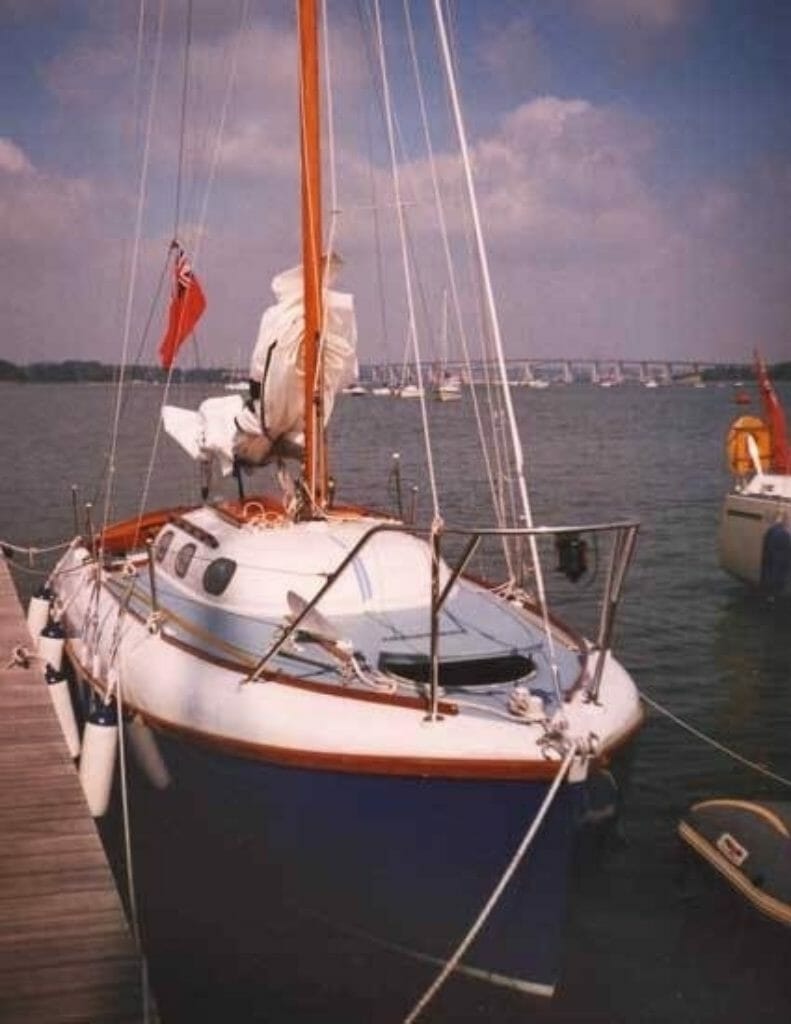
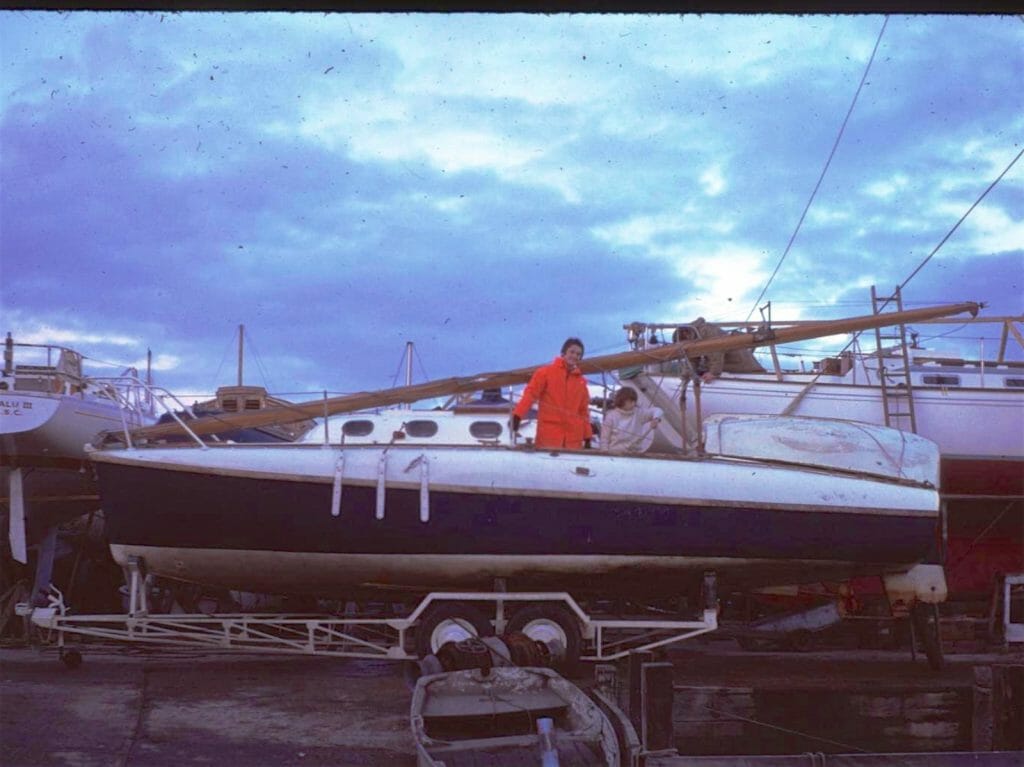
A124 2005? Afloat on the River Orwell
-
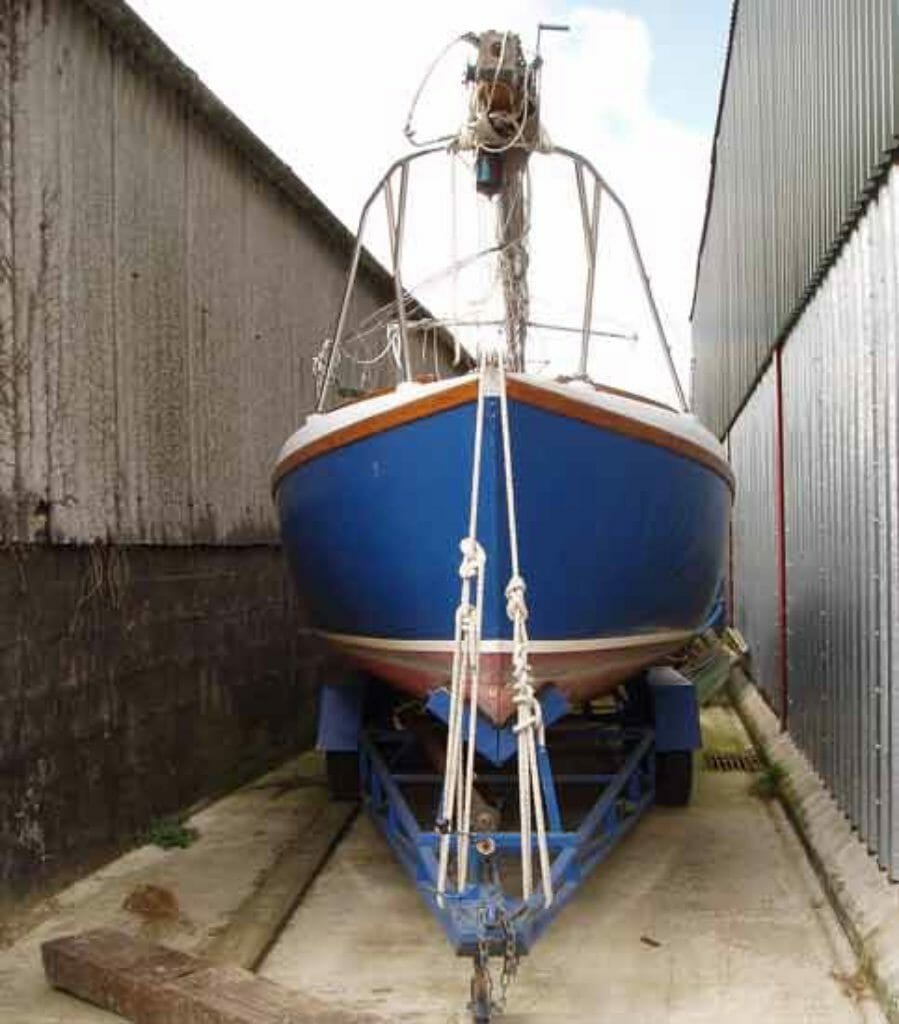
A124 2007 on her very light trailer.
-
A124 2007 Main cabin with minimal fittings.

-
A124 2007 forepeak and deck support post

-
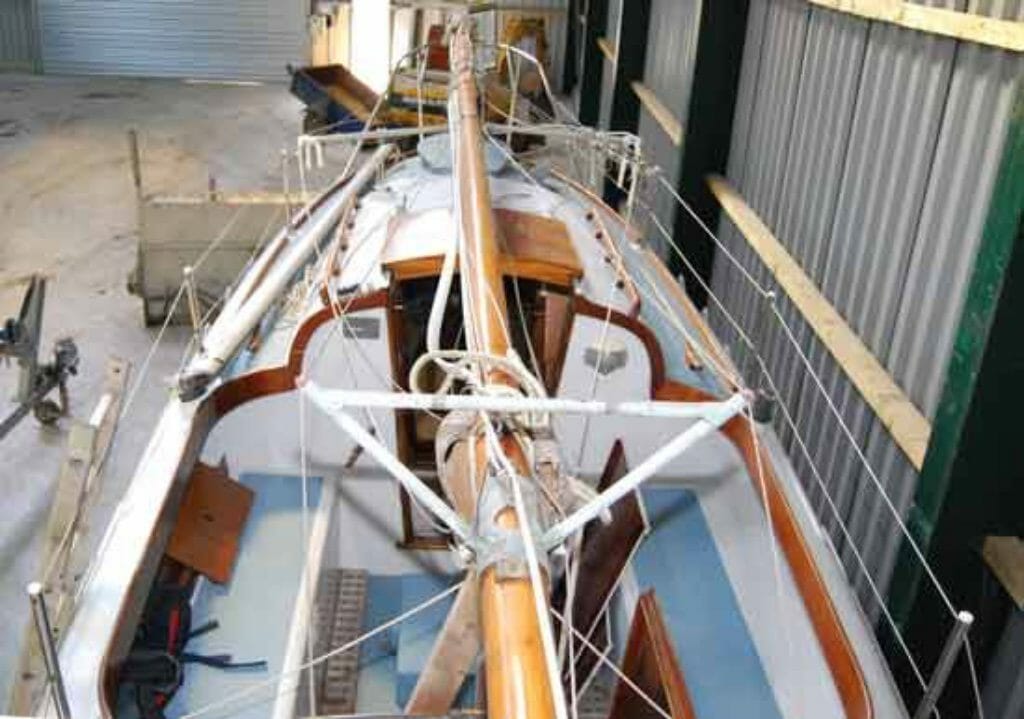
A124 2007 Cockpit and mast
-
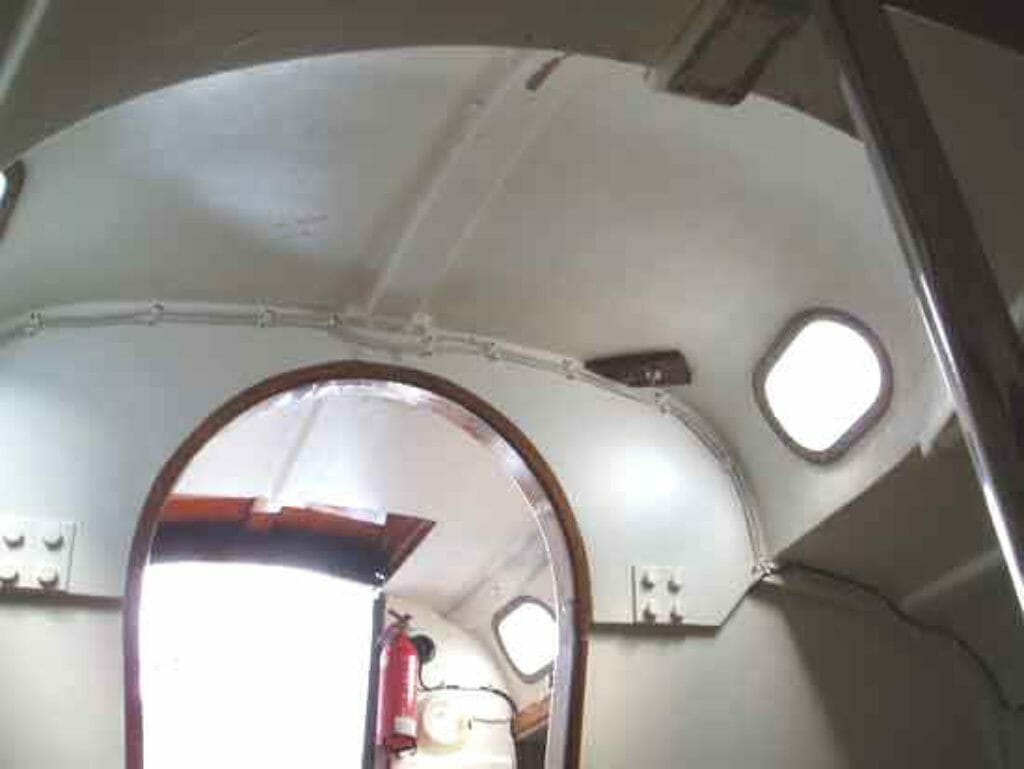
A124 2007 Cabin ceiling
-
A124 AOA Bulletin 2000-01 cover

-
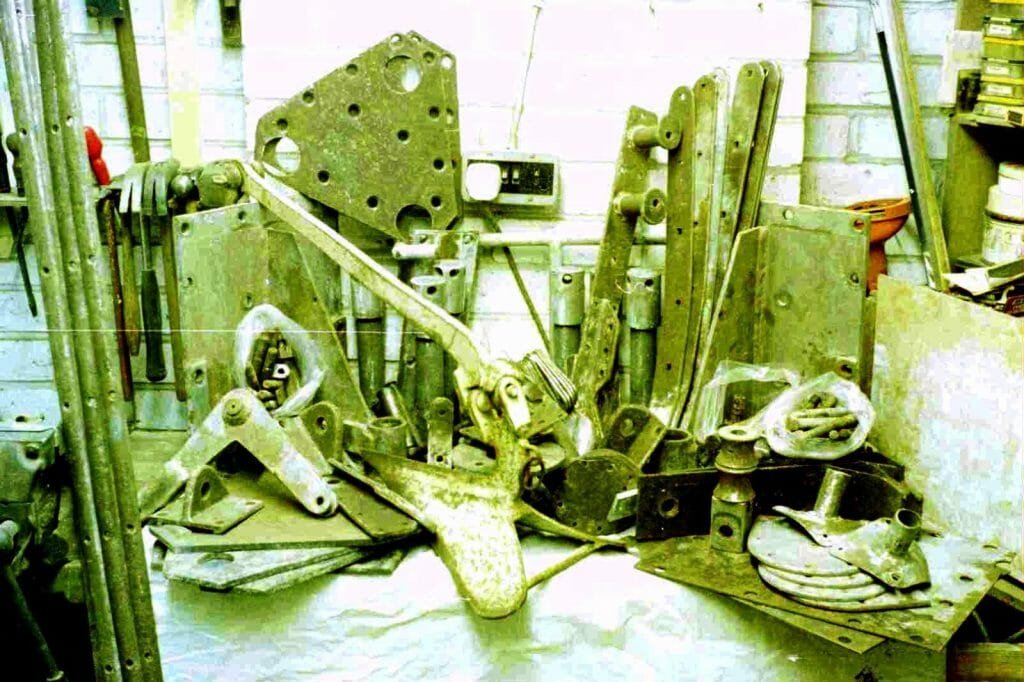
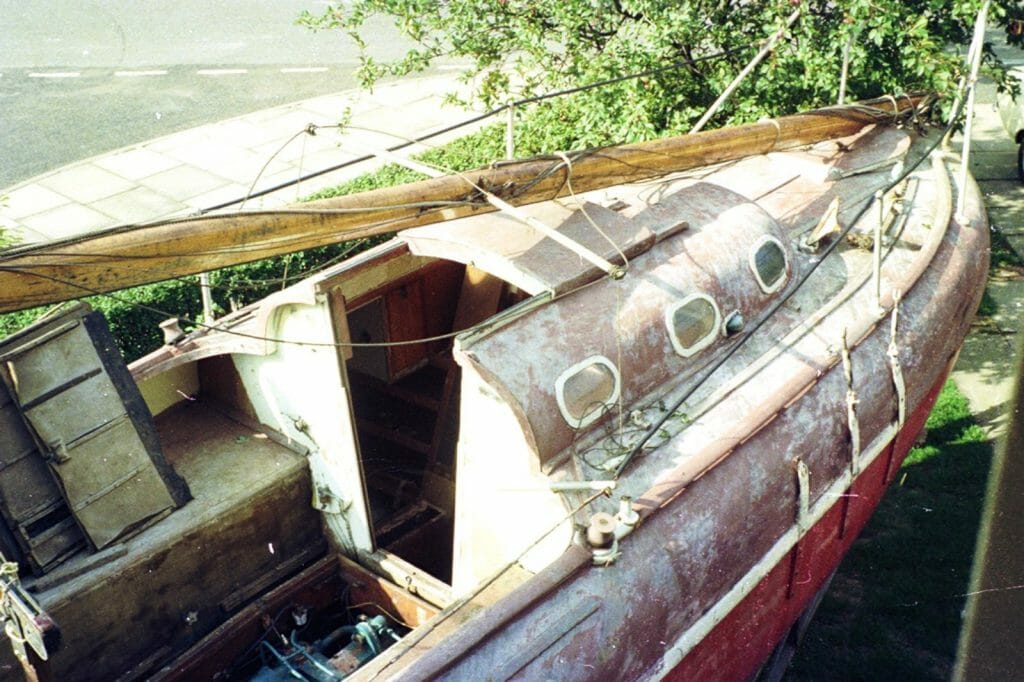
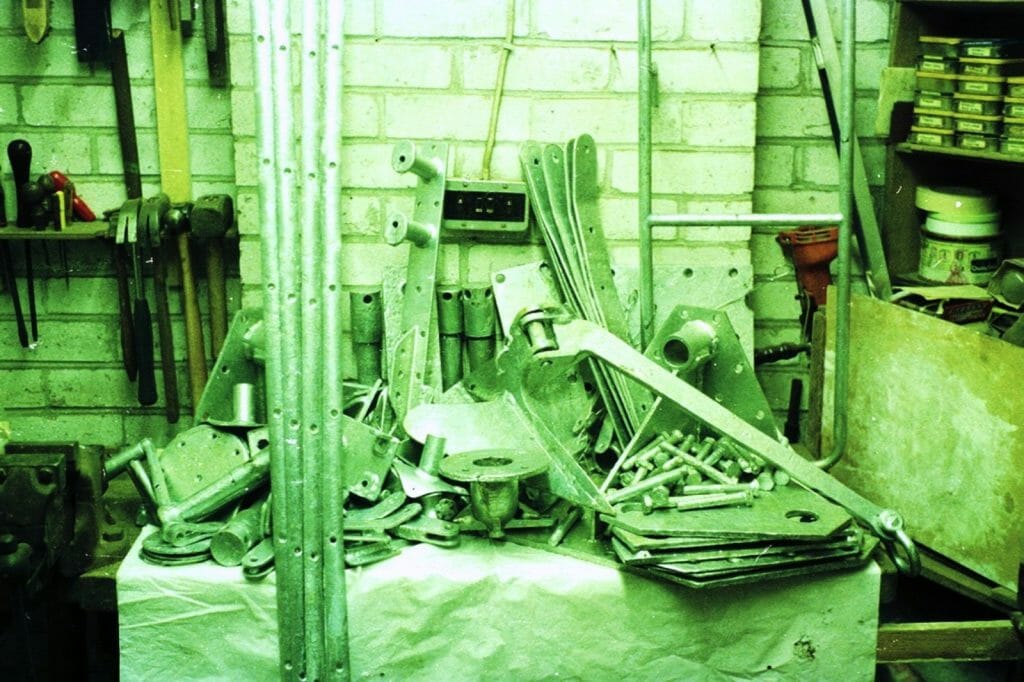
A124 Late 1970s Restoration for A124 Helene by Godfrey Holter

-
A124 Late 1970s Restoration for A124 Helene by Godfrey Holter

-
A124 Late 1970s Restoration for A124 Helene by Godfrey Holter

-
A124 Late 1970s Restoration for A124 Helene by Godfrey Holter
-
A124 Late 1970s Restoration for A124 Helene by Godfrey Holter
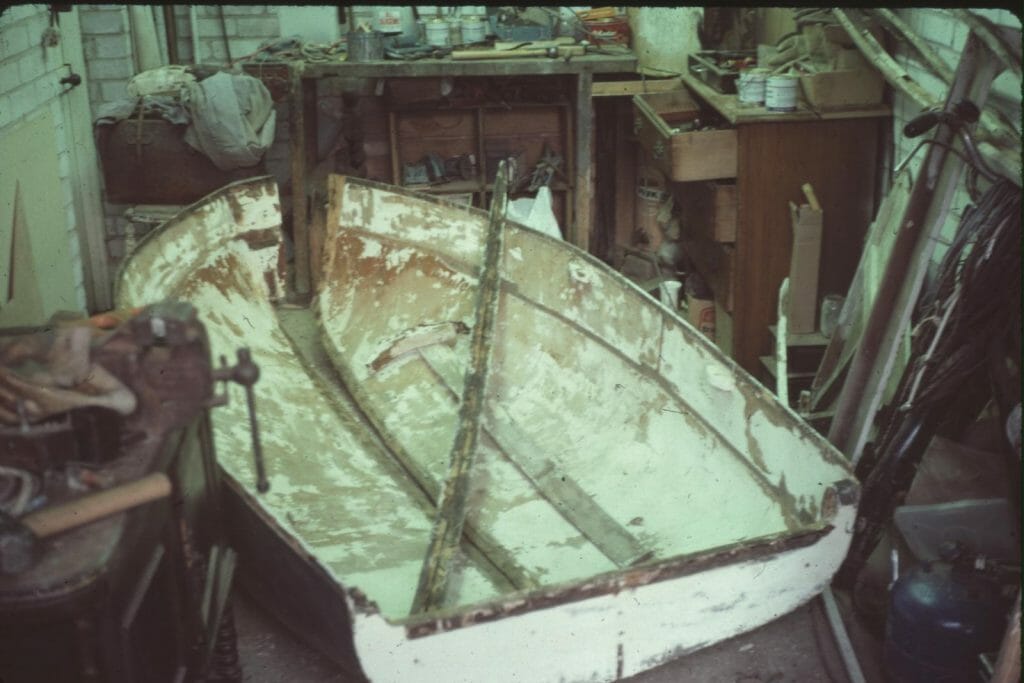
-
A124 Late 1970s Restoration for A124 Helene by Godfrey Holter
-
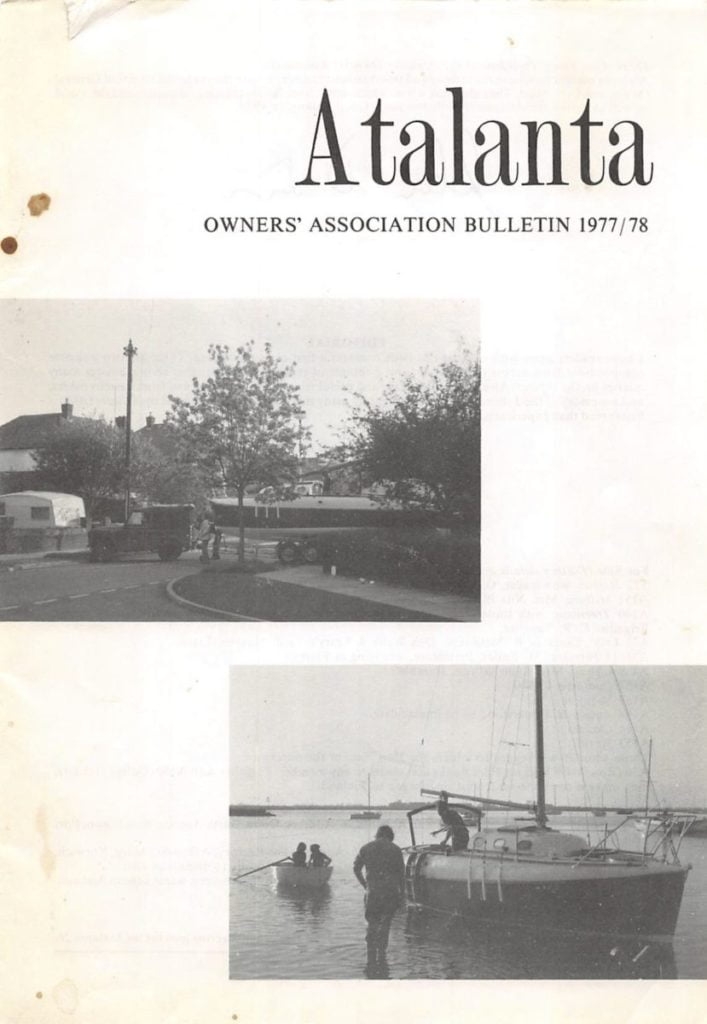
A124 AOA Bulletin 1977-78 cover
-
A124 Late 1970s Restoration for A124 Helene by Godfrey Holter
-
A124 Late 1970s Restoration for A124 Helene by Godfrey Holter

-
A124 Late 1970s Restoration for A124 Helene by Godfrey Holter
-
A124 Late 1970s Restoration for A124 Helene by Godfrey Holter