March 2012
Unbelievable! 6 months has slipped by and no significant progress has been made on Methuselah. However, indirectly things have been chugging along. In the meantime we have purchased an acre of (flat) land and last week bought a kit-set shed (which has to be dismantled and then re-erected). The shed is 15 metres long by 12 metres wide!! The height is presently 3.6 metres but I am thinking of extending it to 5.5 metres so there is full headroom when Methuselah is blocked up to remove/replace the keels. Once our shed has been re-erected Methuselah will be moved, from the shed we have been renting for the past few years since the refit began, and she will be set up in a purpose built bay in the new shed. The refit can then resume in earnest.
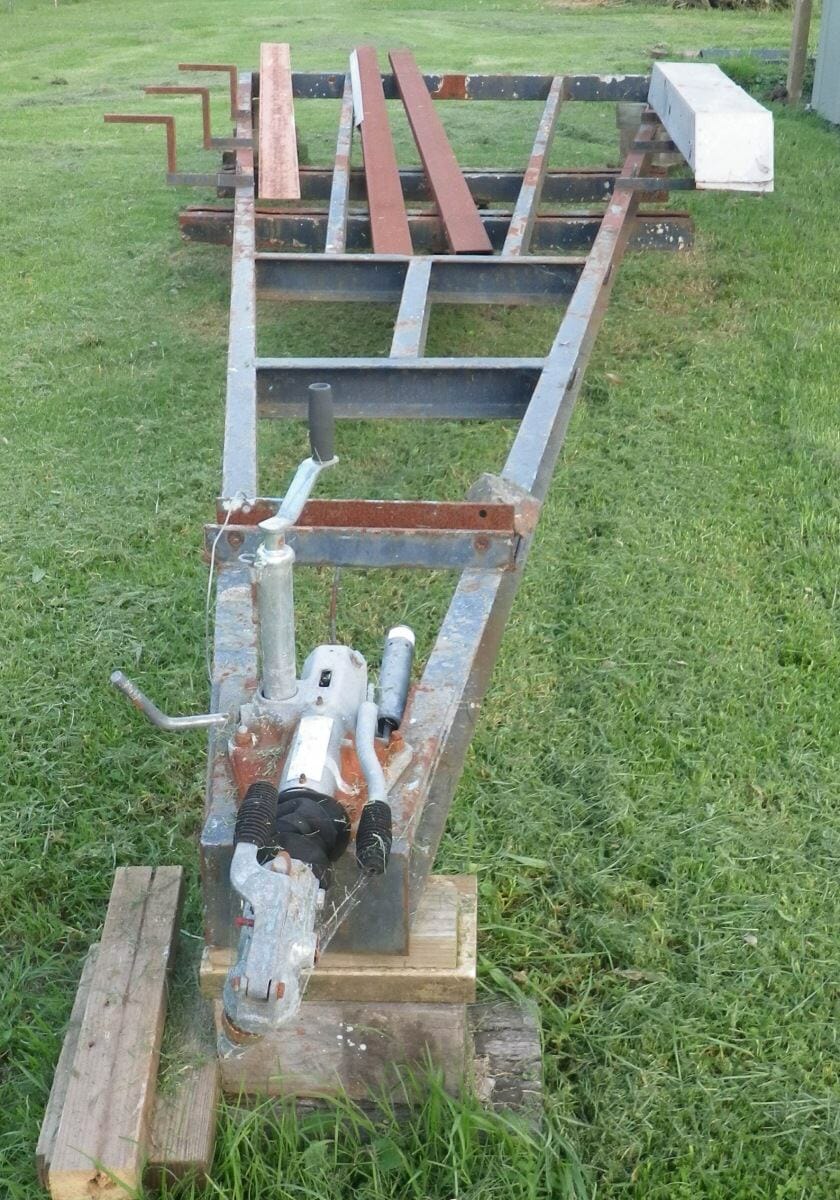
Before Methuselah can be moved however her trailer has to be refurbished. Quite a bit of work to be done! The trailer is constructed of both steel channel and box section. The channel is still OK but unfortunately the box section has rusted from the inside out so will have to be replaced. The Duratorque suspension,etc all has to be replaced.
I have the original Atalanta trailer plans at hand so will refer to those.

26 August 2011
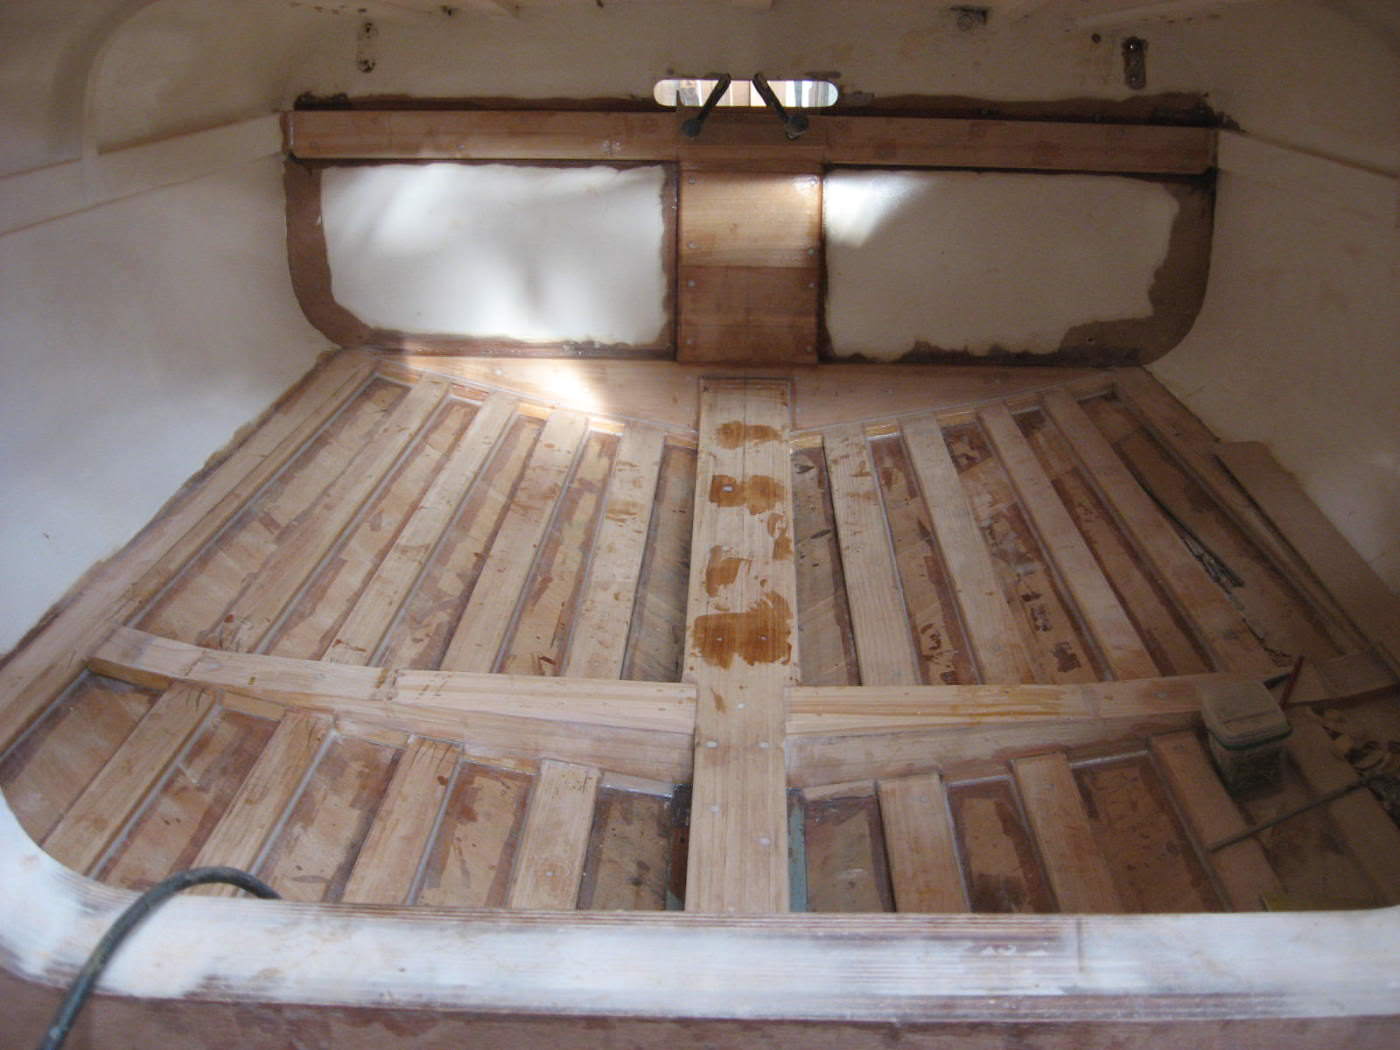
Fashion piece at the bottom of the transom giving extra land for the planking (also acts as support for the bunks) fitted and glued in, packing for a new stern post/knee, which will also spread the load of the rudder gudgeons, glued to the transom, athwartships stringer across the transom attaches the plywood bottom section to the solid mahogany top section glued in after removing over 30 corroded brass screws and plugging the holes!, keelson repairs completed.

12th August
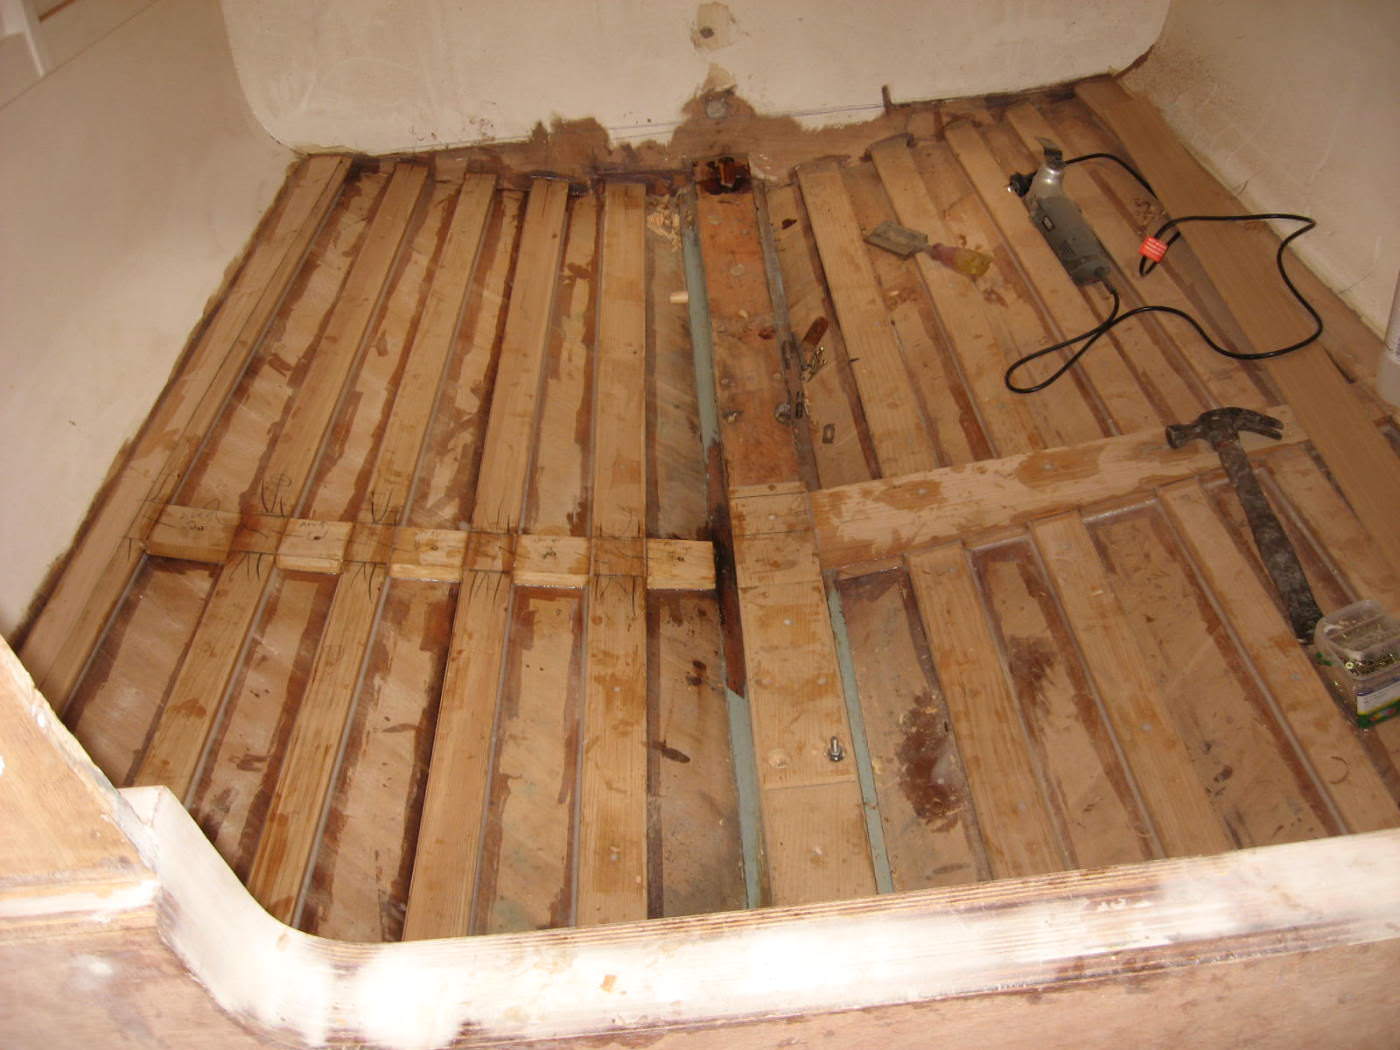
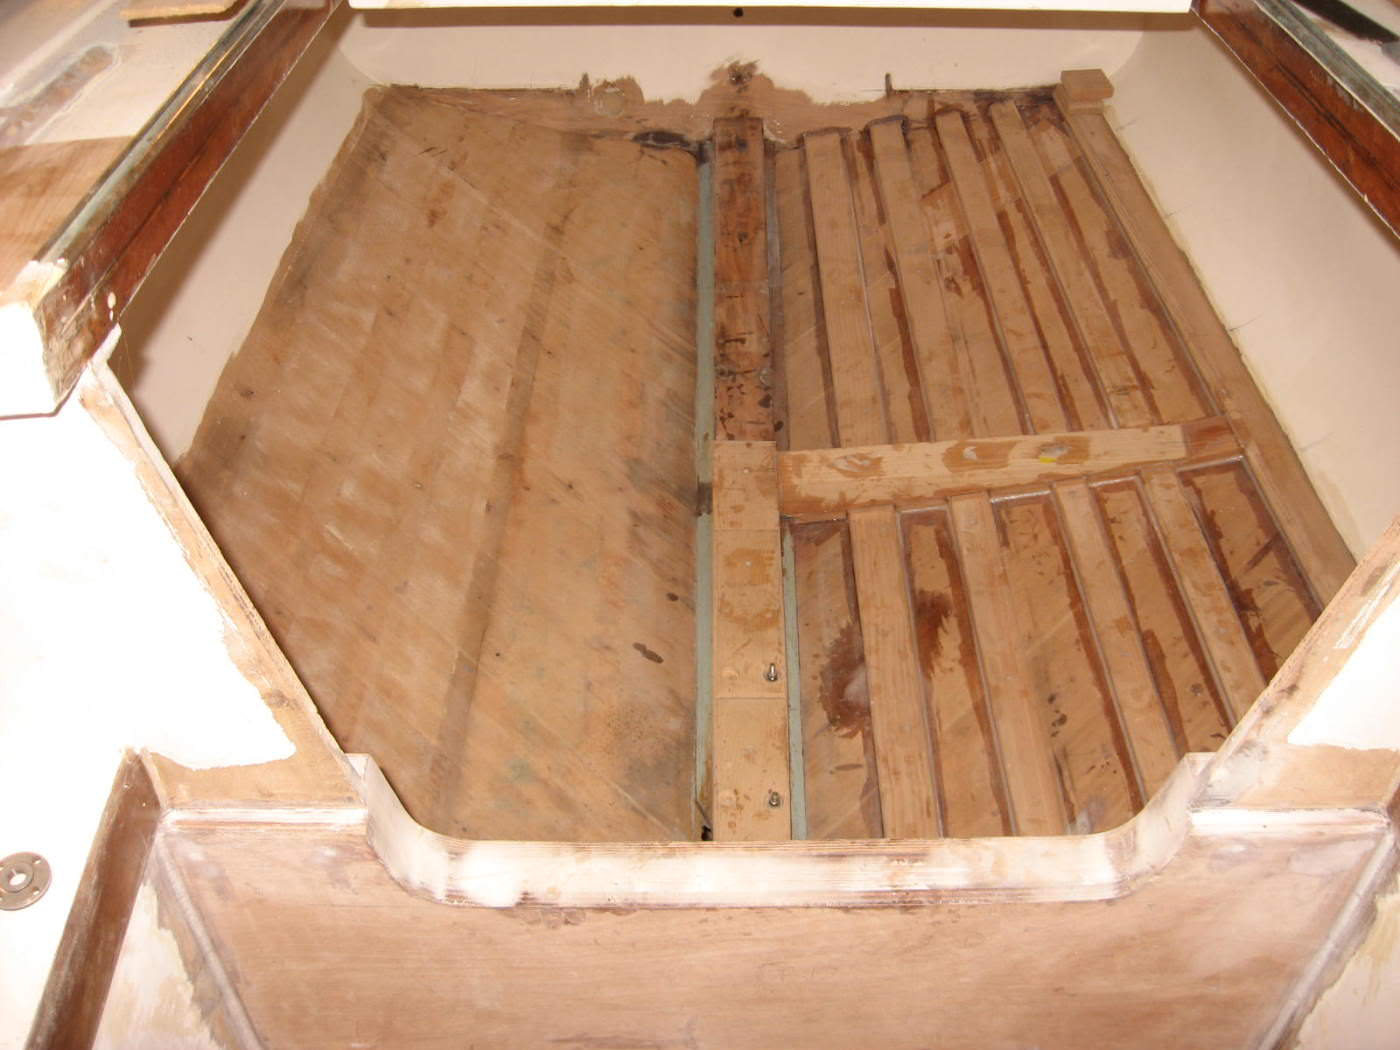
Back to the aft cabin: Starboard stringers fitted and glued in, blocking for the floor fitted. Further investigation of the keelson in the area of the skeg found the electrolytic decay of the timber was not too bad, so the old skeg bolt holes were drilled out to 25mm to get back to clean timber and plugged.
1st August
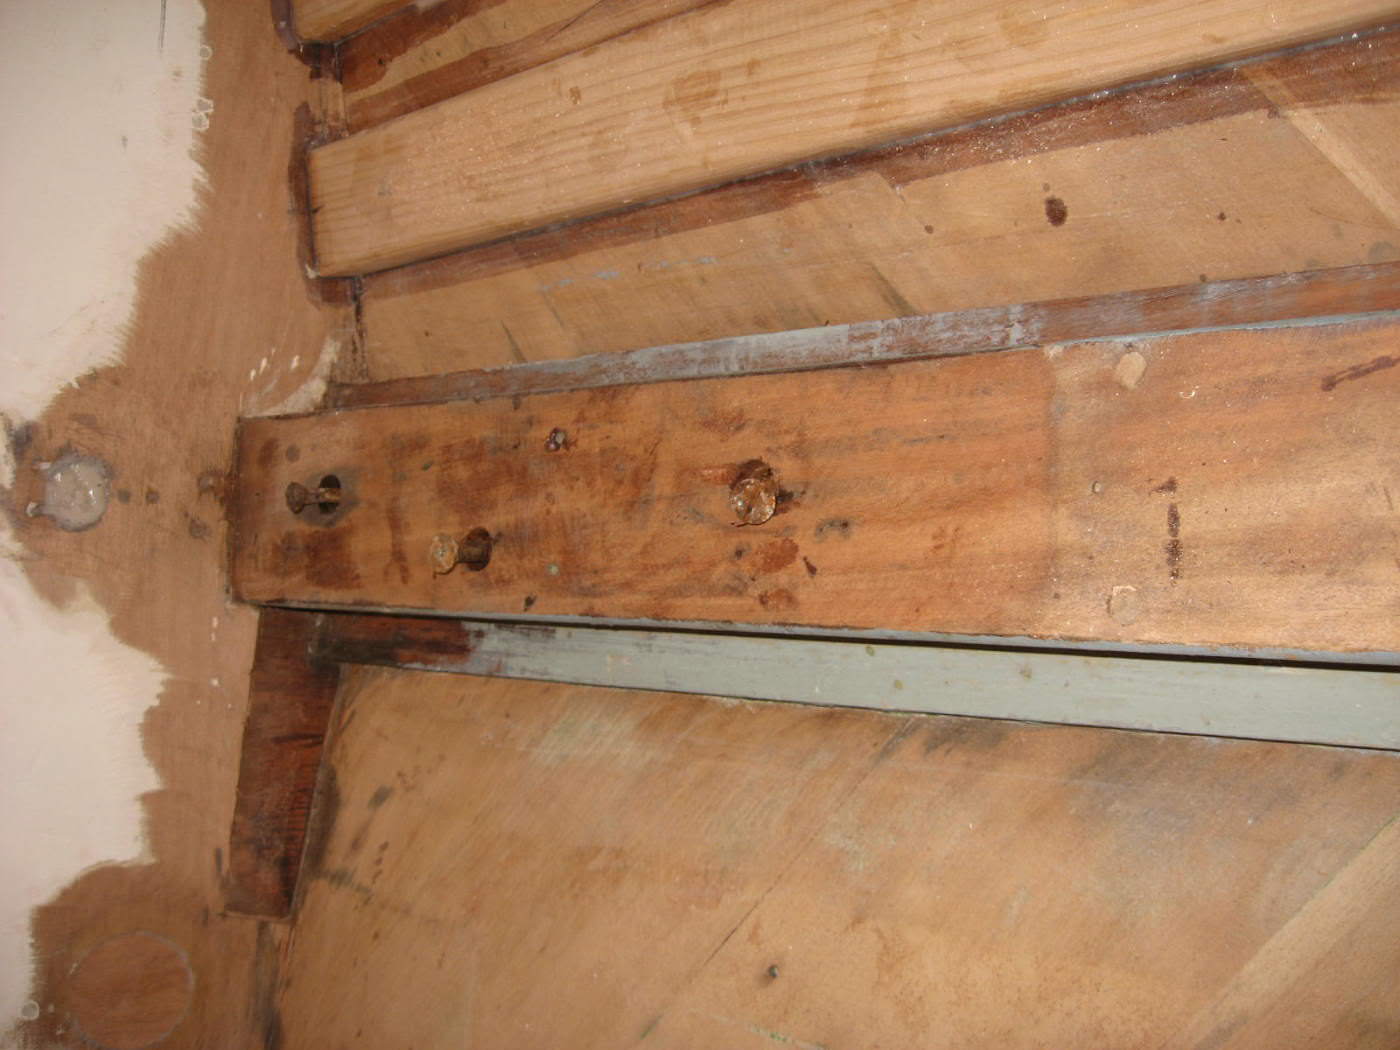
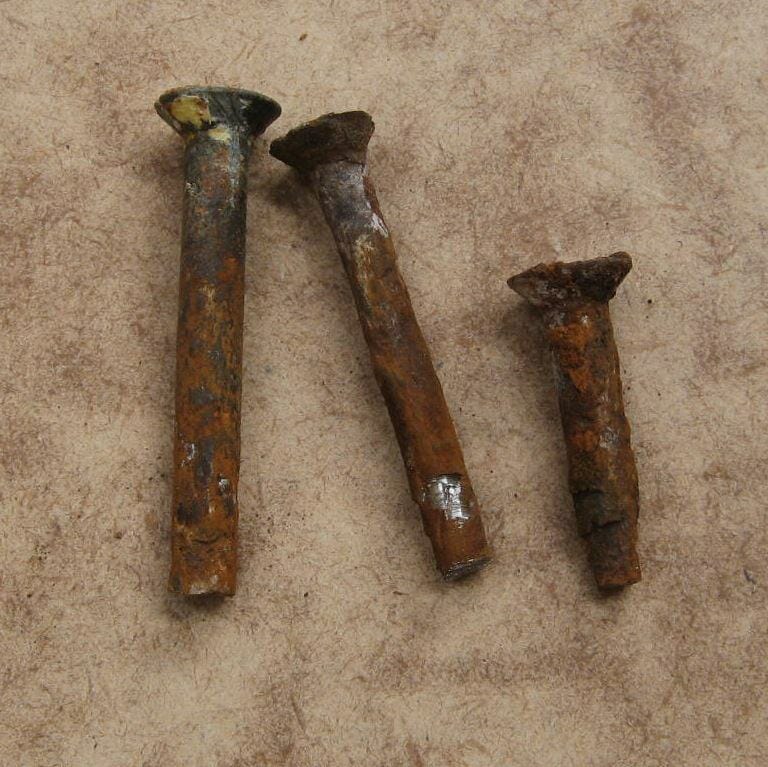
First photo below shows the condition of the area under the skeg and the bolts that held the skeg on. Not pretty! Rather than try and hammer the bolts out I am making up a boring tool and will cut them out then plug the holes. I will have to cut back and then re-laminate the planking along the keel.

Good news! After a bit of exploratory grinding on the inside I found the plugs in the keelson covering the bolts, once I had drilled those out I thought I would give the bolts a tap and out they popped, so that was easier than I thought. By the state of them its now obvious why the skeg was loose!
Have also been doing some more veneering, a small section of the final (4th) layer. Didnt get far though as the transom repairs and floor and stringers in the aft cabin need to be completed first. Several secrets for easy veneer fitting: A very fine metal cutting blade in the jigsaw, a multi-tool to cut back the veneers and a combined belt/disc sander…

June 17th
Doesn’t time fly!! It is over 6 months since I was last working on Methuselah (due to some drastic family matters, now under control!) but today I got underway again, albeit just dusting off the cobwebs and reminding myself of what I am doing!
First jobs on the list are a few repairs to the transom before getting back into the aft cabin and fitting new stringers and floors. With that complete I can carry on with the planking repairs…….Its great to be back on the job!
I found a couple of areas that need attention – a little delamination of the plywood where an old exhaust used to be (bottom of transom starboard side) and amidships where a steel bolt has corroded and caused localized decay. I will router the dodgy bits out and scarf in some new timber. Its a shame the condition of the transom is not good enough to be varnished like Calista’s, I did think about veneering it for about a minute! The transom is made up of plywood below the rudder cut-out with the top section a piece of mahogany.

Plugs and patches glued in this morning then faired off….

New port side stringers and base for floor (roughly centered between transom and aft bulkhead) glued in the aft cabin. I am adding this floor to help tie the hull back together. The dark patch on the transom (stb side of keel) possibly caused by water dripping from the old exhaust, will require a localized repair. A couple of the inner planking veneers had small areas of delamination and have been routed out and repaired.
With regard to laminate repair, if it is a small area you can cut out a patch slightly larger than required and in line with the grain, staple it over the area to be repaired, then cut carefull all round it to achieve a perfect fit when staples are removed…………………..Colin