This is a post in the continuing story documenting the restoration of A1 Atalanta. See the overview and other posts by clicking on the staple-gun![]()
This was one of those jobs that grew and grew, the more you delved into it. The seats on either side of the cockpit had a locker in the middle of them, with two trotter boxes, one from the fore cabin and one from the aft cabin on either side. The inboard fore-and-aft side of the seat/locker formed the outboard side of the keel box.
Not much to remain
The entire starboard side structure was rotten and clearly had to be replaced. All the old and rotten timber came out. It then became apparent that the main transverse bulkhead for’d, between the cockpit and the fore cabin would have to be renewed also, as well as the (albeit) smaller transverse bulkhead between the cockpit and the aft cabin. Throw in the inboard side of the keel box and the two posts at either end of the keel box for good measure and the whole job was becoming epic! And the port side didn’t really look much better either!
Leaving the port side intact was important as it served as a datum to ensure that the new starboard side (keel box, seat, locker, bulkheads) matched the port side closely. Once you’ve accepted that it all has to come out, it’s comparatively easy to get stuck in with hammers, crowbars and chisels. It was surprisingly straightforward and getting the area back to sound timber didn’t take long. Replacing it all took a long time though!
Removal
First job was to remove (hot air gun and scraper) and last vestiges of paint. Ribs had to be cut back to sound wood and laminated repairs glued in place, but before this, repairs to the hull veneers had to be carried out.
Main bulkhead
Next up was the replacement for’d and aft bulkheads. Shaping the for’d bulkhead was especially tricky, but fortunately it’s not in one piece, but joined down the centreline. Fairey Marine had built the bulkhead in four pieces – two each side; I reckoned I could do it in two. I ought to have realised they made it out of four pieces for a reason! I used a cardboard template to get the shape correct before transferring the template to the sheet of 12 mm thick plywood. It was large and only had one straight line in it. As I wanted the finished cockpit to be varnished (as per the original) I glued the bulkhead into position to avoid any screw holes. By comparison, the aft bulkhead was easy.
Starboard keelbox and sideseat
Once the bulkheads were in place, I completed the two sides of the keel box, the inboard (load bearing) side made from 25 mm thick plywood and the outboard side/cockpit seat from 19 mm plywood. With the two posts in place, the structure was beginning to take shape.
I had already decided to incorporate a cockpit locker for all those things that usually end up in the aft cabin, such as mooring ropes and fenders, but constructing the coamings and lid (sloping so that water is shed down into the top of the keel box) was very time consuming.
The cockpit seat – about six feet long and two feet wide – was cut in a single piece and glued in place with a slight bias, both fore and aft as well as athwartships, in the hope that water doesn’t accumulate in the outboard corners.
Port side
Work on the port side – a mirror image of the starboard side – was rather easier, with fewer repairs to be carried out. Still the same challenges though.
The finished work looks fine – maybe not exactly as Faireys originally built it, but not far off. And it’s nice to see the varnished finish.
-
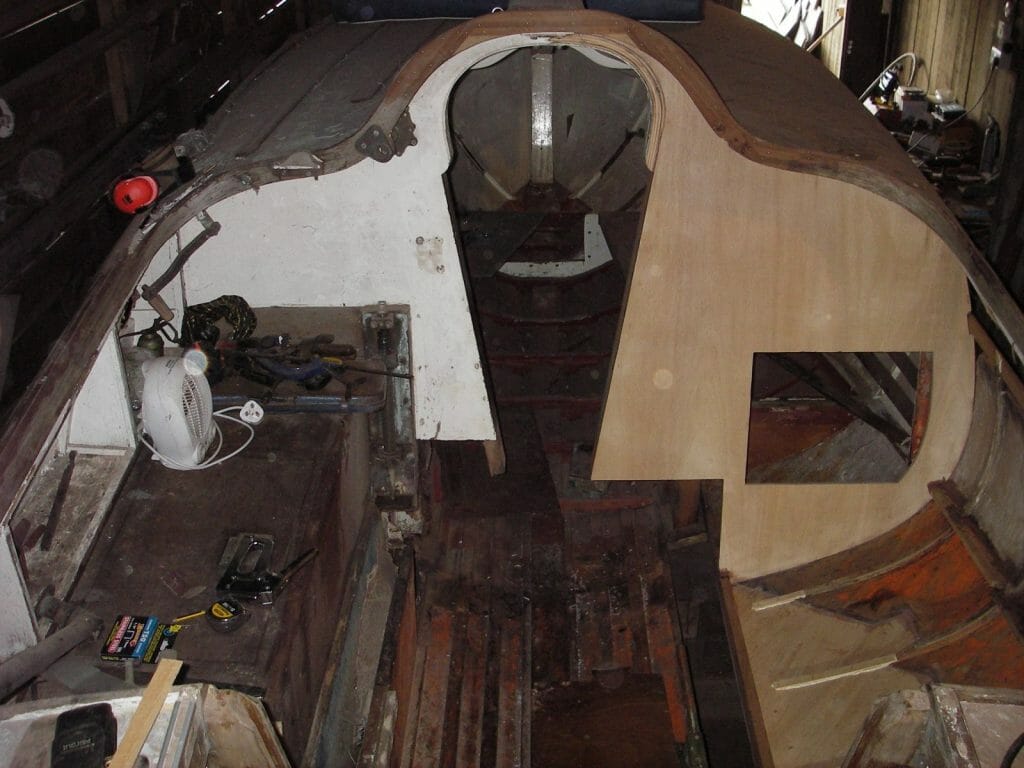
 A1 8.0 Initial investigation – the parlous state of the starboard cockpit seat/locker

-
A1 8.8 Bottom of port side cockpit locker showing the veneer repiars to the inner layer only

-
A1 8.2 Port cockpit seat/locker in the process of being removed

-
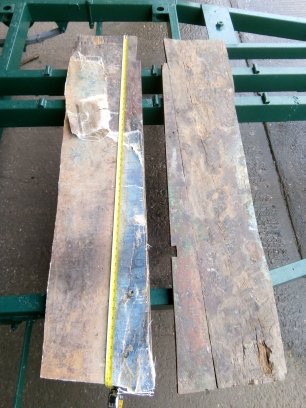
 A1 8.3 Cockpit area – the two old boards between the keel boxes and the engine space – showing the rot and bits of the glass fibre matting which had been leyered up on top of mud!
-
 A1 8.5 Starboard side of the main transverse bulkhead in place
-
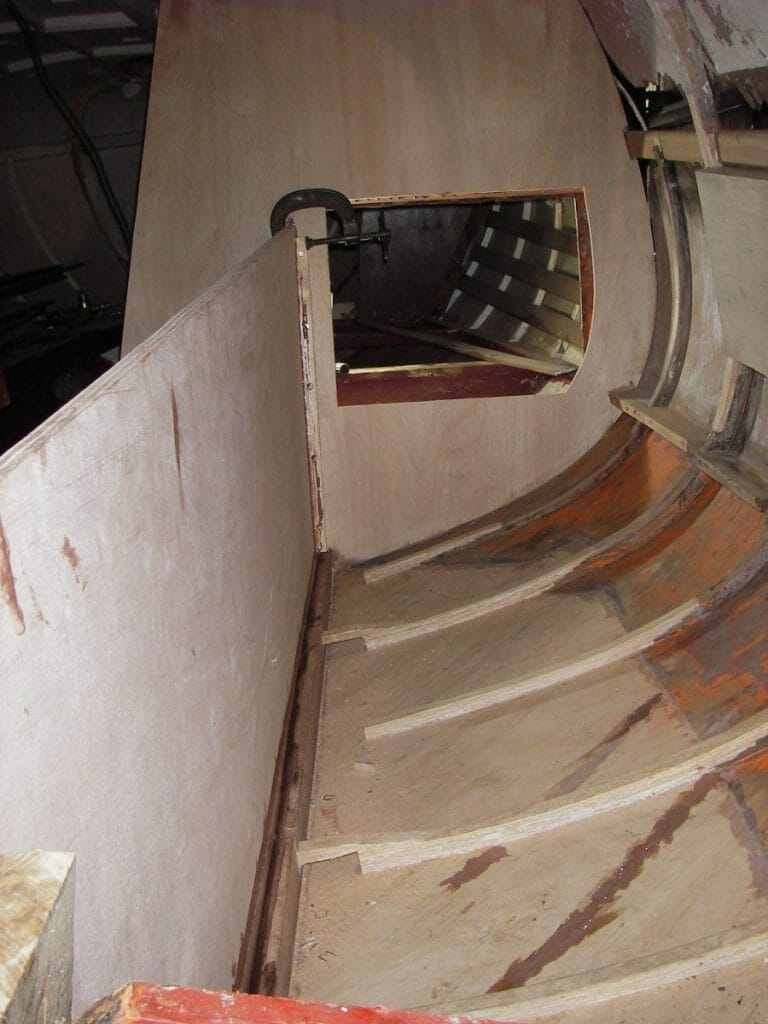
A1 8.6 Starboard cockpit locker – longitudinal bulkhead between cockpit locker and keel box in place
-
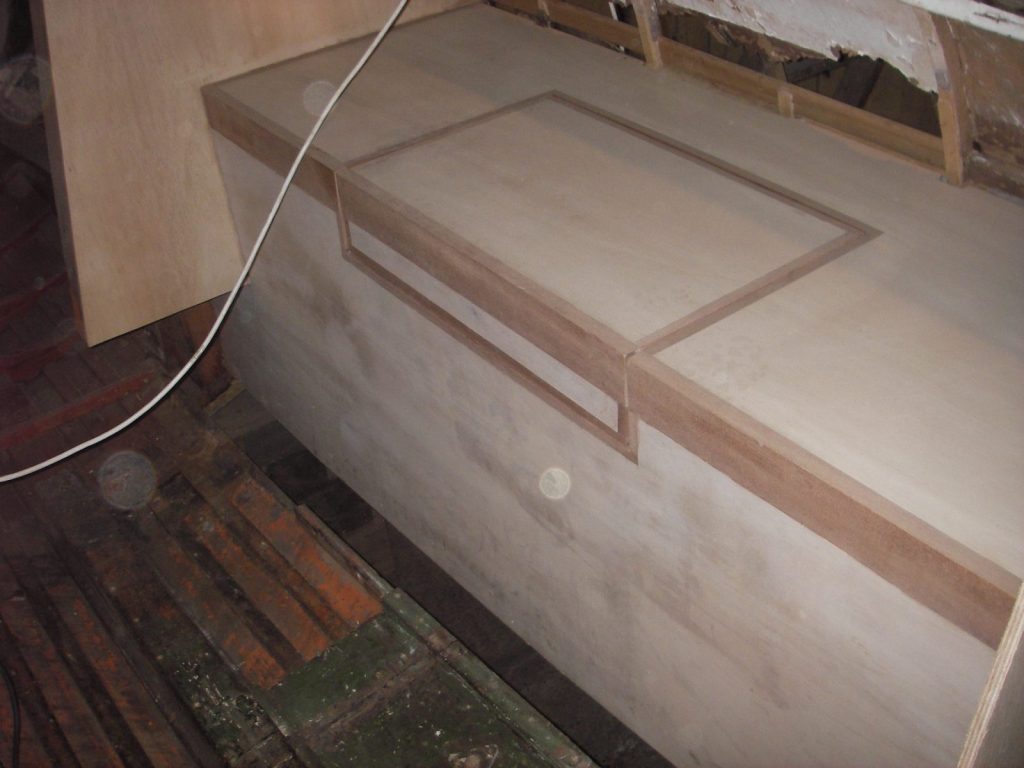
A1 8.7 Cockpit seat/locker starboard side – just about finished
-
A1 8.9 Port side cockpit (note ‘hollow’ main transverse bulkhead) before the new main bulkhead panel offered up

-
A1 8.10 Port side cockpit locker coaming pieces glued and clamped in place

-
A1 8.11 Cockpit port side seat/locker largely complete, but before the longitudinal bulkhead between the keel box and engine space in place

-
8.12 Cockpit area just about finished on each side, but engine space still to be fitted out

-
A1 8.13 Cockpit area looking forward, showing temporary engine cover box and side panels

-
A1 8.4 Cockpit Keelbox and Bulkhead rebuild 04