This is a post in the continuing story documenting the restoration of A1 Atalanta. See the overview and other posts by clicking on the staple-gun![]()
The previous post ended with A1 being towed across to the AOA60 events at Levington in August 2018. Little did I appreciate that it would be a full twelve months before A1 was completed in time for launching. During most of that intervening twelve months, I was very fortunate in being offered space in Peter Keightley’s (A105 “Taka Maru”) workshop/boat shed. There was much to do, internally, externally, and of course, making sure that the boat had all the correct gear and equipment on board.
Deck veneer for strength and appearance
Externally, the major project was the fitting of a further layer of veneer to the entire deck area. The reasons were essentially two fold; firstly the result was to be varnished (as per the original) and the original deck was in pretty poor condition (fibre glass, damage, rot, patches where various fittings had been attached over the years), and secondly the deck was spongy and springy. There was a lot of veneering to do, though none of it too demanding except the reverse curve area between the deck and the blister. Restricted headroom in Peter’s workshop also made the job more difficult.
Cutting and fitting the anti-slip battens was very straightforward. The new toe rails were more of a challenge. The original ones were rotten and long gone. All I had were the positions of the clearance ‘buttons’ which lift the actual toe rail above the surrounding deck. Originally I considered forming the toe rails of three or four strips of sapele (each about 12 mm x 12 mm), glued to each other after they had been bent to the shape dictated by the position of the buttons. I wasn’t sure of whether the battens would bend to the more extreme shape and certainly I had no experience of steaming the timber, so I decided to abandon this idea. In the end, I cut templates from cheap thin plywood until I got the right profiles and then cut the toe rails from boards with surprisingly little waste. Toe rails were made up of five lengths each side, scarfed together above the buttons. The waste wood was turned into plugs for the screw holes. I think it looks fine. One modification I did make was to increase the clearance between the underside of the toe rails and the deck by increasing the depth of the buttons. Firstly to make it easier to use the toe rail as an attachment point for fenders and the like, and secondly to provide a better foot hold – as there are no guard rails on A1.
That more-or-less completed the deck area, but the real pleasure was finally attaching the cleats and fairleads at long last.
The other major external job was building the cockpit sole and the engine cover box. I had made a temporary structure from ordinary ply for AOA60. The permanent structure had to be built. It was quite straightforward, though I wanted to make sure that the line of the engine box lid matched the line of the cockpit seats. This meant a slight re-routing of the engine exhaust hose. The only tricky bit was accommodating the lower end of the whipstaff where it passes through the bulkhead into the aft cabin. As it was below the level of the cockpit sole (it was originally built that way), I had to build a sort of sump at the aft end of the cockpit on the centreline below the whipstaff. The sump would fill with water, but at least wouldn’t fill the engine space.
A simple interior
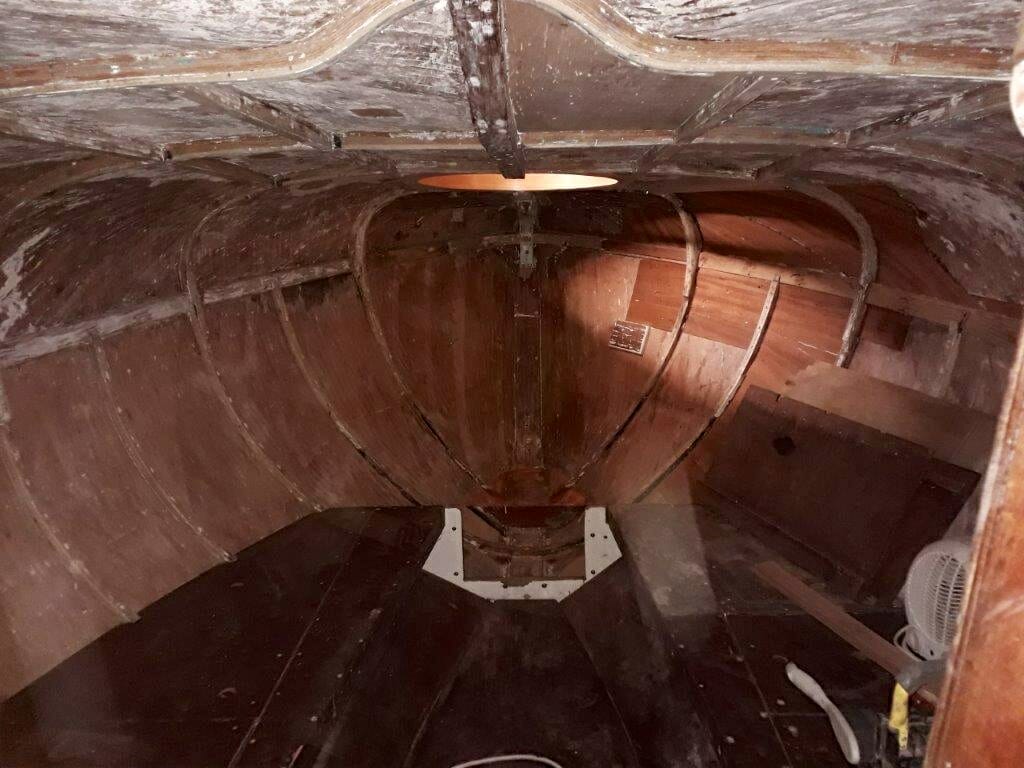
Internally, I had already decided to keep the space as simple as possible. Starting from for’d, the toilet bowl and associated gubbins had been removed and the two through hull holes filled. I constructed a plinth with positioning battens to take the new portable toilet. Immediately for’d of this and right in the eyes of the fore peak, I built a simple chain locker for the anchor cable. At the same time, I built two steps, one either side, in way of the fore hatch. Apart from providing a useful step for getting out of the fore hatch up onto the deck, the steps also provide a very useful platform for the feet, bum up against the hatch coaming, whilst working the immediate fore deck area (fore sail handling and anchor work).
A step was built just inside the fore cabin companion way, to conceal the two batteries and keel support brackets. Two shelves, with curved ends have been fitted (thanks Nick) on the main bulkhead at the aft end of the fore cabin. Four more shelves, all made by Joe Lloyd, have still to be fitted. Three sections of bunk boards had to be renewed. The settee/bunk cushions cleaned up well and have been re-installed. The entire cabin, from the top of the bunks up to the deckhead, was stripped of the remaining peeling and very tired paint back to bare wood. Repairs were effected as necessary and the whole area was coated with three undercoats followed up with three gloss coats.
The aft cabin was simpler. The only building job was to construct a cooker plinth to cover the inboard end of the stern tube and exposed propeller shaft. Whilst it does its job, it’s not ideal and a different approach needs to be considered during the coming months. The cooker is an oil burner (de-natured alcohol when I can get it) and works really well. With the added advantage of doing without a gas system. The aft cabin received the same paintwork treatment as the for’d cabin.
The remaining internal job was to run all the electrical wiring and fittings. Light fittings (thanks Richard) had been cleaned up and I replaced the bulbs with LED’s. Two small switch panels were fitted on the aft bulkhead, as was the battery selector switch. Three wires came through deck glands from the mast, two navigation lights and the VHF aerial. A simple plotter, an echo sounder and a compass were mounted on the cockpit side of the main bulkhead. Everything seems to work!
Ready!
All that remained was to equip the boat and get it to the sea. This stage of the process has already been described elsewhere. Needless to say, it didn’t go entirely to plan, but that’s boats for you!
-
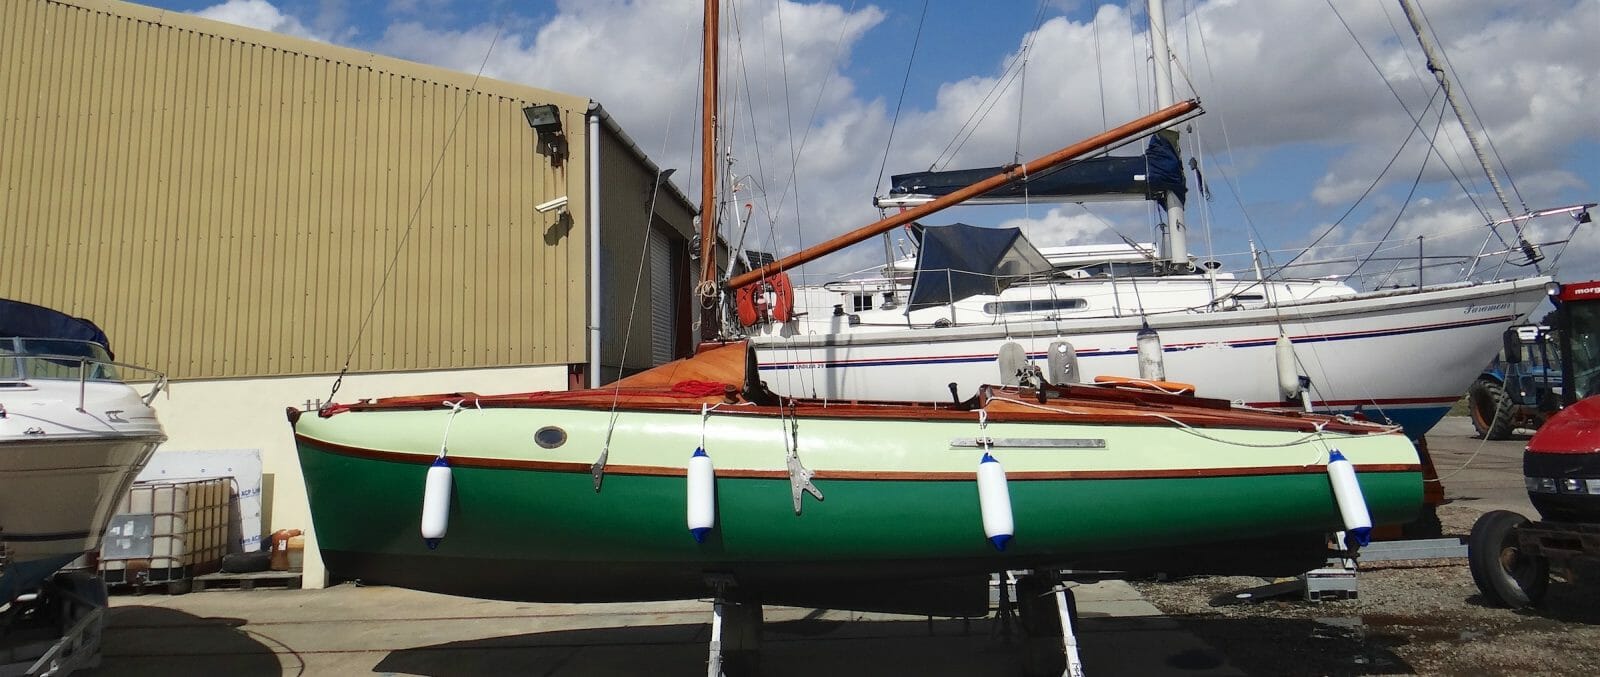
 So like a production Atalanta but so many differences.

-
 A1 A great space, but tight for two!

-
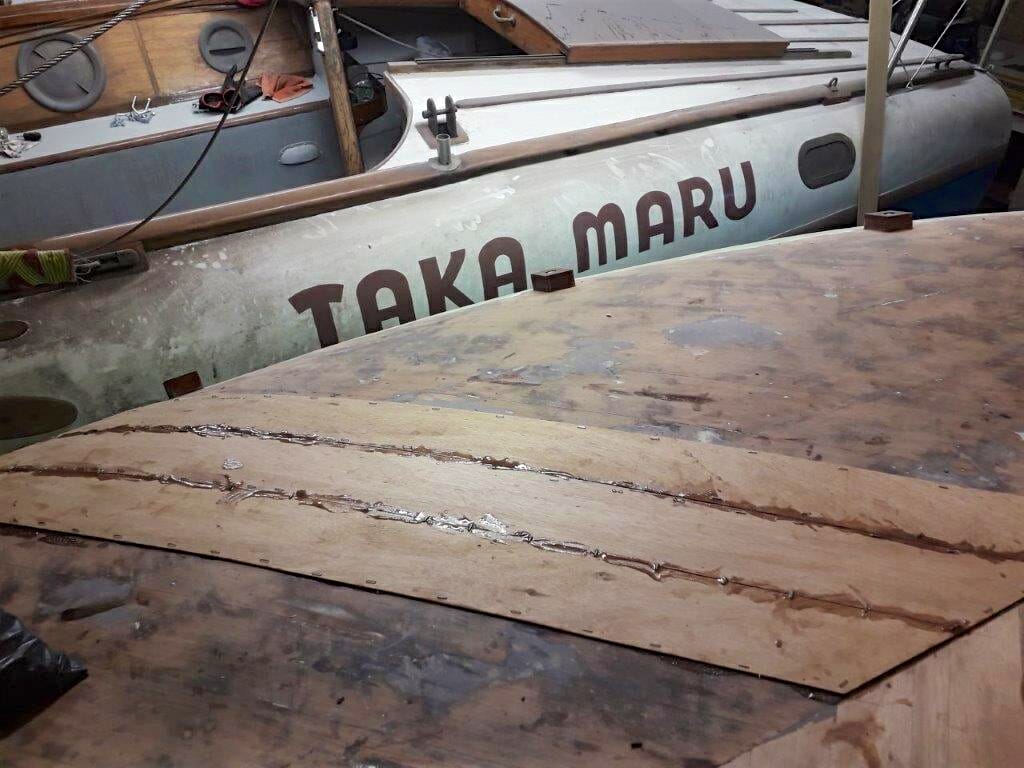
 A1 An additional layer of veneer for strength and appearance.
-
A1 Halfway there!

-
A1 In addition to the additional veneer the fore hatch coaming was beefed up

-
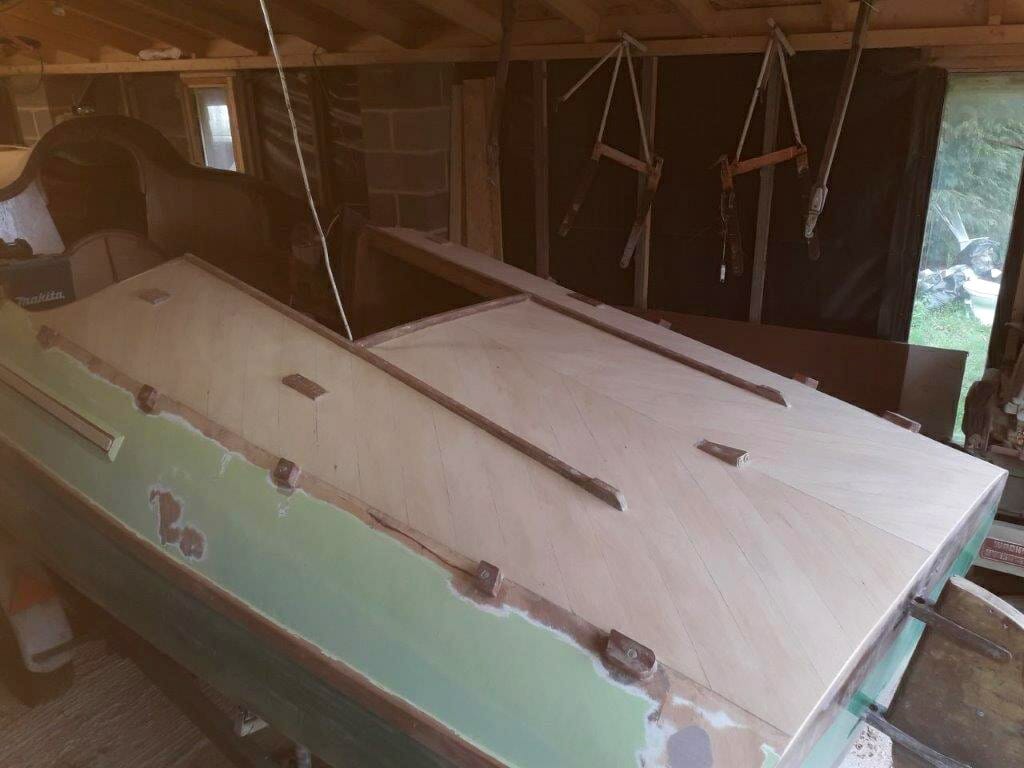
A1 The battens are fitted and have received their first coat of varnish

-
A1 The aft deck also received an additional layer of veneer
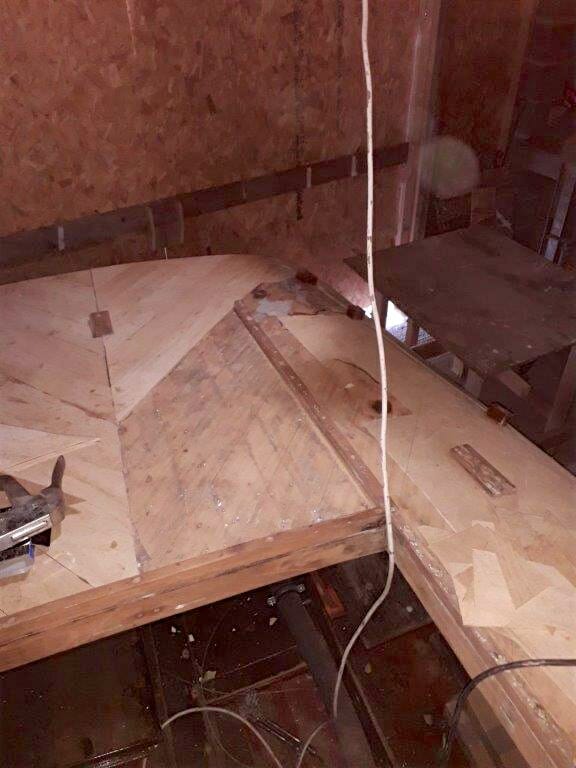
-
A1 The aft deck additional layer complete.
-
A1 Anti slip battens in place prior to clean up and varnish.

-
A1 The cockpit sole and engine cover complete

-
A1 The interior was completely stripped and then rebuilt.
-
A1 Joe Lloyd kindly made some replica Fairey shelves. Richard provided electrical fittings.
