
This is a post in the continuing story documenting the restoration of A1 Atalanta. See the overview and other posts by clicking on the staple-gun![]()
Repairing the hull – veneers, tools and equipment
This post includes a description of the work done on A1’s hull and at the end details of my armoury of tools and approach to veneering.
When I talk about the hull, I mean the lower mouldings, from the keel up to the gunwhale rubbing strake. The rubbing strake covers the join between the hull mouldings and the topside mouldings. (The roll back tumblehome up to where the toe rail is secured).
Cutting away on the starboard side
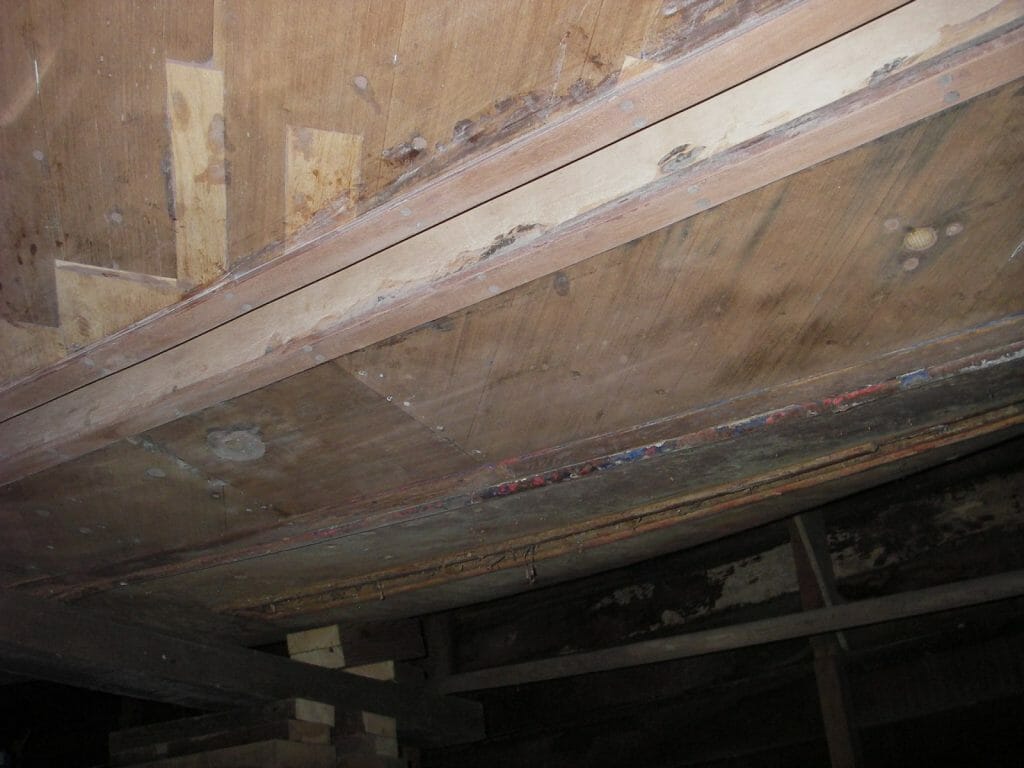
My initial investigations had already revealed that there was an area on the starboard bow of the hull where the veneers were rotten right down to the waterline. It wasn’t until the rubbing strake had been removed on both sides, that the full extent of the problem became apparent. Water had penetrated the veneers behind the rubbing strake and large areas, particularly on the starboard side, had rotted away entirely. Not only that, but long lengths of the internal fore and aft stringer had rotted away as well.
Weapons of choice – stainless staples and epoxy
There’s no easy way out. Damaged and rotten wood had to be cut away and replaced with new. A1’s hull is laid up with just three layers of veneer, each 1/8” thick. Most of the hull veneer repairs were straightforward, but there were some tricky areas where the hull joins the transom and the hull curvature is extreme. In following my principle of keeping as much of the boat original as possible, there were some interesting shapes to cut out before the new veneers could be cut to pattern and glued in place. Epoxy was used in all the hull repairs. Stainless steel staples were used to hold the new veneers in place until the glue had set. Stainless steel staples, just in case one gets left behind and corrodes. Once the glue sets, staples are removed. The workmen at Faireys apparently used just three staples in each strip of veneer. I used rather more – I have a few left out of 6000 bought, all of which had to be painstakingly removed.
Good news and better news
There was some good news though, as the port side of the hull was far less of a problem. Yes, some water had found its way down behind the rubbing strake, but with a few smaller exceptions, the old veneers (in most cases, just the outer layer) could be stripped back and the hole filled with epoxy.
But the really good news was that hardly any of the underwater veneers had to be replaced. The exception was a small area in way of the bottom of the starboard cockpit locker where fresh water had accumulated inside the locker. Fortunately the bottom of the port cockpit locker was sound. In total I only had to replace about one square foot of veneer below the waterline.
Removing the paint and even more good news
As part of the overall process I burned off all the old paint using a hot air gun. I was delighted to find that the men at Faireys had scribed a waterline into the outer veneer. One less thing to worry about and it meant I could make slight adjustment to the chocking arrangements to ensure the boat was dead level.
A comment of the use of hot air guns; it has been suggested that the heat could degrade the original glues such that the bond breaks down completely. I haven’t found this at all, but I have got in the habit of using just sufficient heat to soften the paint and having the scraper really sharp. I think that the only alternative to using hot air guns is to apply copious quantities of paint remover, which I’m sure works well, but has the disadvantage that the paint remover has to be neutralised before fresh paint coatings can be applied.
Veneering tools and equipment
I had carried out some very minor veneering repairs before on the two “Gellies” (T4 and A31/4) but never on this scale before. What follows, is a list of what I ended up with; it may not suit everyone, but in the absence of anything else………and in no particular order,
| Tape measure and pencil (almost without saying) | |
| Staple gun and stainless steel staples – the latter no longer than 10mm. Buy staples that are guaranteed to fit the gun – may sound obvious but I got some cheaper ones over the internet and had no end of problems with the staple gun sticking. I went back to Screwfix. | |
| Spirit level (or similar). No, you don’t need to see if the work site is level (!), but you do need a long straight edge – and see below | |
| Very sharp (Stanley) knife and lots of blades. You’ll be doing a lot of cutting of veneers – don’t skimp on having really sharp blades | |
| Two shorter straight edges – one about 18” long, rigid and heavy duty, the other a foot long, thin and flexible | |
| Medium sized flat blade screwdriver and ‘mole’ grips – both used to extract the staples. Nine times out of ten, the staples can be gripped by the ‘mole’ grips and gently levered from the veneer. If the staple has become embedded in the veneer, you will have to lever the staple out using the screwdriver first. I did briefly use narrow strips of plastic (cut from milk containers) beneath each staple to aid removal. But the sheer number of staples used, and the minimal damage to the veneer using mechanical staple extraction, saw me abandon plastic strips very early on in proceedings. | |
| Japanese pull saw. You will have your own preferences. I found the jigsaw too vicious for cutting the strips of veneer. Although I had never used a Japanese pull saw before this, I found it to be excellent in cutting the strips of veneers – about three to five minutes to cut an eight foot long strip and hardly any wastage due to swarf from a wide cut (the pull saw blade is only 0.5 mm thick | |
| Which leaves the actual Agba veneer. I got mine mail order from Robbins Timber in Bristol. It is supplied in 8 foot by 4 foot sheets. Sheets this size will bend and split very easily. I started out by cutting strips the same width as the originals – about 6” wide. Whilst this width is fine on relatively flat surfaces, narrower strips are far easier to handle once the curvature increases. I ended up with a width of 66 mm – which is, coincidently, the same width as my spirit level |
-
 A1 4.1 Hull starboard side for’d – first veneer in place

-
A1 4.2 Hull starboard side for’d – repaired veneers faired off

-
A1 4.3 Hull port quarter – second layer of veneer in place

-
A1 4.4 Hull port side – preparation for veneer repair iwo main shroud plate

-
A1 4.5 Hull painting – three coats of undercoat

-
A1 4.6 Hull painting three coats of gloss

-
A1 4.7 Bottom of hull starboard side iwo keel box showing the small areas where damage had gone right through and also the covering battens along the keel boxes
-
A1 4.8 Veneering tools and equipment

Yep, really interesting and good to see larger scale repairs are possible.
I have an A Souter pram dinghy which is double diagonal sandwiching a canvas interlayer (nothing new there). The glue has broken down, I am guessing it is at the end of its design life, and caused the edges of the strips to lift and generally delaminate. It is really a complete rebuild job (one I won’t be attempting) but it is an interesting comparison with the advantages of the Fairey construction where repairs are possible as the structure doesn’t deconstruct/delaminate itself as you take the layers off. I wonder what the design life is of the formaldehyde – hopefully a lot longer than the boiled rabbit skins they probably used on the pram!
Anyway, great work Mike!
Thanks for the tools list Mike. It has got me started.