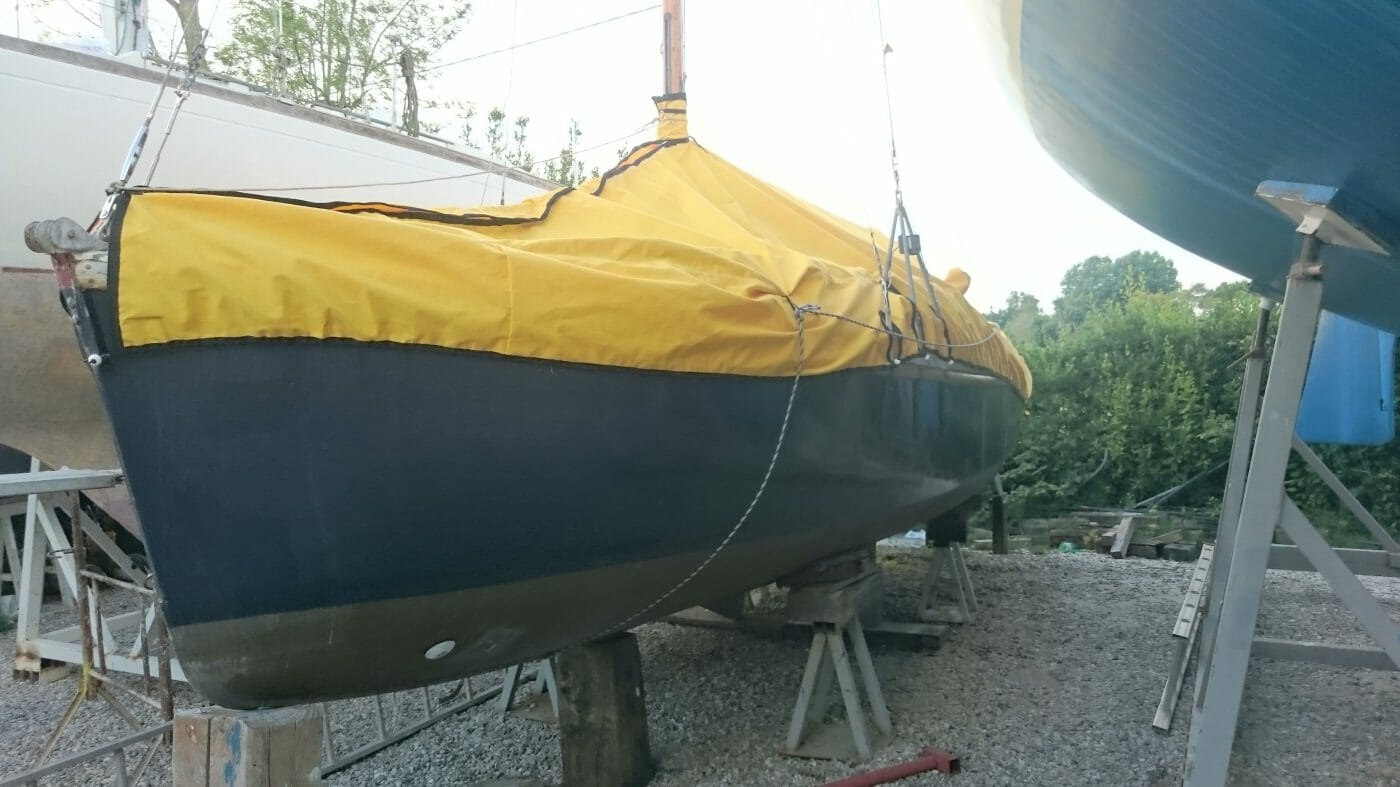
In my previous blog I spoke of bringing Mary home because the maintenance backlog was exceeding holiday expectations. Well that kind of thing. So now Mary is in Suffolk Yacht Harbour under her lovely cover with the expectation that I address the backlog, so lets crack on…
The bubble is fine due to my efforts in Bosa..
 I must admit it is nice to be able to take a day off because it promised to be sunny and spend it in said sun. The first job is to seal the rubbing strakes, they are already suffering and the remaining varnish (or whatever it was) actually holds water against the strake.
So I used a heat gun to get rid of the bulk of it, carefully using a sheilding tip that would keep the heat off the hull. Then used stripper to take off the rest. Then I sanded it, hopefully lightly.
 Now I had fanciful ideas of using Awlwood MA here as it is the most exposed, and not completely covered by the cover. However the weather was coming in and I cannot stick to the timescales required by the high tech product. So I ended up with epifanes varnish.
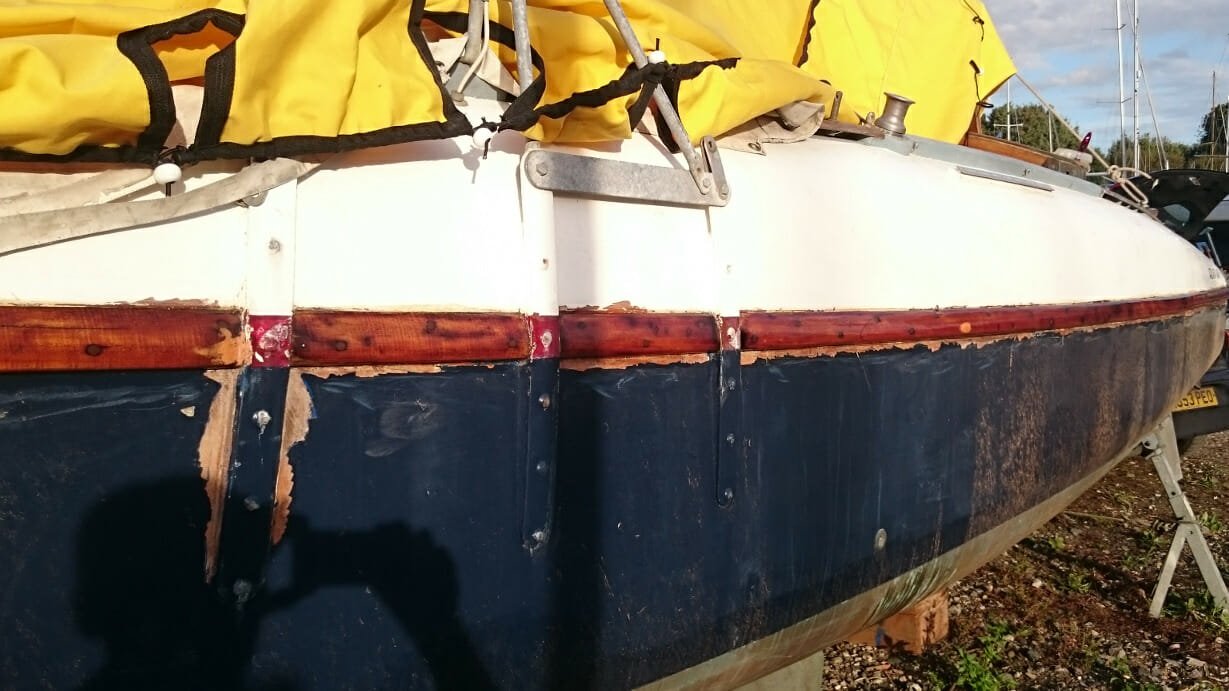
It needs a few more coats but I am happy the wood is sealed now. Just need to do the other side… Notice the use of the wrong colour filler, oops. Also, I think, because the lower hull (blue) had been ‘west systemed’ the paint came away alot easier than the white. Some of this particularly around the chain plate was bubbling so I am glad to back that back to solid paint, but luckly no rot.
 I have also fitted a victron BMV 700 battery monitor as I had lots of problems with batteries and am not sure what the contribution of the solar panel was also I now have a fridge to run. I chose this because of its unobtrusive compact size. I like this job because it is pure messing about more than hard graft and the terminating cables with eyes and laying them out neatly puts the world to rights in its own way.
Lets hope the weather holds out long enough.
The rubbing strake is a little dull because I sanded this back ready for another coat.
Still lots to do but it does look like we will ‘go to the ball’ 😉
Looking good Alistair. I like the new colours. Will you fitting torpedos?
I managed to take advantage of a break in the weather and primed. Now a light sand and the top coat.
I went out on friday night and hopefully got to the end of the sanding of the hull. I took the cover off and the top sides have not got any better for ignorance. I really hope next weekend is better for the weather, I need to prime and topcoat before I can put her in the water. Then there is the long task of getting her ready for the regatta.
I have sourced a yoke stop at https://www.classicmarine.co.uk/ on the marina (the shop is accessable from the SYH site bit not obvious). Anyway they are not exactly the same more like the spinnaker attachement with the eye at 90 degrees, in line with the body of the clamp. (spinnaker pole slide page 23 of the catalogue.
If anybody has a spare original it may be an improvement.
Bring on the warm weather, let it rain during the week. 😉
I have also started putting the fittings back on the mast which is looking good…
Ok the other thing I have been doing and it is hard work is skimming the hull. I sanded back the paint taking all of the flakey bits out. I then skim with the aim of covering the undulatiuons due to the planking…
I will also have to learn how to work a bit faster, this will probably come with confidence. I apply small areas at the moment. It has taken 3 days to get this far. Maybe 3-4 hours a day. But doing bigger areas in a single day will make a huge impact on the timing.
Actually it isn’t bad. The only thing I don’t like is areas where there looks like tiny air bubbles. I am out there tomorrow I will take a picture. It needs 8 coats and if left for more than 24 hours a good sanding. I hand sanded and it sands ok. I am at the third coat. As I am doing the strake at the same time in epifanes it will be interesting to see the comparison.
Good to see the mast coming together. Be very interested to see how the Awlwood MA lasts. Is it difficult to apply?
This weekend I stripped the mast back.. it was crazing and mold was growing underneath it in others, where it was thin. But not too bad really.
We lost Mojo (the dog who travelled with me) last year but our new dog is well behaved and SYH is a great place for a dog to hang out.