- This topic has 1 reply, 2 voices, and was last updated 12 years, 3 months ago by .
- Topic
Copy of a Bulletin article from 2008/9:
The original glazing was in Perspex. This has the advantage of being totally clear and more readily bent but which crazes under the effect of sunlight after some years – normally quite a few! It also can shatter under impact. The alternative is polycarbonate (under various tradenames) which is more difficult to bend and has a bluey or yellowy tint but does not craze or shatter – used for riot shields, bullet-proof glazing etc. Polycarbonate is more expensive.
We replaced Calista’s windows some 6 or 7 years ago with a non UV resistant polycarbonate and it is now beginning to craze. I recommend that anyone replacing windows makes sure that they are supplied with UV resistant material – there is a lot of work in replacing the windows – so you won’t want to do it again if you can help it. Also remember to buy enough so that you have a couple of spare window blanks – you will mess up the first couple that you try to bend! It is worth having the outer frames re-chromium plated while you are doing this. I also replaced all the screws (should be chromium plated brass – but I used stainless because they were all I could find in the correct size – with no obvious corrosion problems after 6 years) – and re-tapped the holes in the inner frames to a slightly larger metric size. I have had some window leaks at various times and recommend using the self adhesive foam rubber tape sold in chandleries to bed the windows down. It can cope with changes in temperature and humidity much better than mastic. I couldn’t get it the right width so used two strips side by side.
The original glazing was formed over the “plugs” cut out to form the ports (hence was bent to exact curvature and was easy to cut to exact size) by heating in an oven on top of the plug and was then removed after the appropriate time and covered with cheesecloth which was then pulled down to bend the sheet to shape and left to cool.
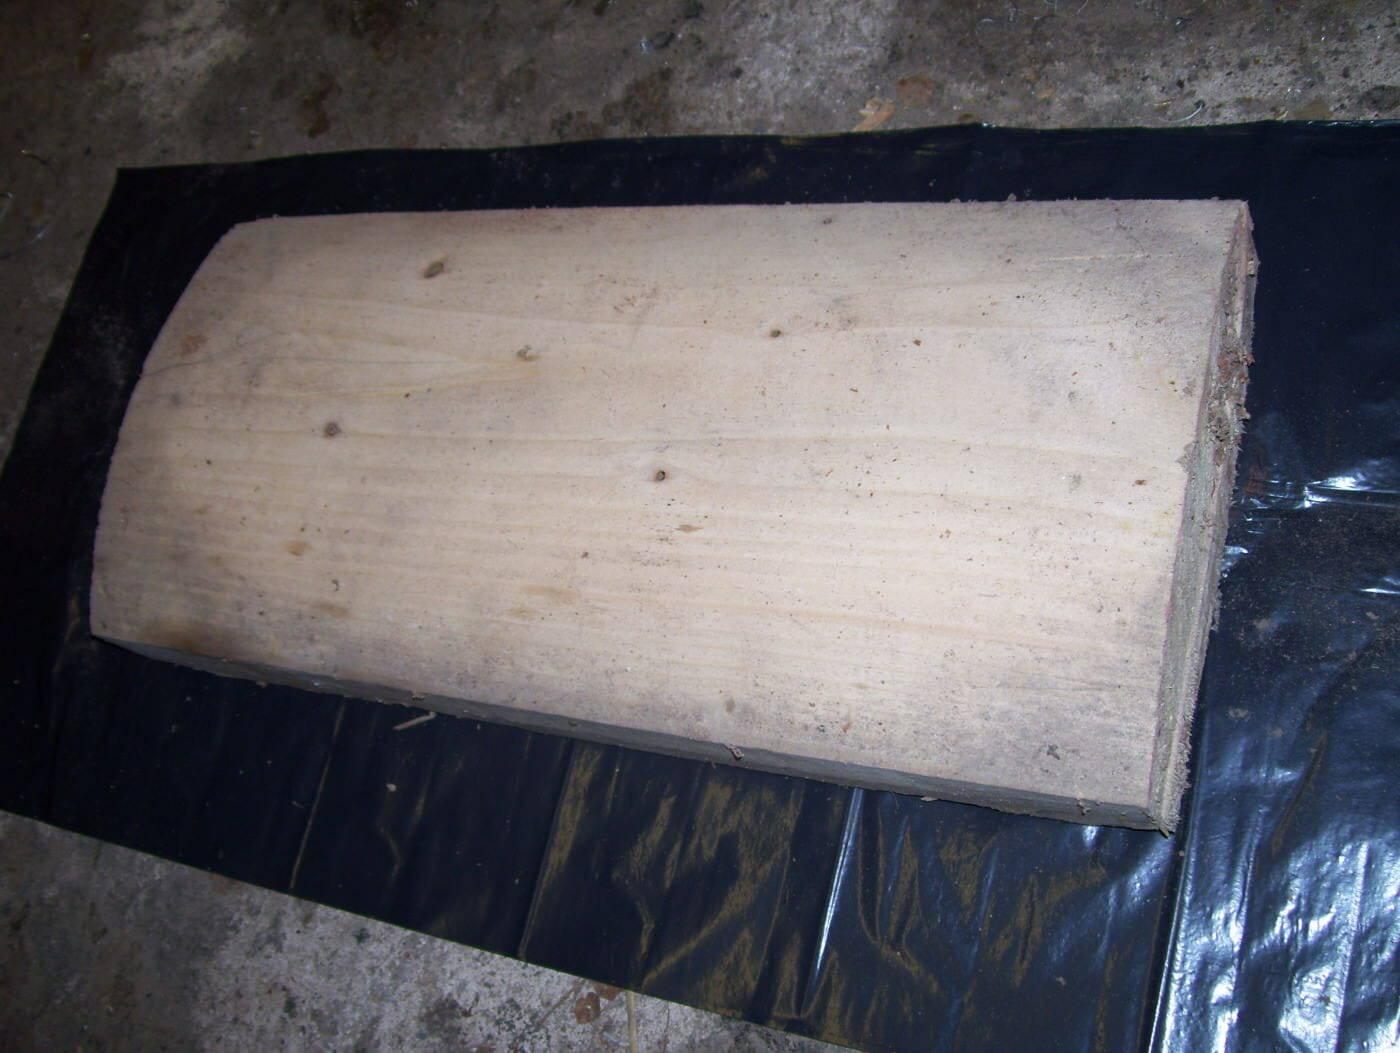
I made a wooden pattern to follow the curve of the cabin and sandwiched the softened plastic between the wood and the old window while it cooled.
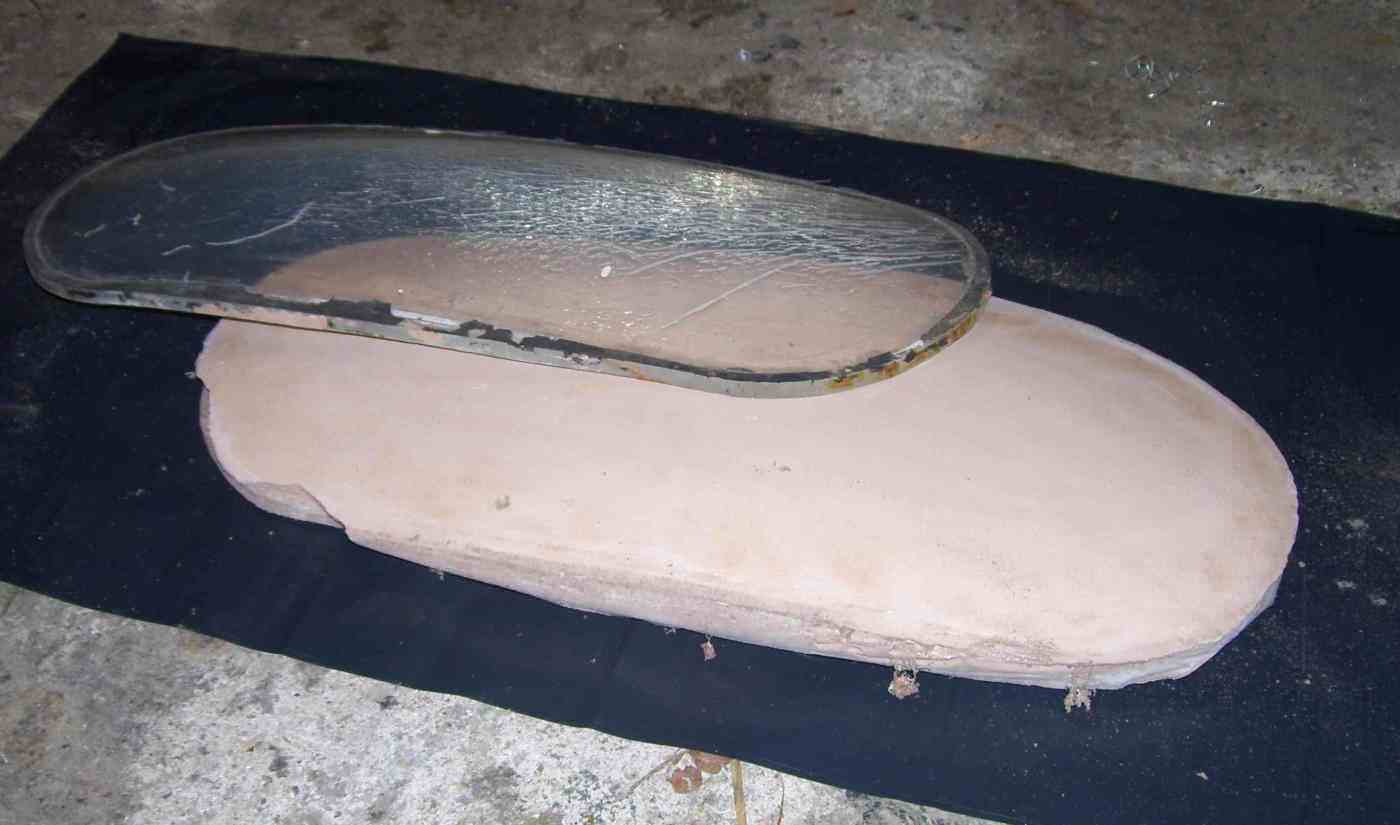
You have to be quick – it cools and stiffens very quickly when removed from the oven. Some of the windows have curves in two dimensions and I made a mould for them by pouring plaster inside the old (well greased) window. When the plaster had set I prized it off the window.
The new window was again formed between the mould and the old window.
Cooking details – Mixed units I know – but that is how I was given them!
Perspex ideal moulding temperature 145degC, practical 160degC, cooking time 2sec/thou i.e. 400sec/6 1/2 – 7 min for 5mm.
Polycarbonate ideal moulding temperature 180degC, cooking time 2sec/thou i.e. 316 secs. 5 – 5 1/2 mins for 4mm.
You have to be very careful in heating up the plastic – leave it in the oven slightly too long and it bubbles up and ruins the blank. It is easier to place the blank on something flat – the wire oven shelves will leave marks in the final window. If it is a bit smaller than the blank then you will see when the plastic starts to “flop” and can take it out at that point (as long as there is a window in the oven door so you can see what is happening inside). Cut the bent blank to size after it has cooled.
- You must be logged in to reply to this topic.


