- This topic has 8 replies, 4 voices, and was last updated 6 years, 1 month ago by
 .
.
- Topic
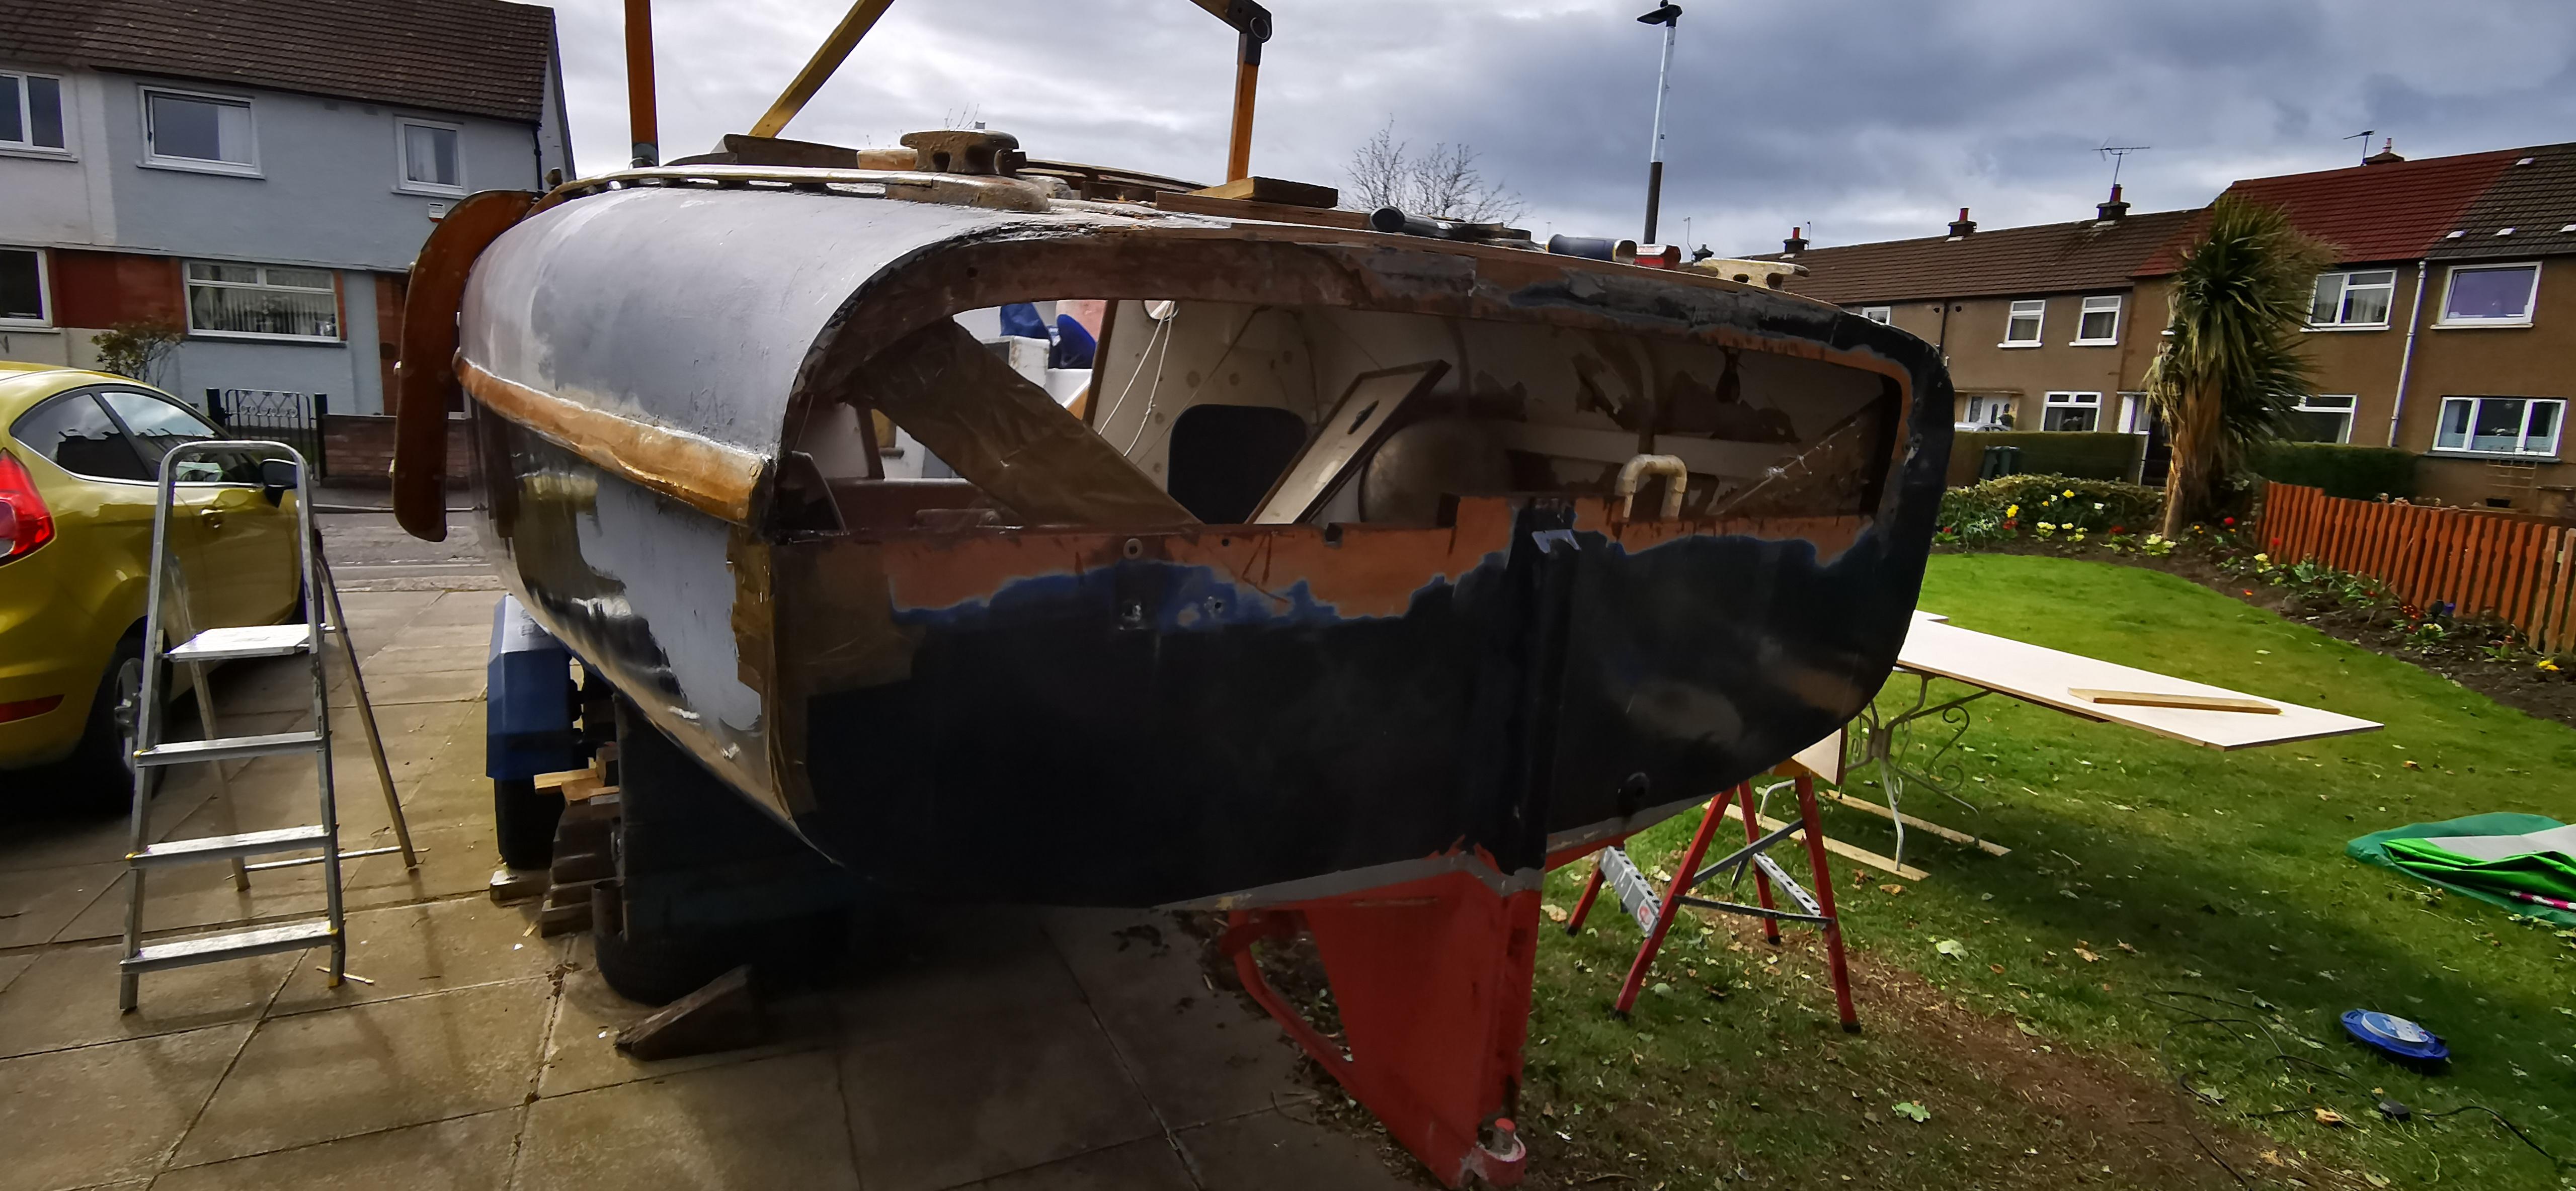
Hello guys, been a while but using the warm weather I have been at work doing what I can. she started as loose tape on the deck and a little hole in the transom as i bought her but has evolved to.
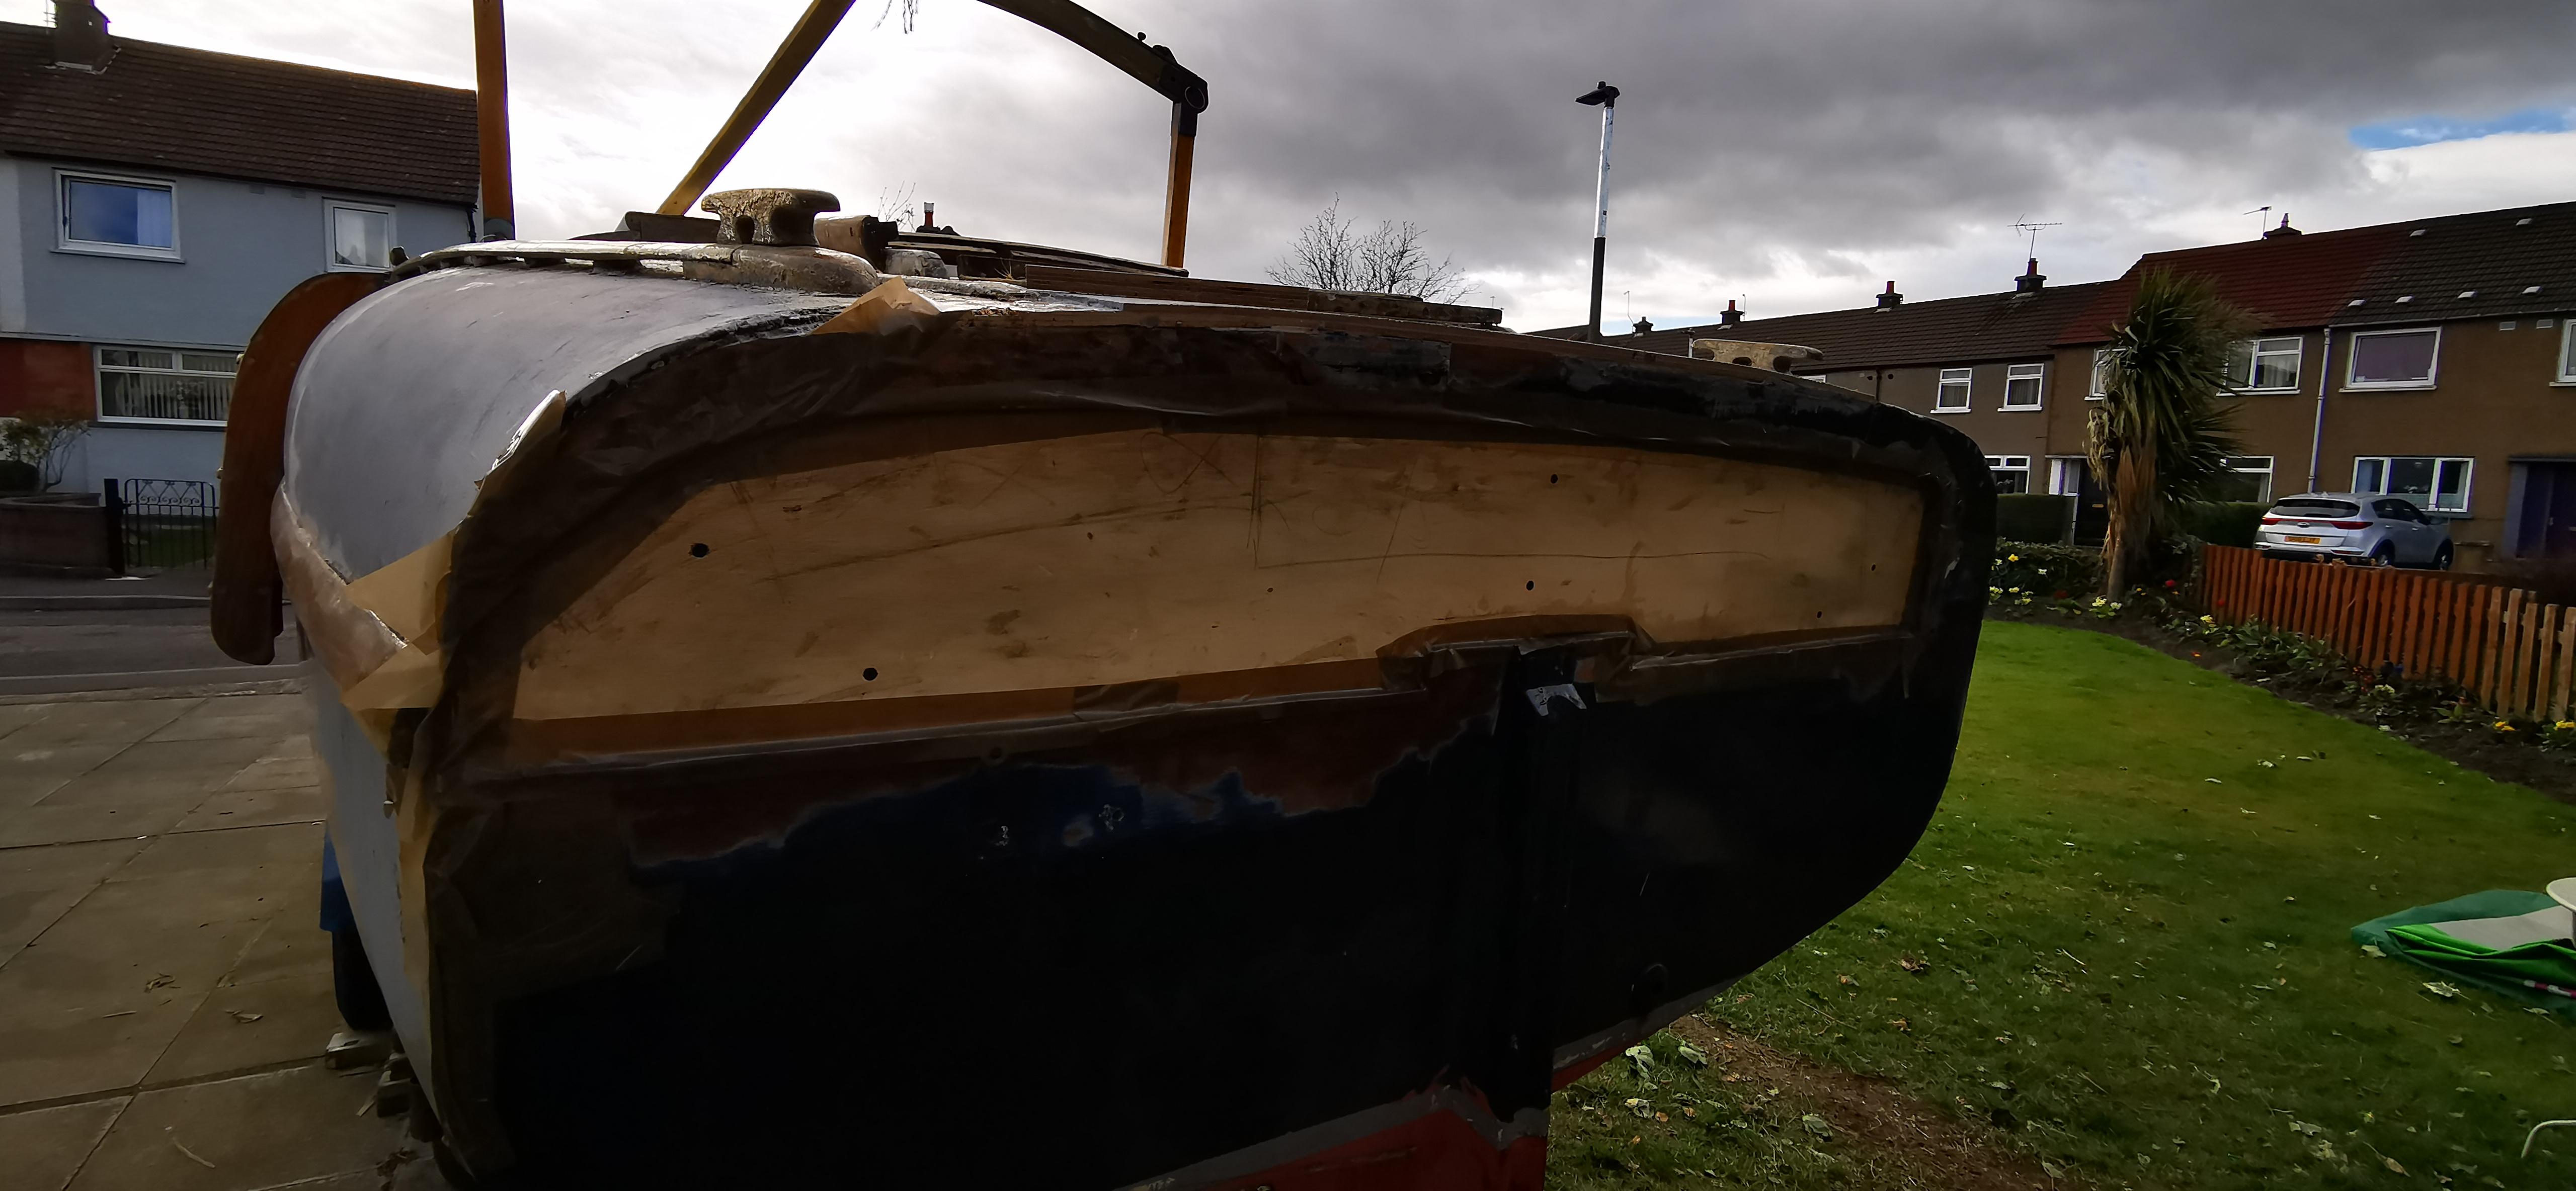
- 70% of the Transom had to be rebuilt. She is solid but needs finishing
- Roof in the back was rotten through, along with the main support, this was replaced but not shaped or trimmed so its about double the old ones thickness
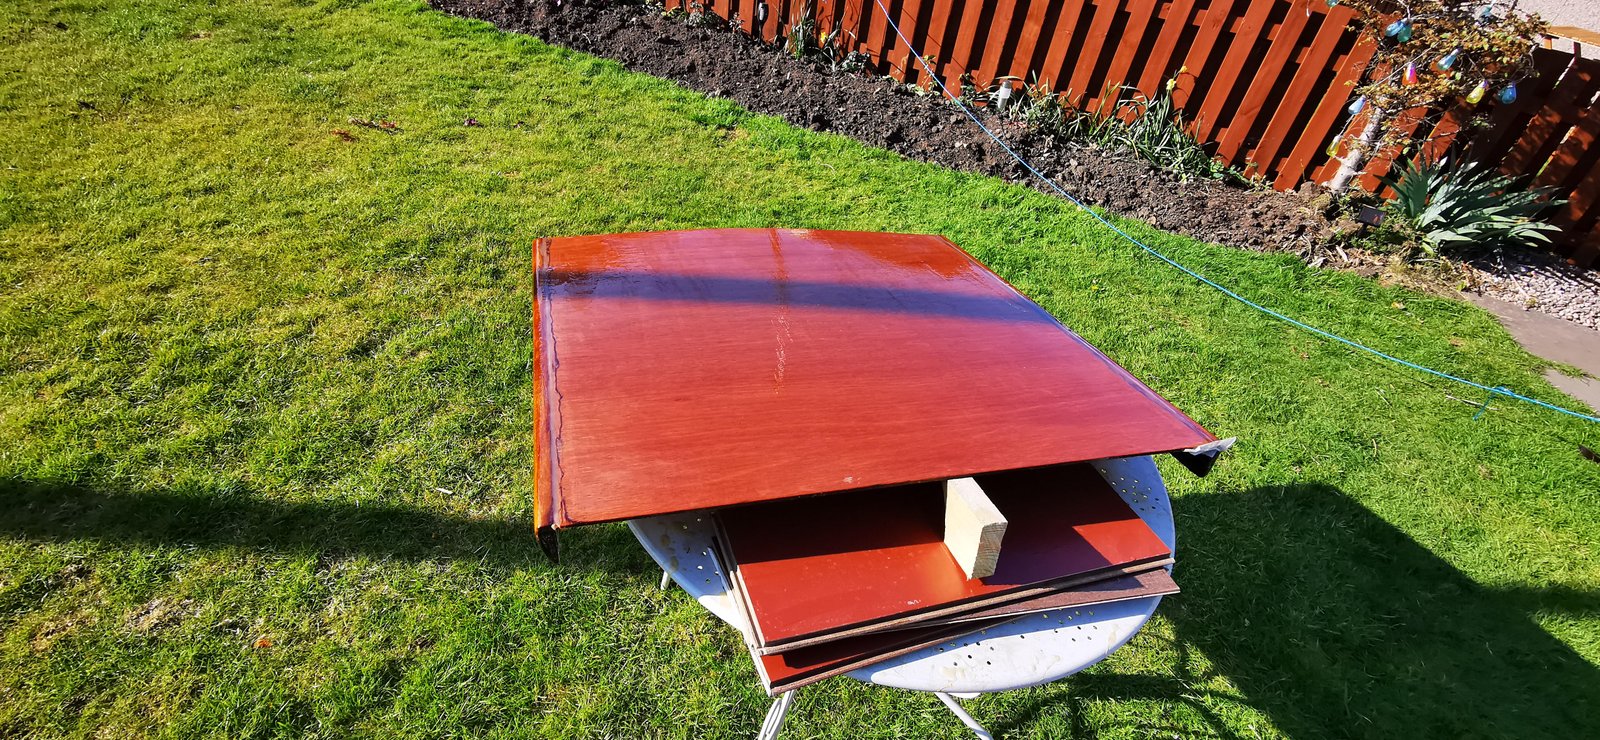
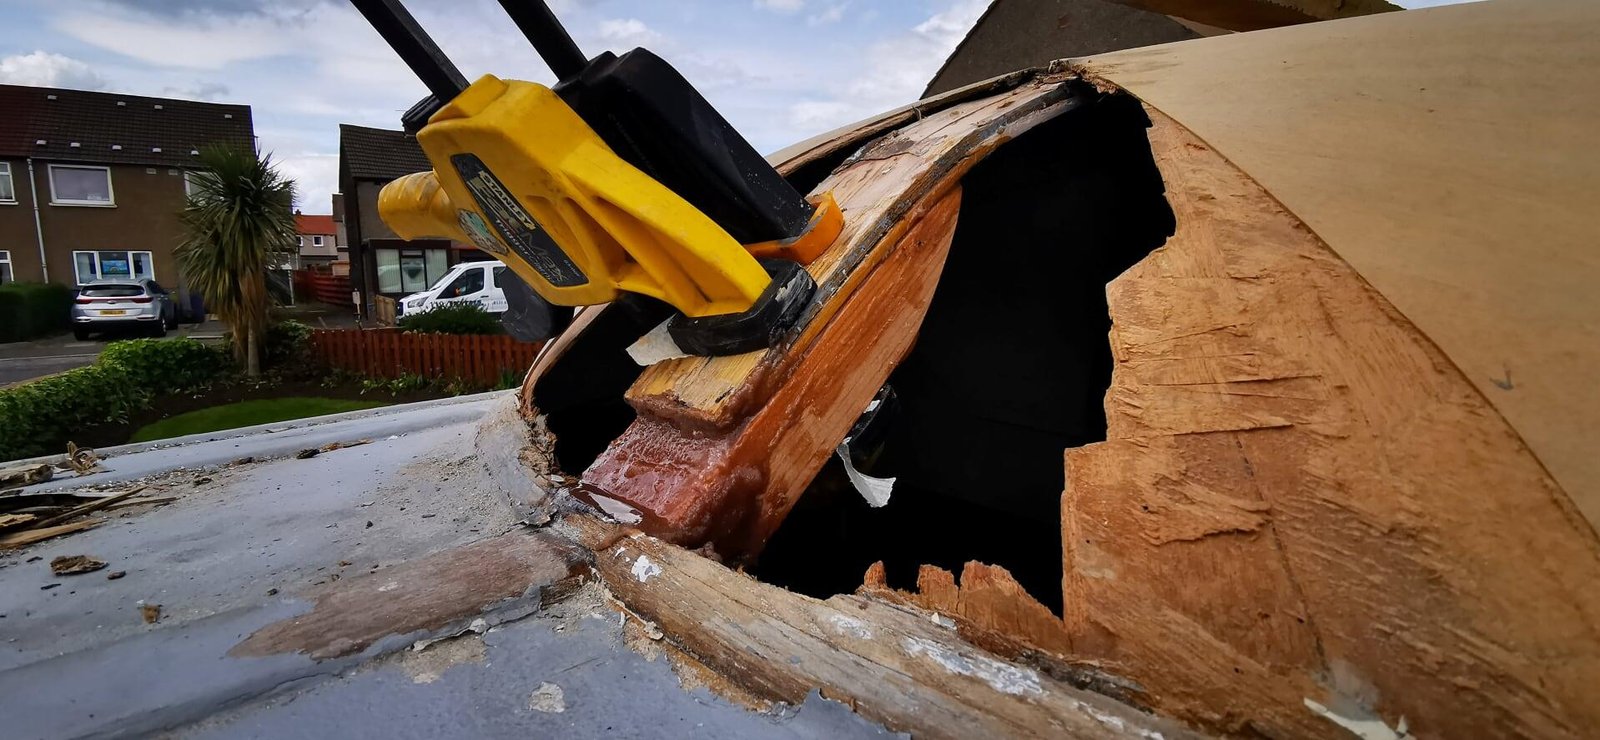
- Every hatch was rotten through. Rear hatch rebuilt but needs sanded and finished, Same with the front
- The entire deck was pretty much acting as a water tank between the veneers
- many holes in the hull. Mostly done filling and fixing
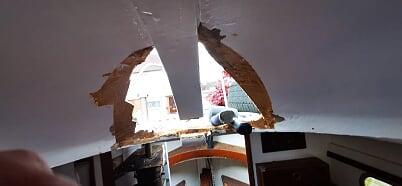
- Rot in the bubble, in the works, decided to take it back to wood and epoxy coat her
- Trailer is a mess with broken brakes and a bit of rot but we will patch and launch her then redo that
- The dolphin engine is turning smooth as silk after a lot of fear and a few weeks of 2 stroke oil and rocking with a big stick and a socket.
Its all a bit rough and ready right now and needs a lot of touch ups but she will hopefully sail this year. Below are some of my battles. Sure I made some mistakes but nothing that can not be restored later if someone had the funds. i plan to use her a lot so I am trying to make the repairs solid. The hatches will be adjusted colour wise when I varnish the epoxy with some mineral stains. hope you find it interesting

Stern
First 15 mm, she got 2 laminated with epoxy
Roof is ply because it is painted and the veneer I got was trash
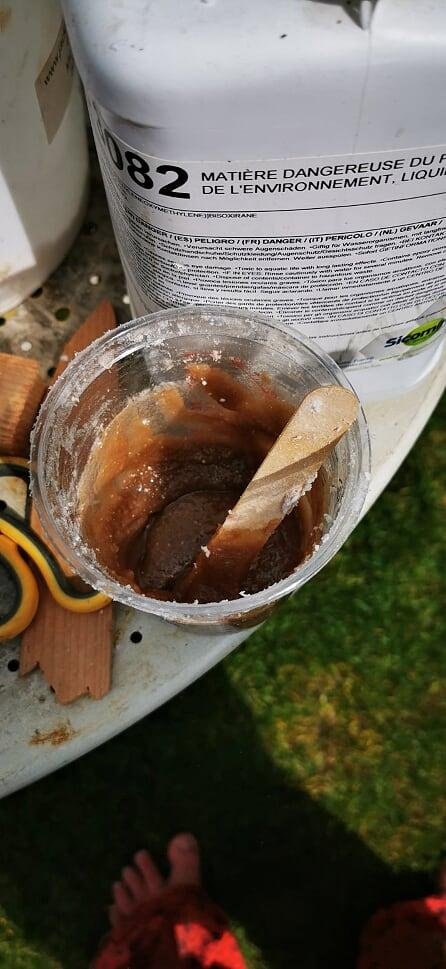
 Matchsticks and splinters aka the rear hatchRemade, i then ground out old filler and used epoxy and wood flour to fill the gaps then epoxied the hatch to be varnishedFront hatch got fiberglass so I will have to sand and tweak the colour, using the old frame a 15mm ply
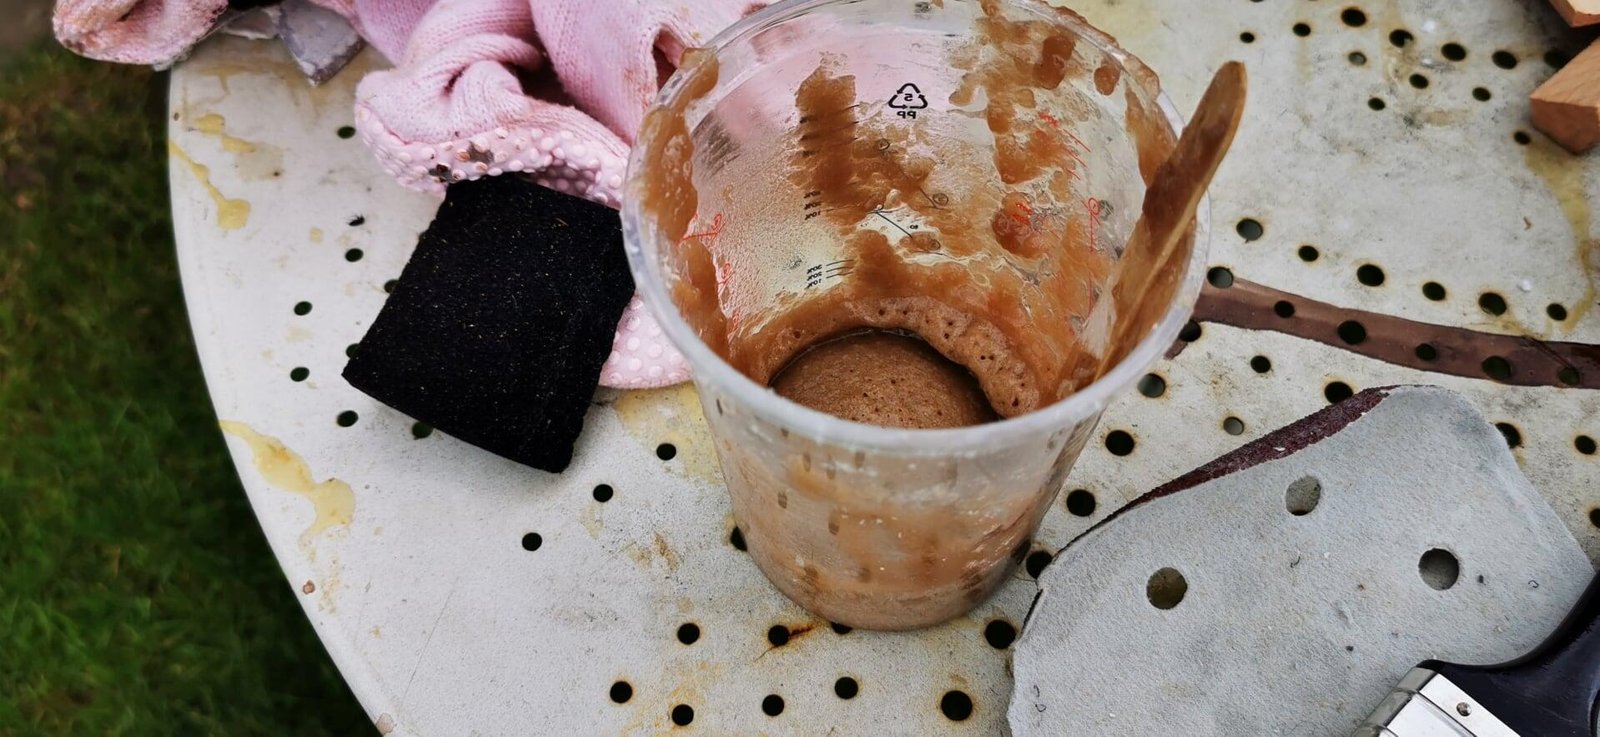
 making a messOlder patch before i got the wood flour using epoxy and thicknersmore holes
Checking the fit of the new hatch
I like the look of the ground areas filled with wood flour and epoxyCold forming the hatchRot in the bubble, the smell was exactly like a forest floor so I pumped some acetone in before i cut away any more rottaking her back to all wood hatches and bubble, I think she looks much better now. The wood is in great shape other than the rotten bits. Will be rebuilt with Douglas fur and the bits of 2mm veneer I got that turned out to be of little use.


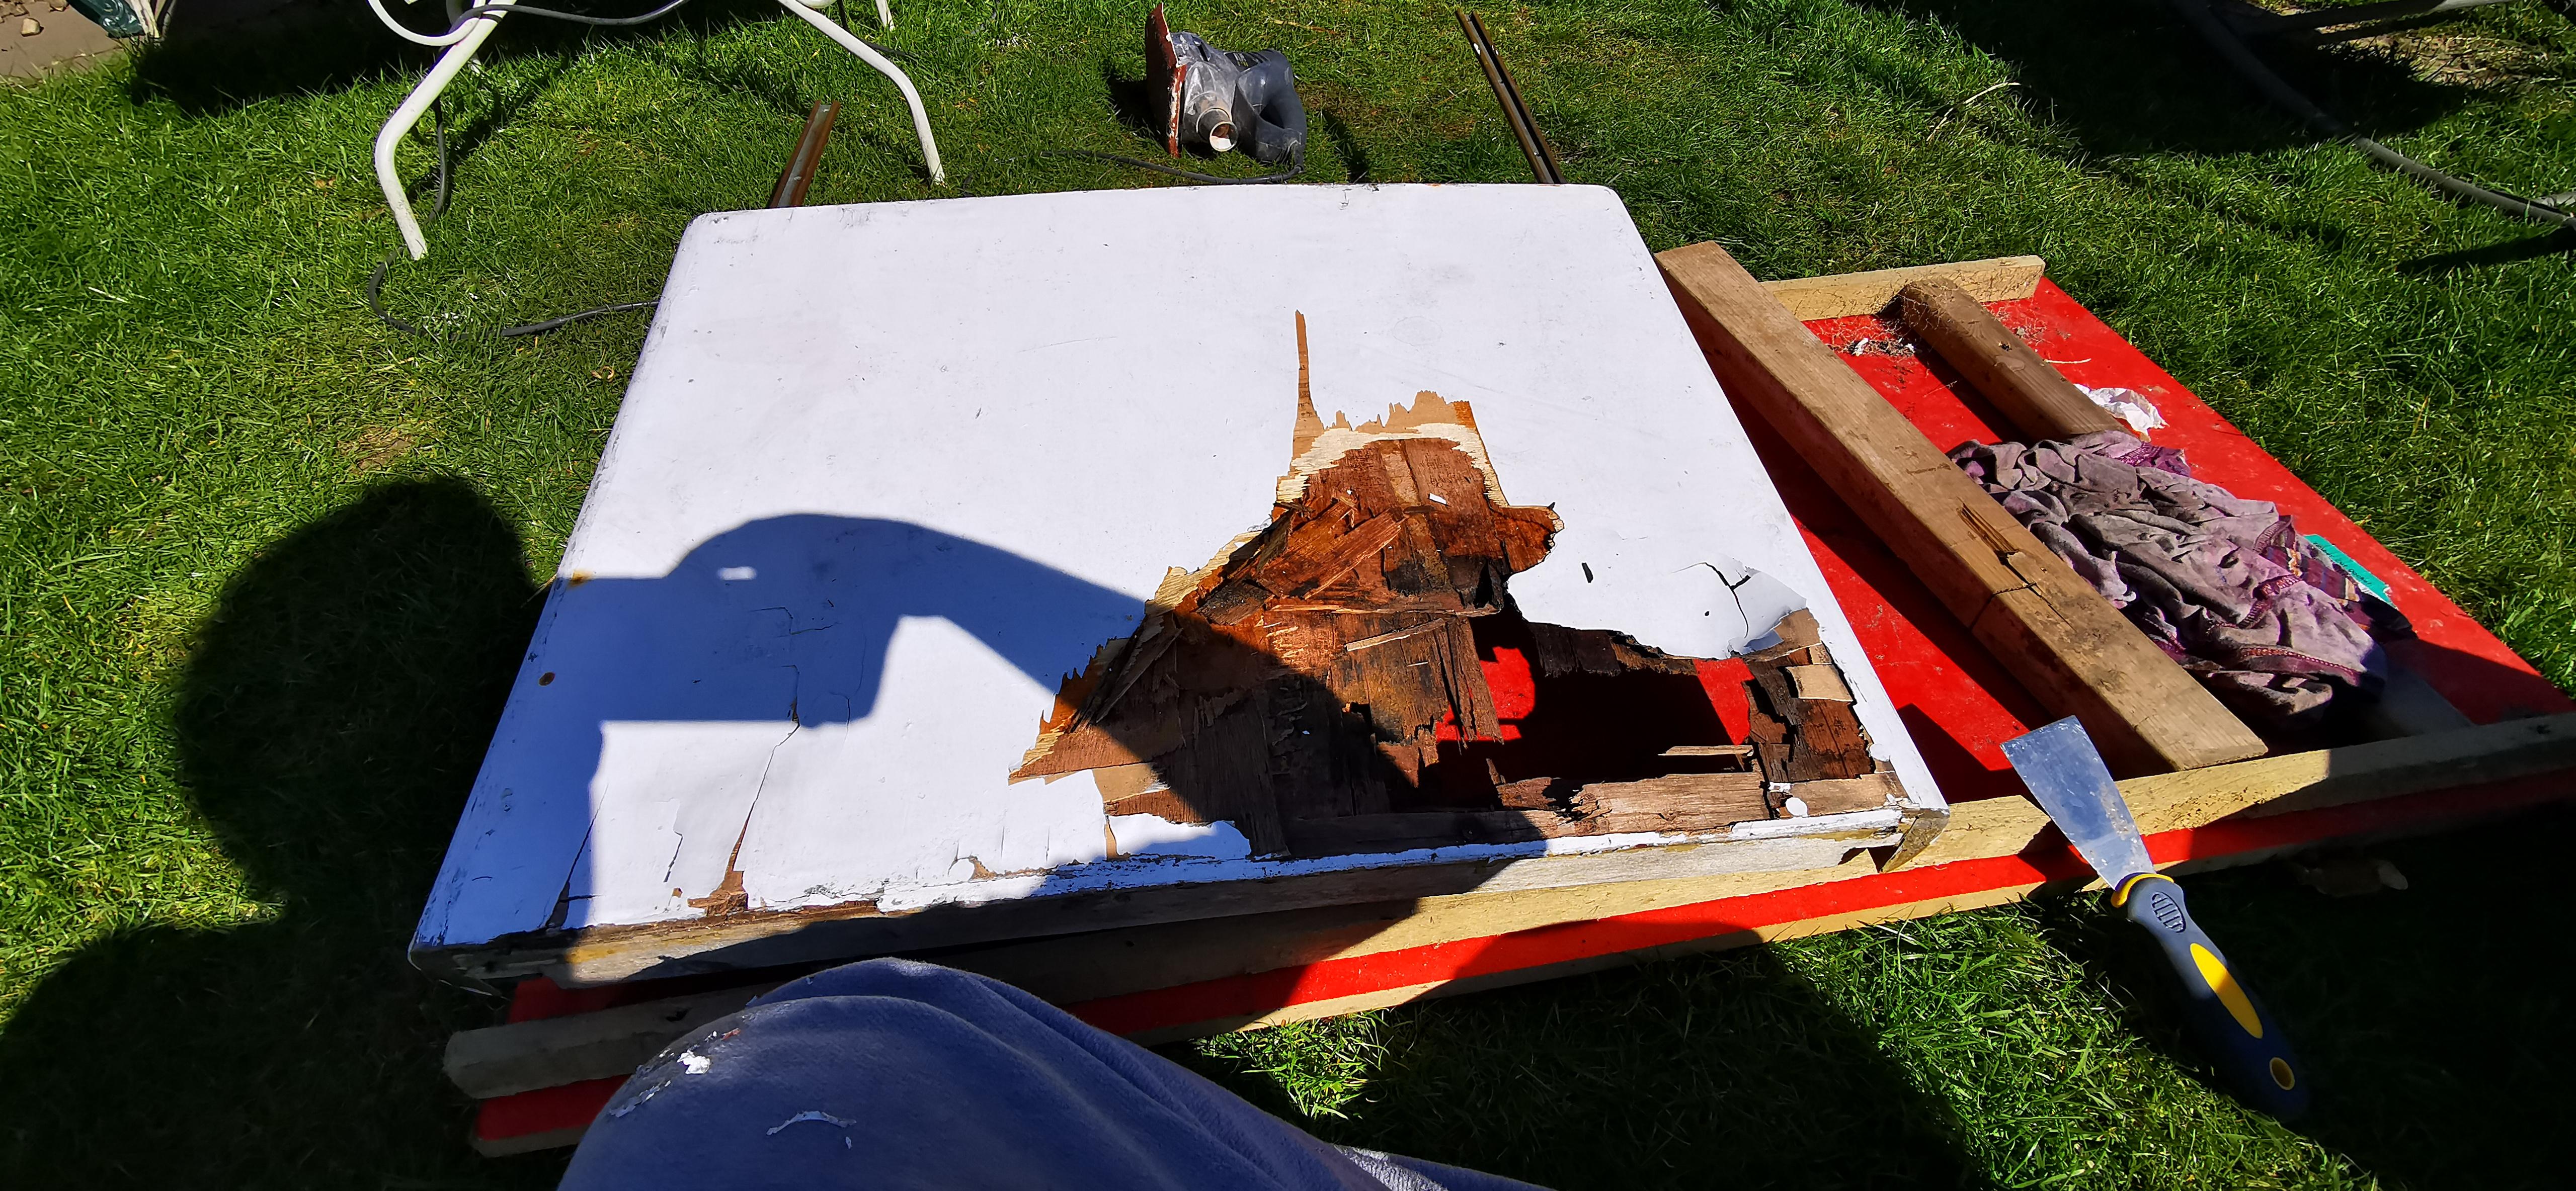 Matchsticks and splinters aka the rear hatch
 Remade, i then ground out old filler and used epoxy and wood flour to fill the gaps then epoxied the hatch to be varnished
 Front hatch got fiberglass so I will have to sand and tweak the colour, using the old frame a 15mm ply
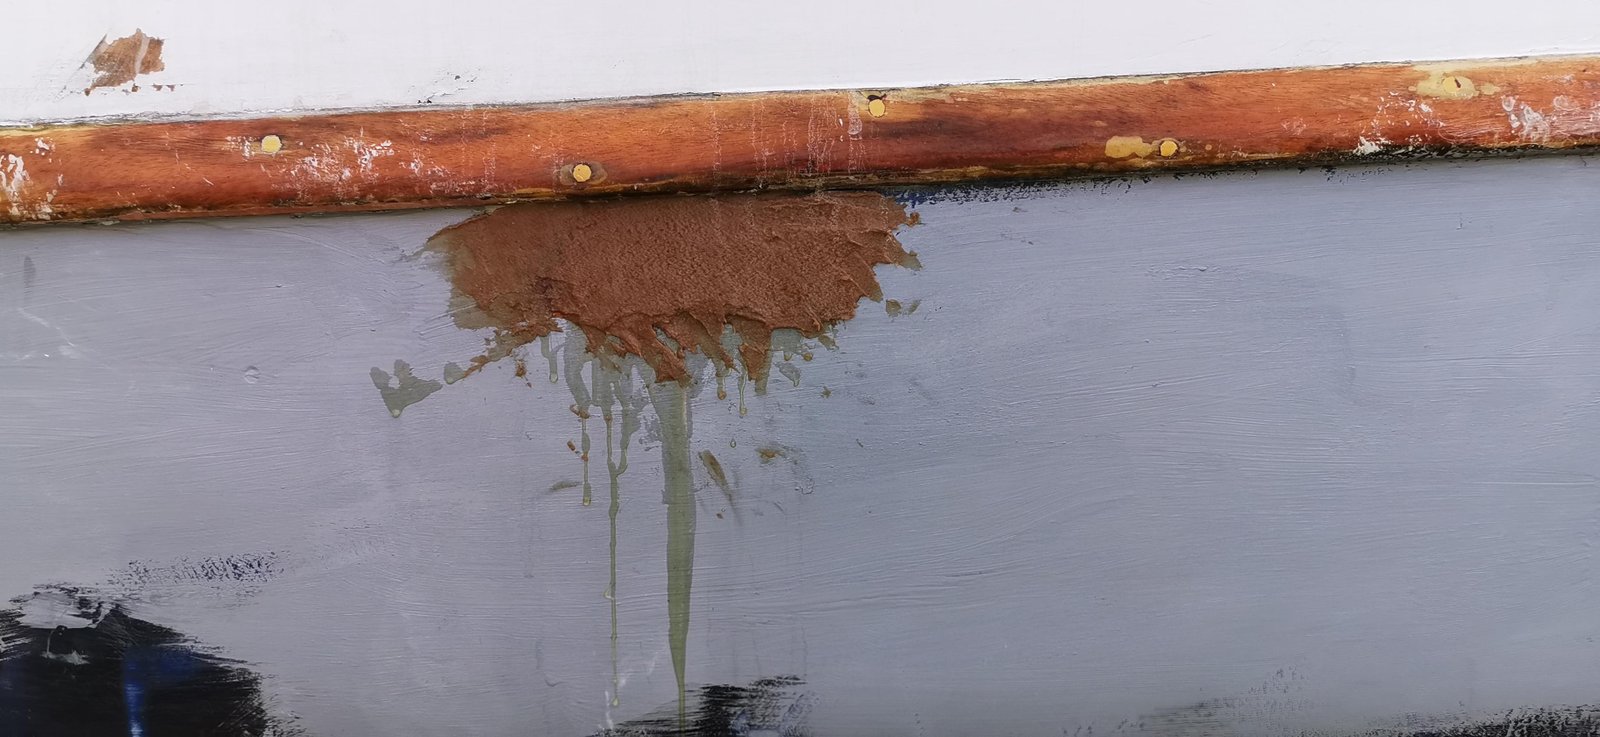 making a mess
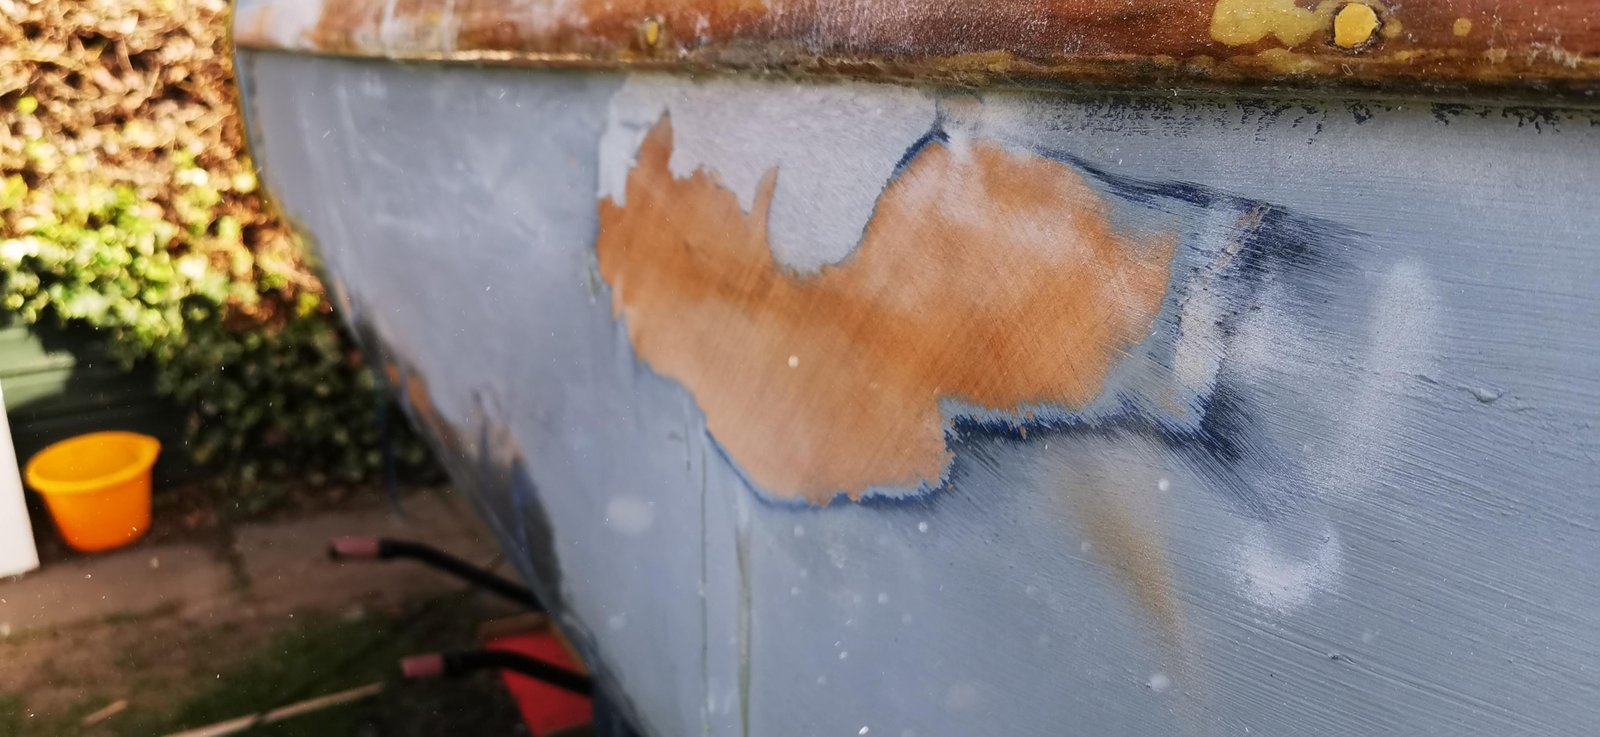 Older patch before i got the wood flour using epoxy and thickners
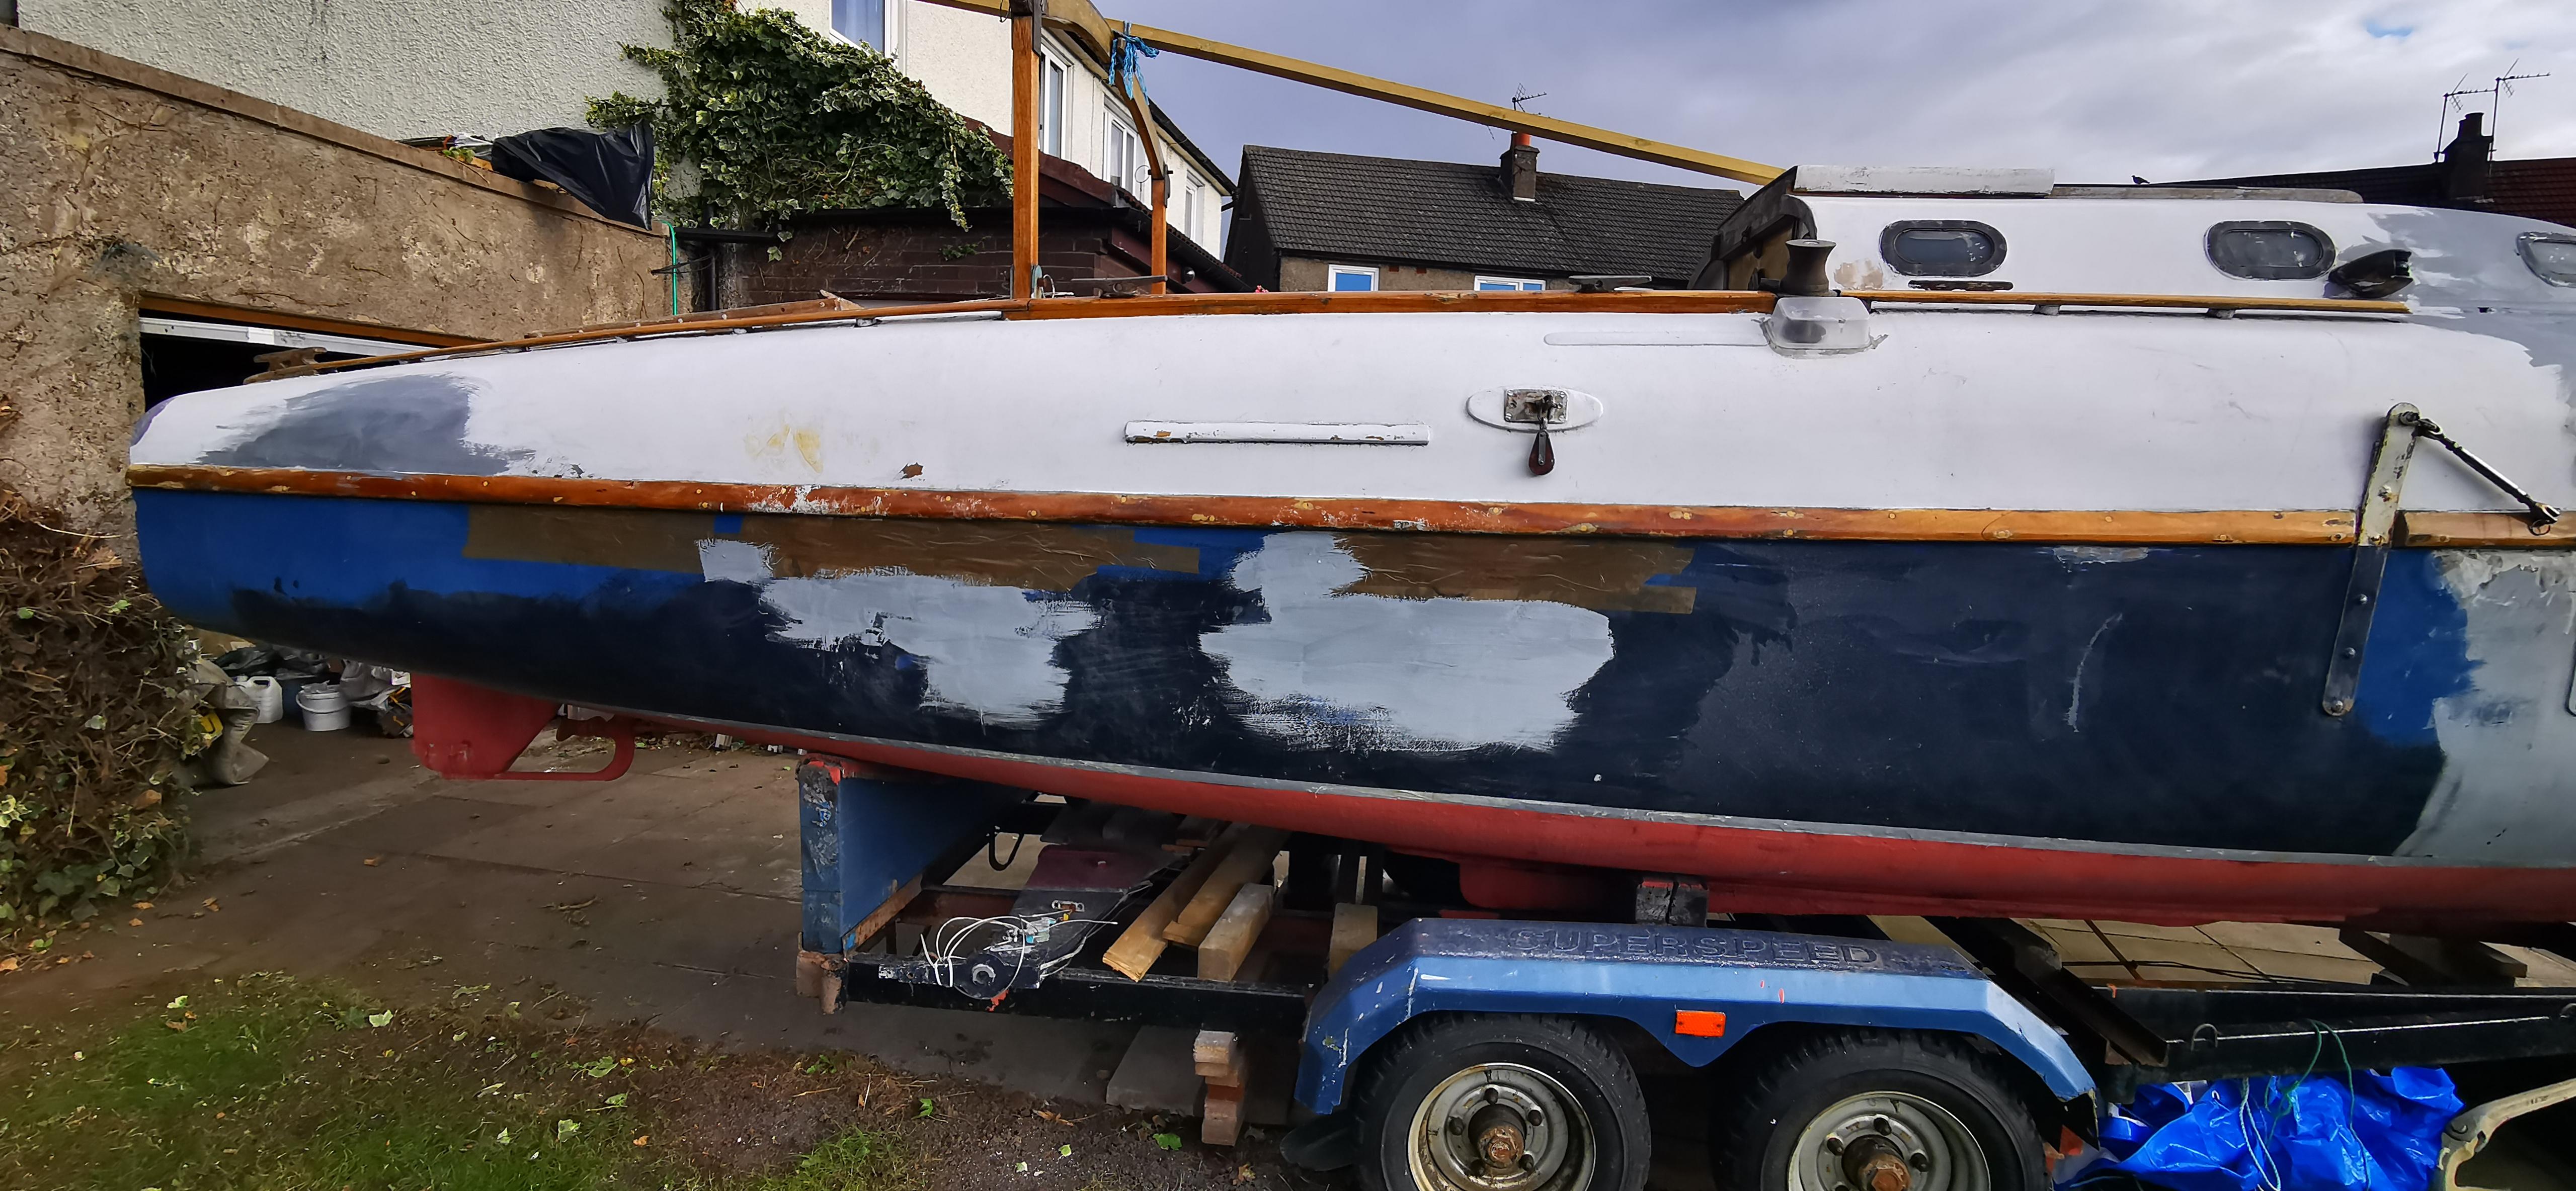 more holes
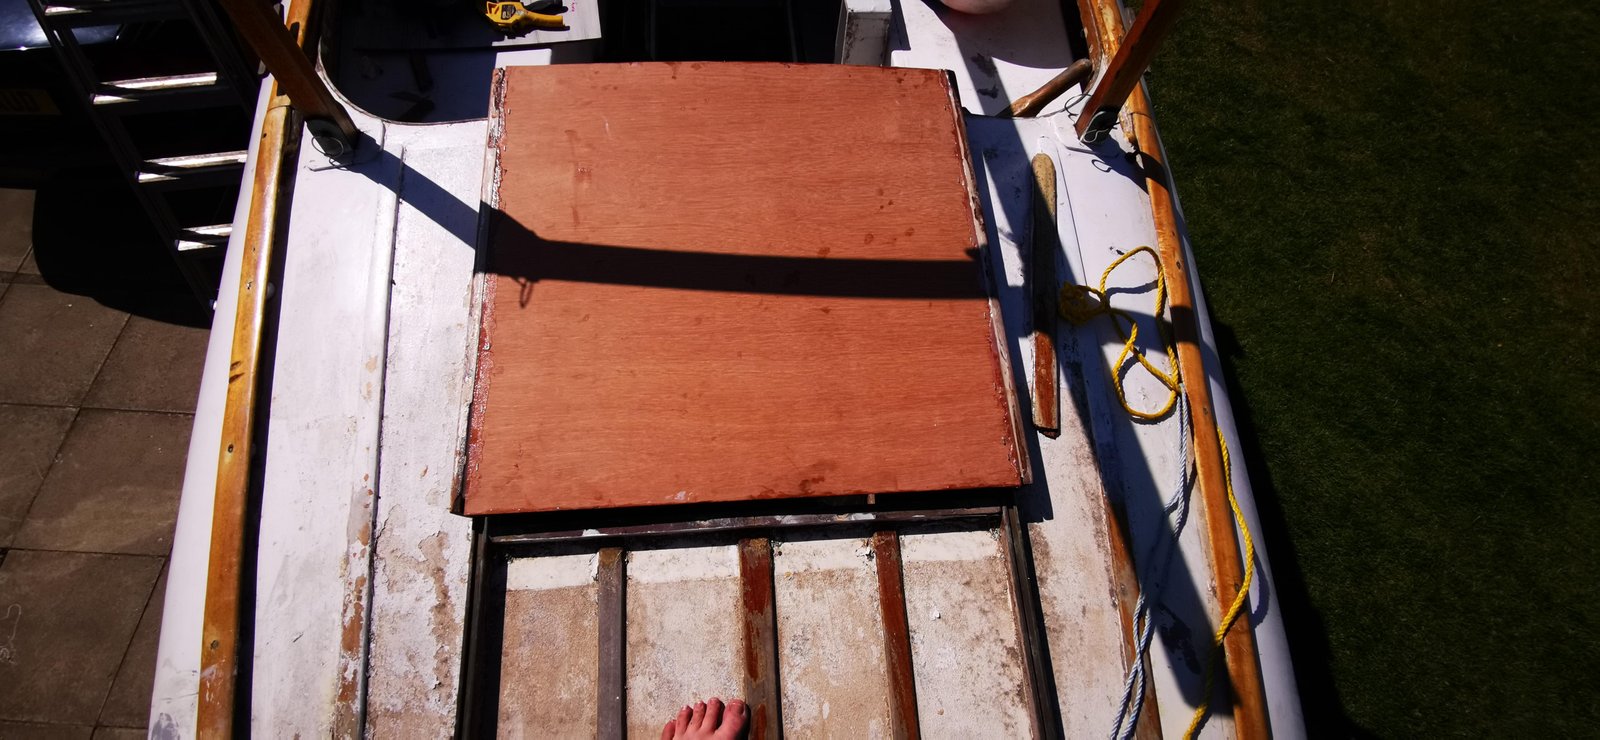
 I like the look of the ground areas filled with wood flour and epoxy
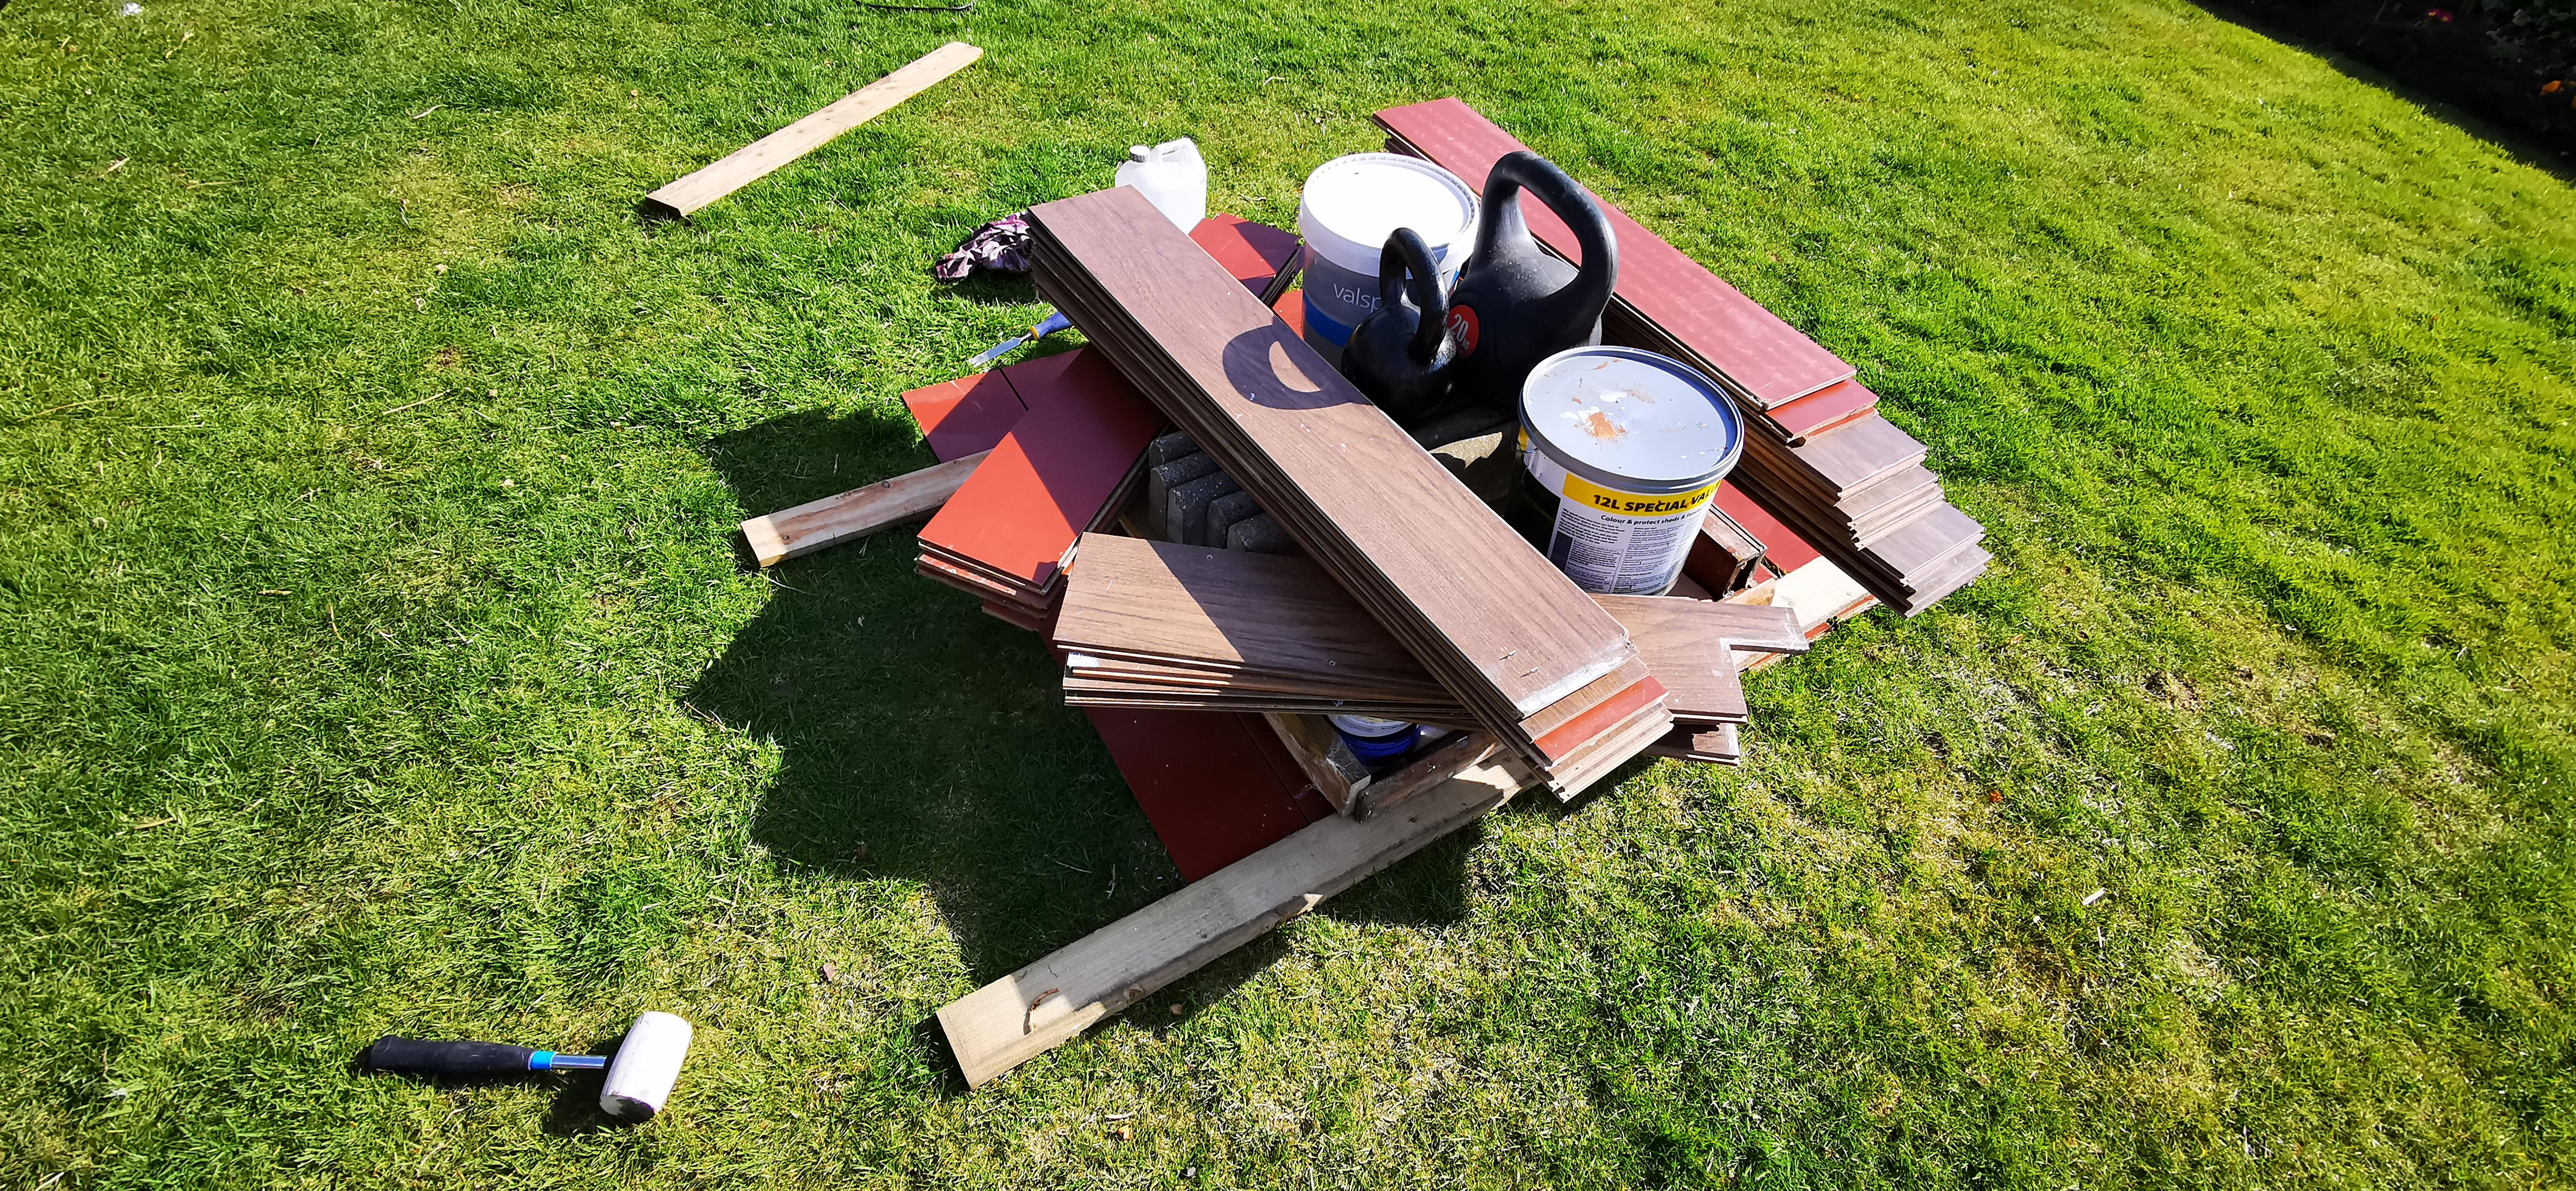 Cold forming the hatch
 Rot in the bubble, the smell was exactly like a forest floor so I pumped some acetone in before i cut away any more rot
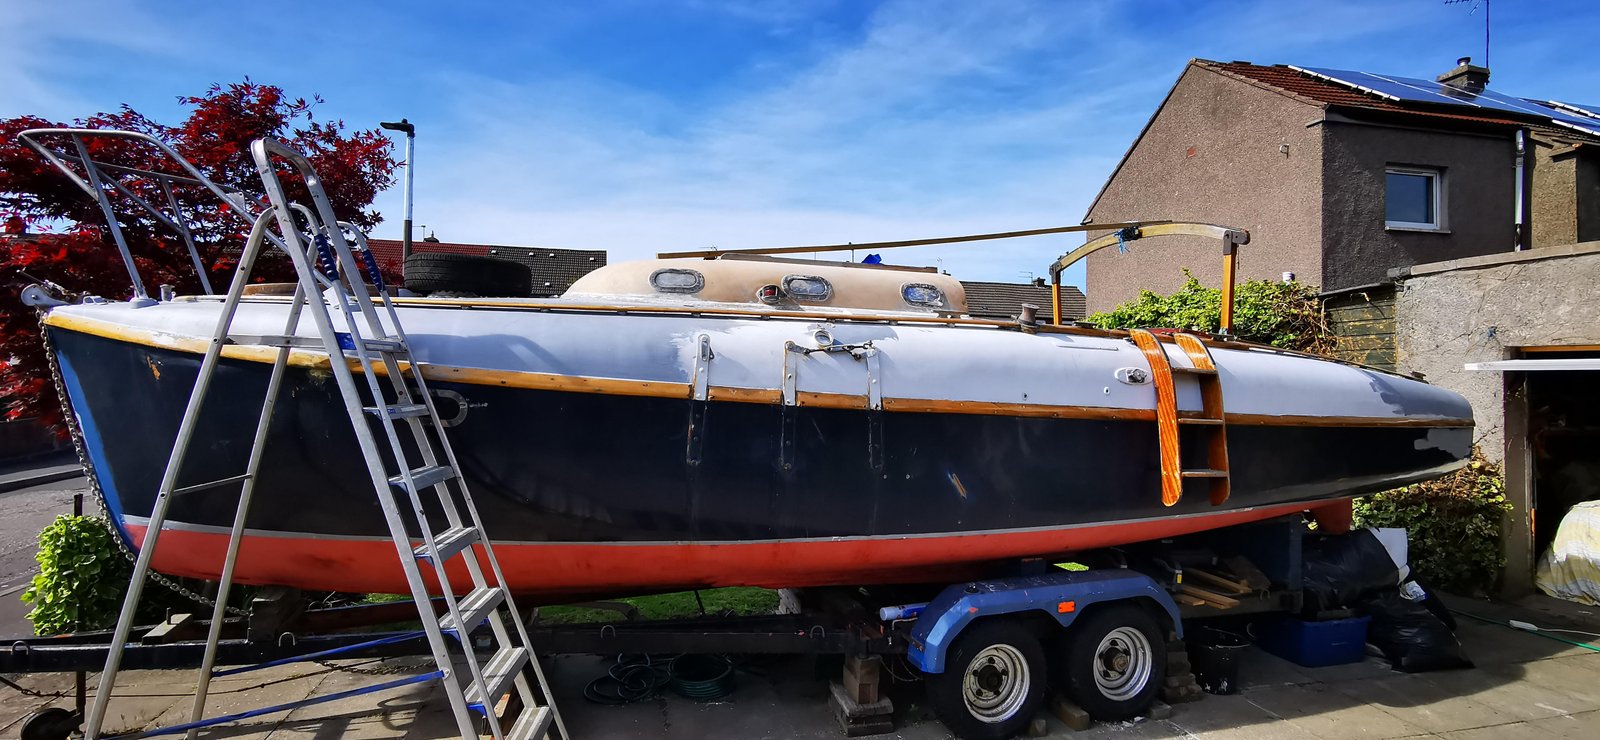 taking her back to all wood hatches and bubble, I think she looks much better now. The wood is in great shape other than the rotten bits. Will be rebuilt with Douglas fur and the bits of 2mm veneer I got that turned out to be of little use.
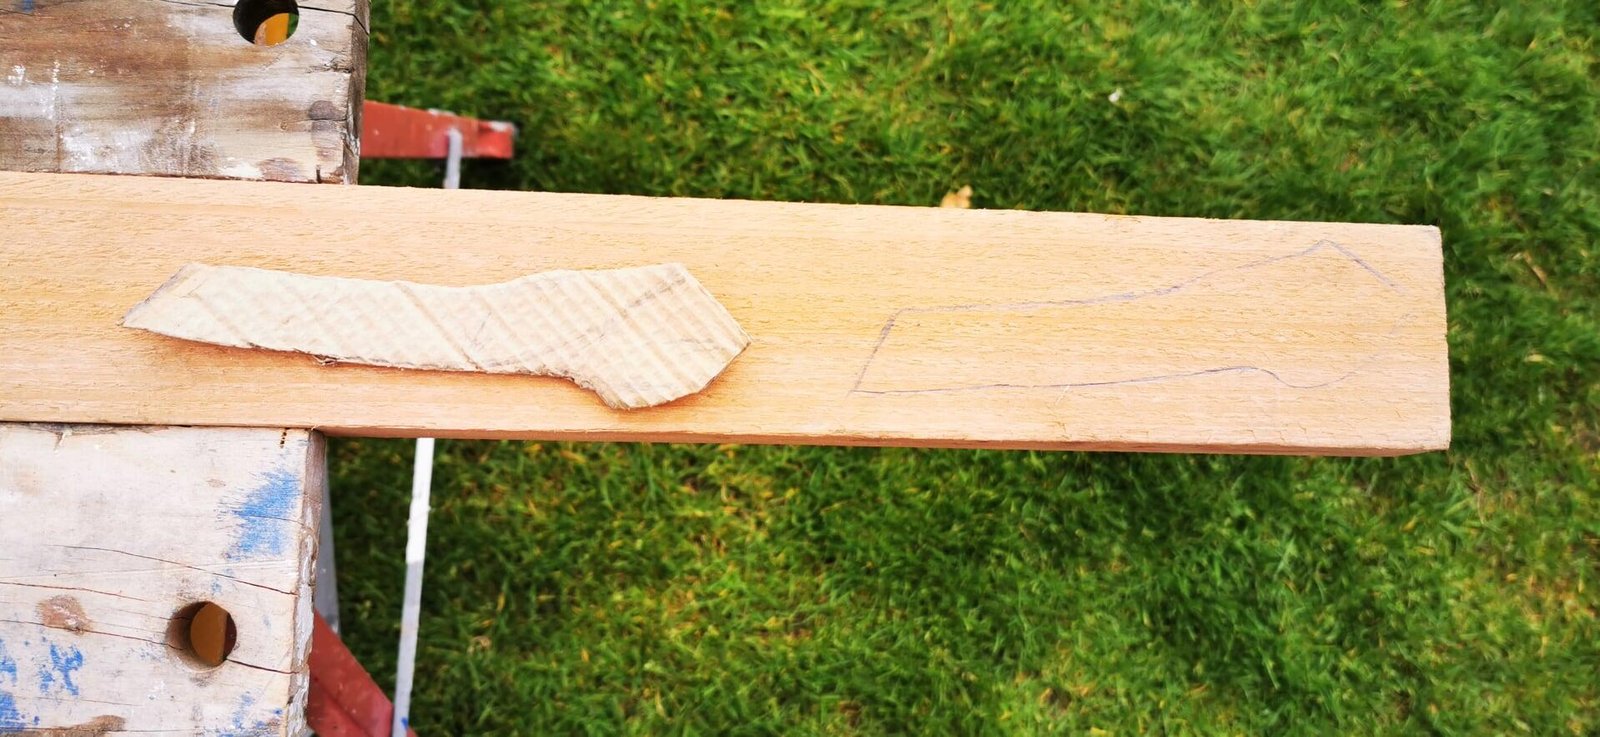 my Failed attempt
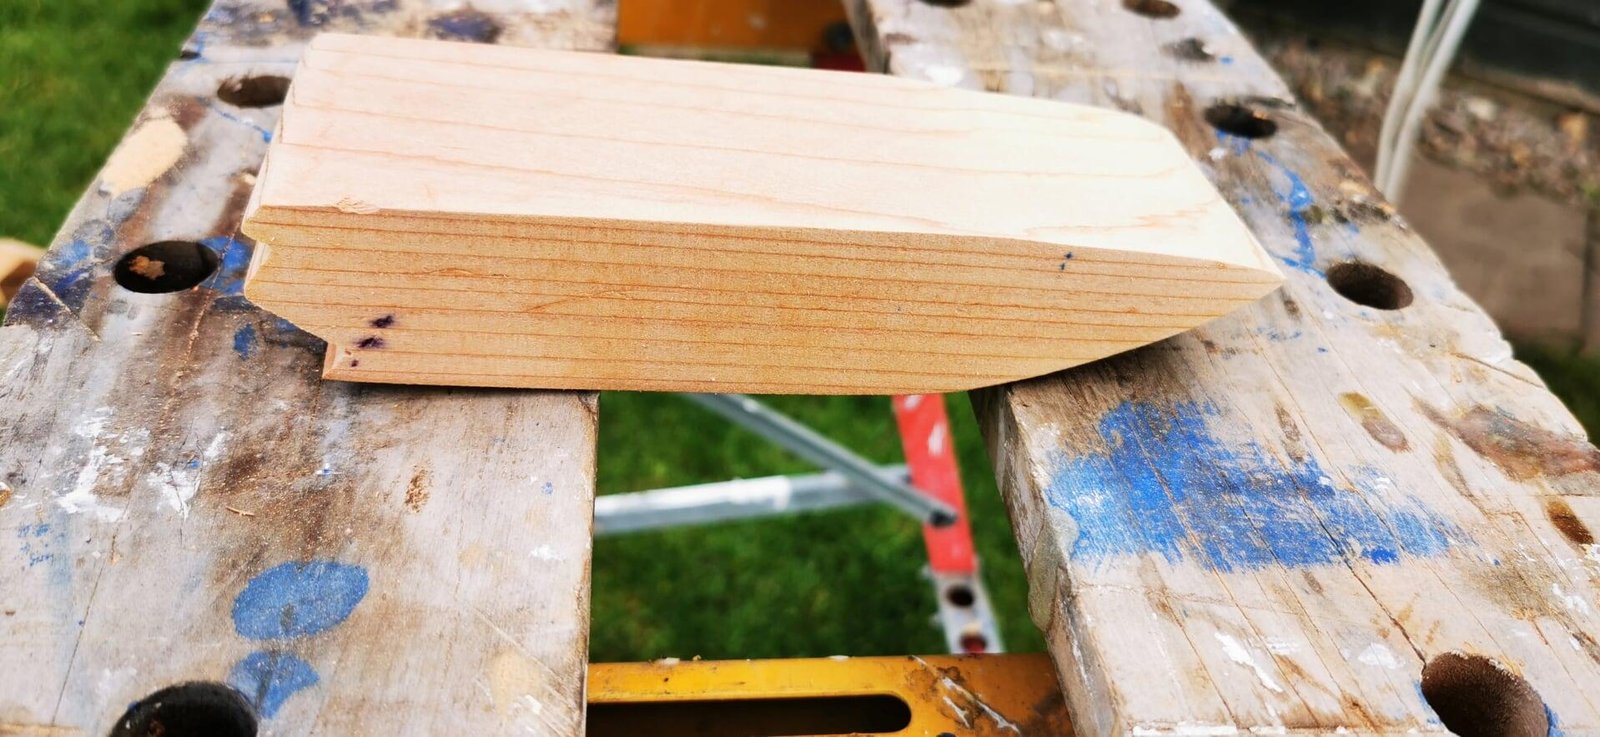 old mans one
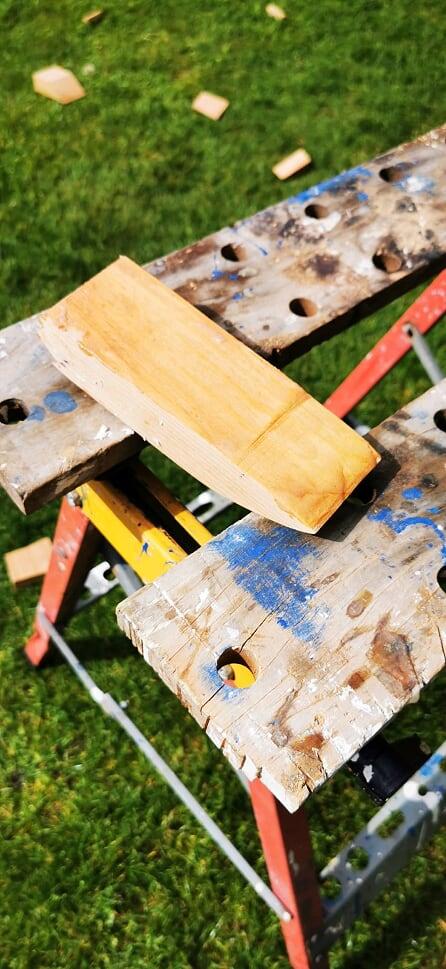
- You must be logged in to reply to this topic.