(Trial functionality – indexing photographs is in work in progress)
- 1950 (20)
- 1952 (2)
- 1955 (3)
- 1957 (2)
- 1958 (26)
- 1959 (8)
- 1960 (3)
- 1961 (3)
- 1962 (8)
- 1963 (7)
- 1964 (3)
- 1965 (3)
- 1967 (1)
- 1968 (2)
- 1969 (1)
- 1970 (2)
- 1971 (1)
- 1972 (1)
- 1973 (11)
- 1974 (1)
- 1975 (19)
- 1976 (4)
- 1977 (1)
- 1978 (7)
- 1979 (1)
- 1980 (29)
- 1981 (1)
- 1982 (1)
- 1983 (7)
- 1984 (1)
- 1985 (6)
- 1986 (1)
- 1987 (7)
- 1988 (1)
- 1989 (1)
- 1990 (10)
- 1991 (5)
- 1992 (13)
- 1993 (11)
- 1994 (6)
- 1995 (27)
- 1996 (30)
- 1997 (27)
- 1998 (8)
- 1999 (4)
- 2000 (56)
- 2001 (25)
- 2002 (2)
- 2003 (19)
- 2004 (8)
- 2005 (101)
- 2006 (29)
- 2007 (30)
- 2008 (49)
- 2009 (36)
- 2010 (97)
- 2011 (24)
- 2012 (14)
- 2013 (15)
- 2014 (63)
- 2015 (70)
- 2016 (382)
- 2017 (2154)
- 2018 (550)
- 2019 (296)
- 2020 (502)
- 2021 (256)
- 2022 (464)
- 2023 (117)
- 2024 (199)
- 2025 (236)
- 2026 (13)
-
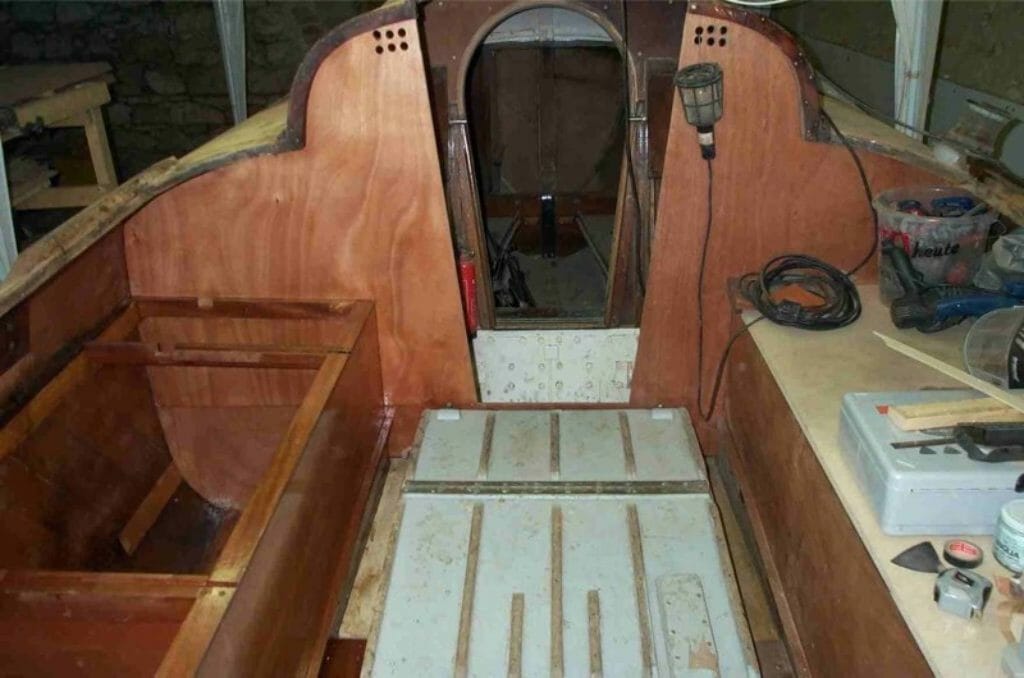
 A124 The Yanmar 1GM was in reasonable condition but the engine room needed an overhaul.

-
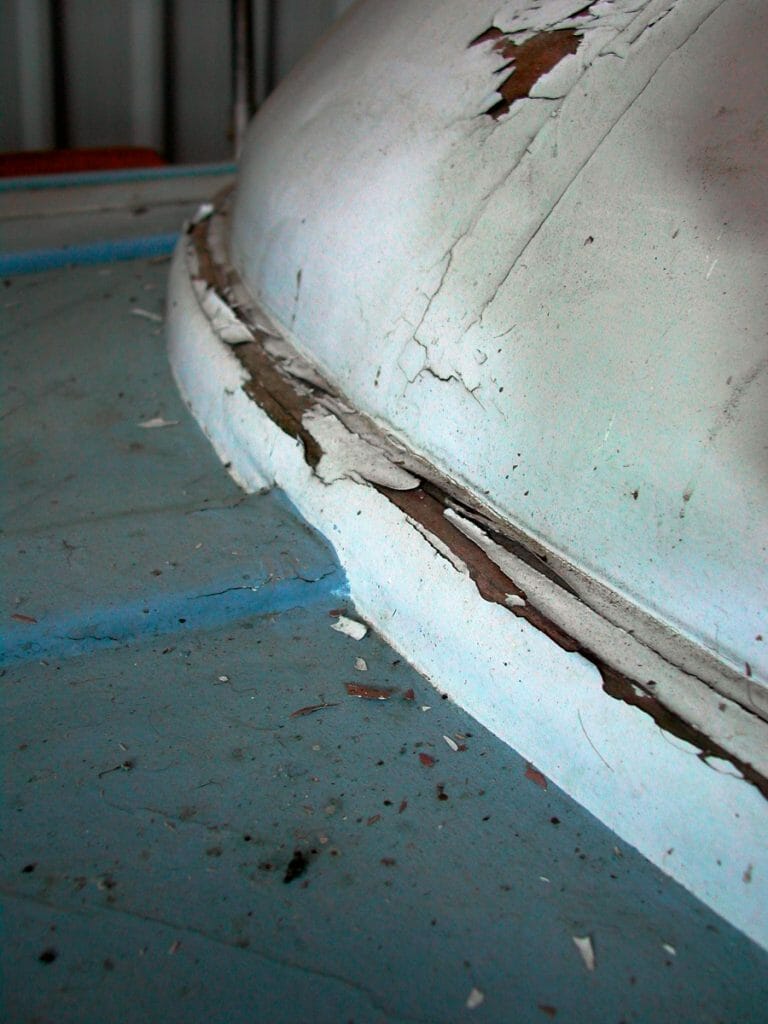
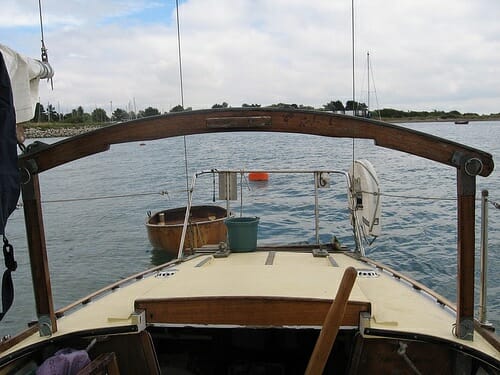
A124 The blister is showing signs of distress on the centreline and the join with the deck.
-
A124 The blister is showing signs of distress on the centreline and the join with the deck.

-
A124 The blister is showing signs of distress on the centreline and the join with the deck.

-
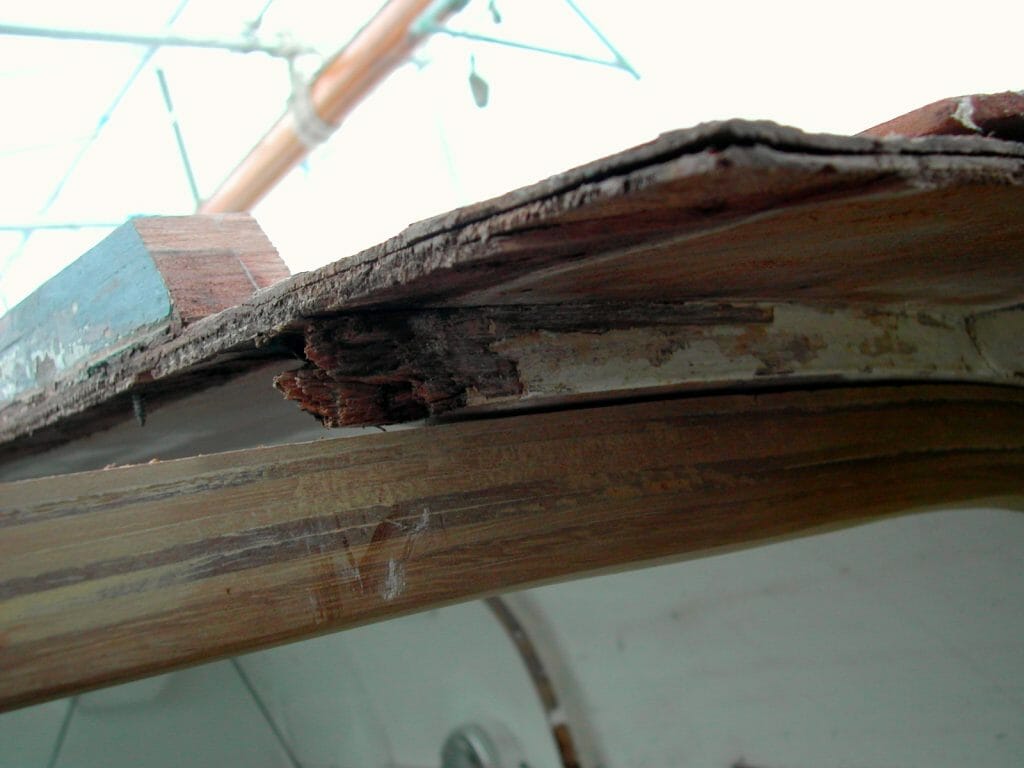
A124 The deck looked a bit ropey with some delamination and some poorly executed additional stiffeners.

-
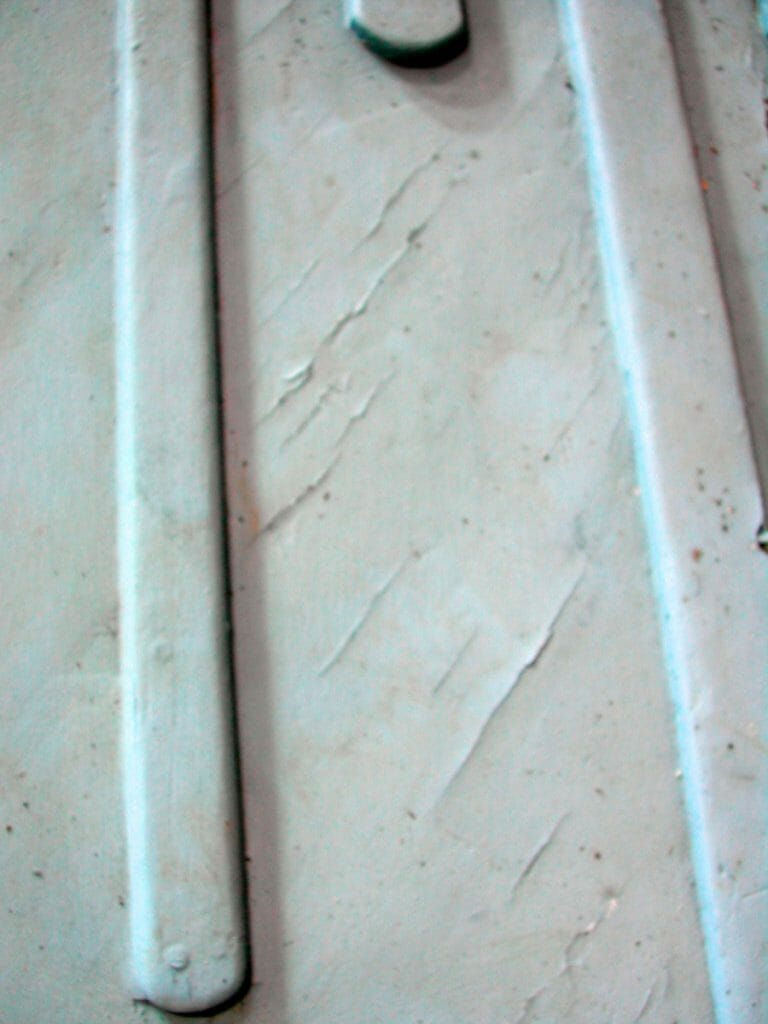
A124 The cracks weren’t just in the paint.
-
A130 OLYMPUS DIGITAL CAMERA
-
A179, _Boats A179 Emma Duck in 2008

-
A179, _Boats A179 Emma Duck in 2008
-
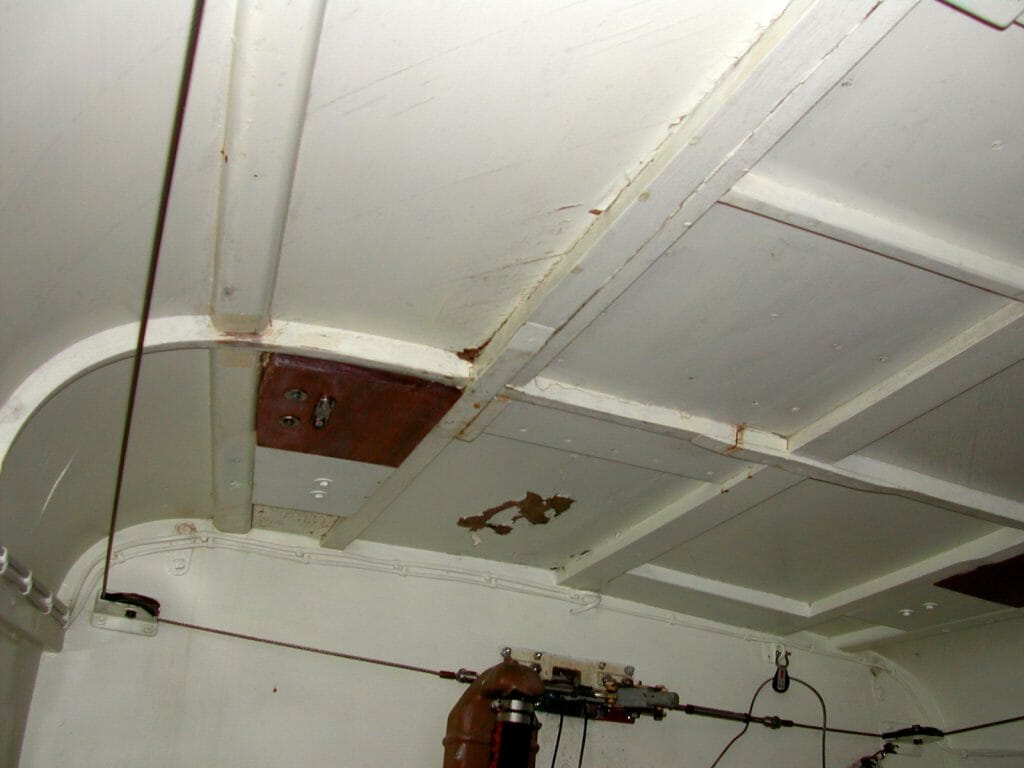
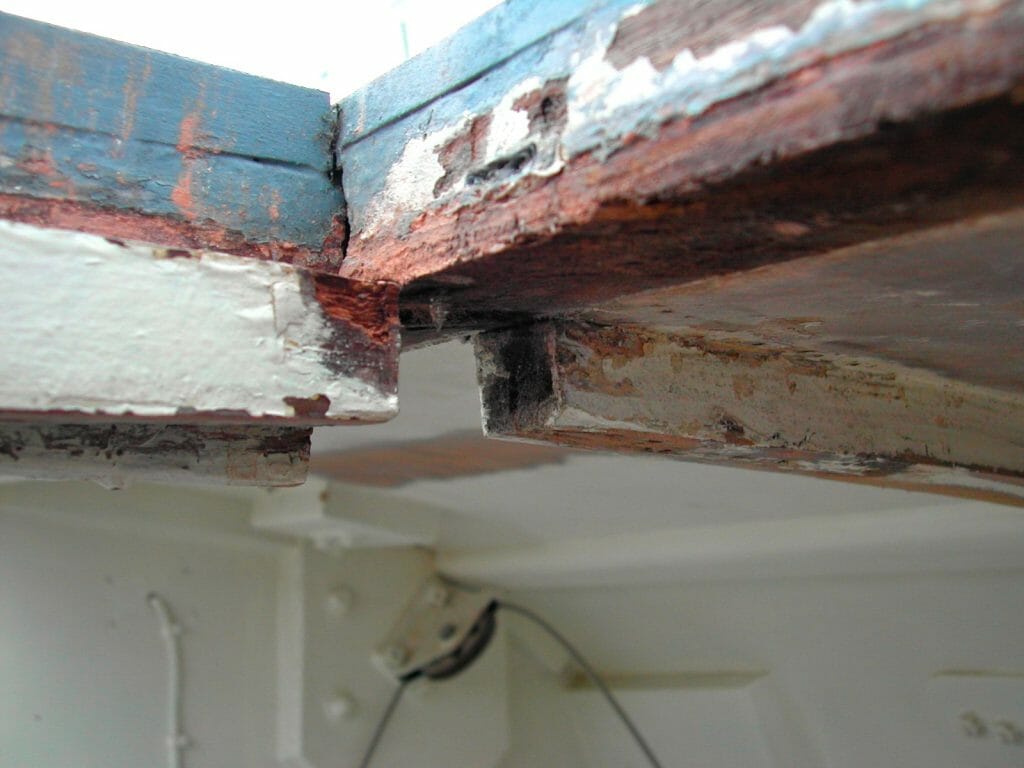
A124 The underside of the rotten deck with weak ‘doublers’ and evidence of leaks.
-
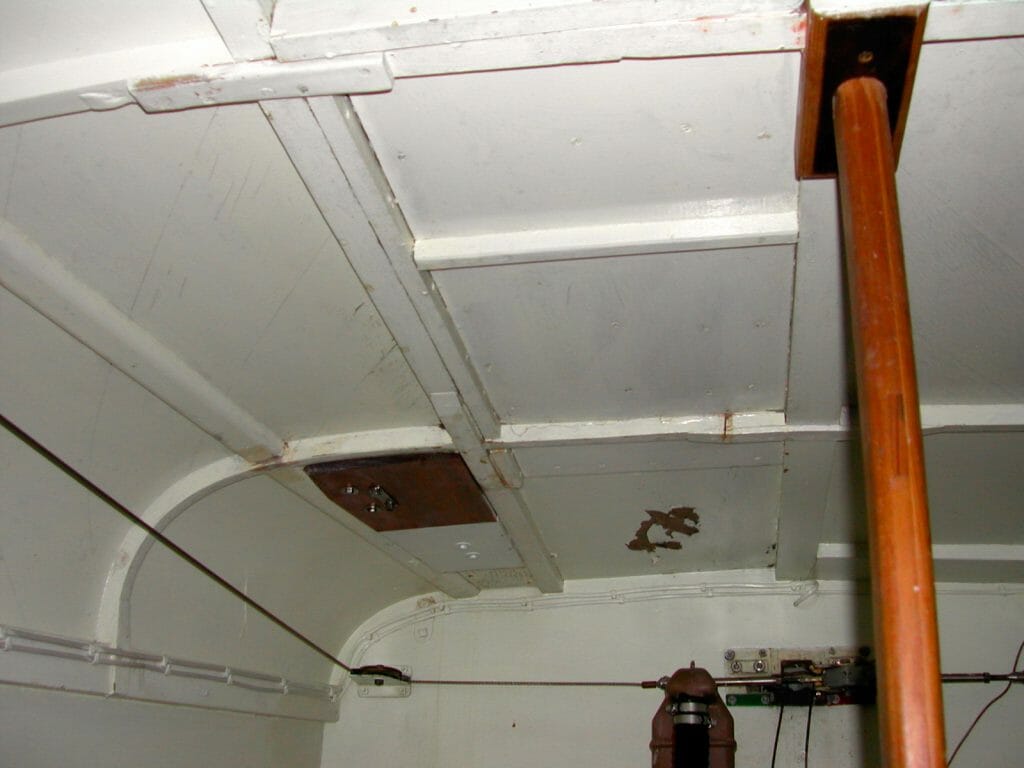
A124 The starboard deck was supported by a series of doublers and ply panels. And the whole reinforced with a hog-to-kingplank post which complicated access.
-
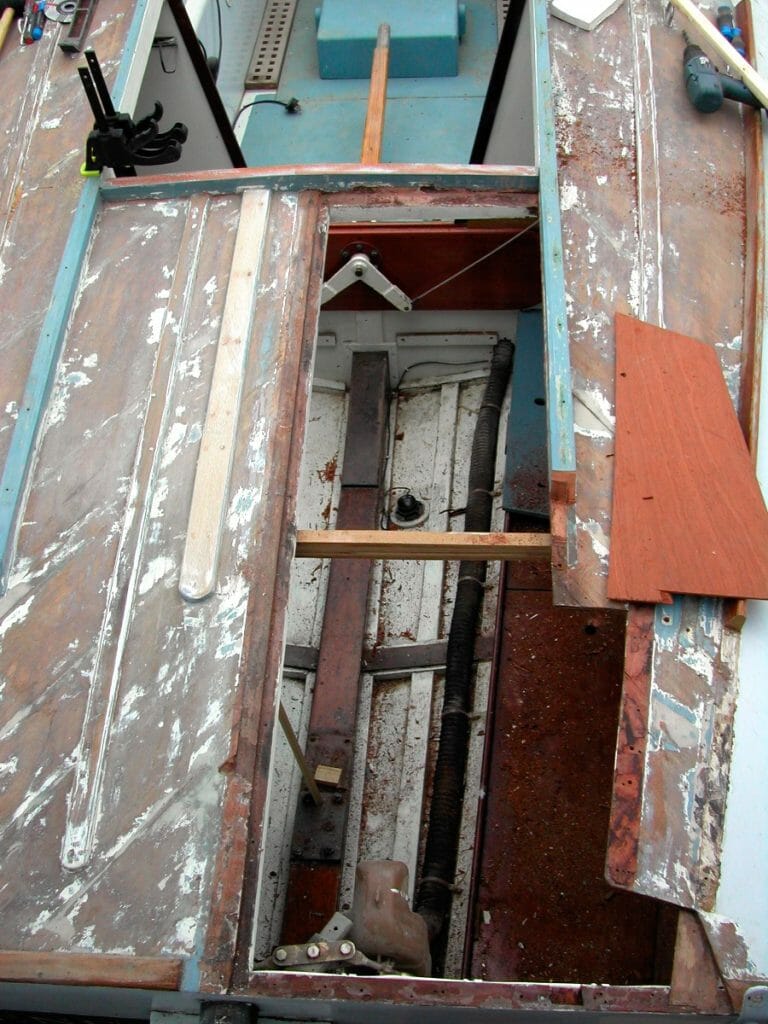
A124 Stripping the paint revealed the extent of the damage. The port deck surface delimitation. The starboard deck needed completely re-making.

-
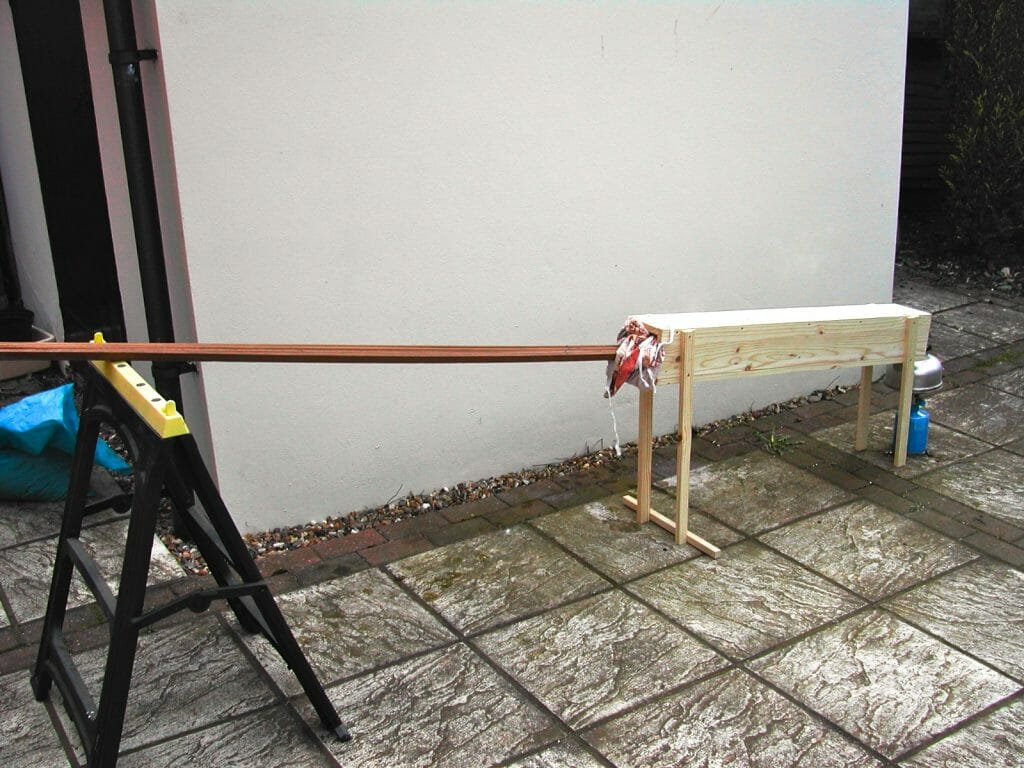
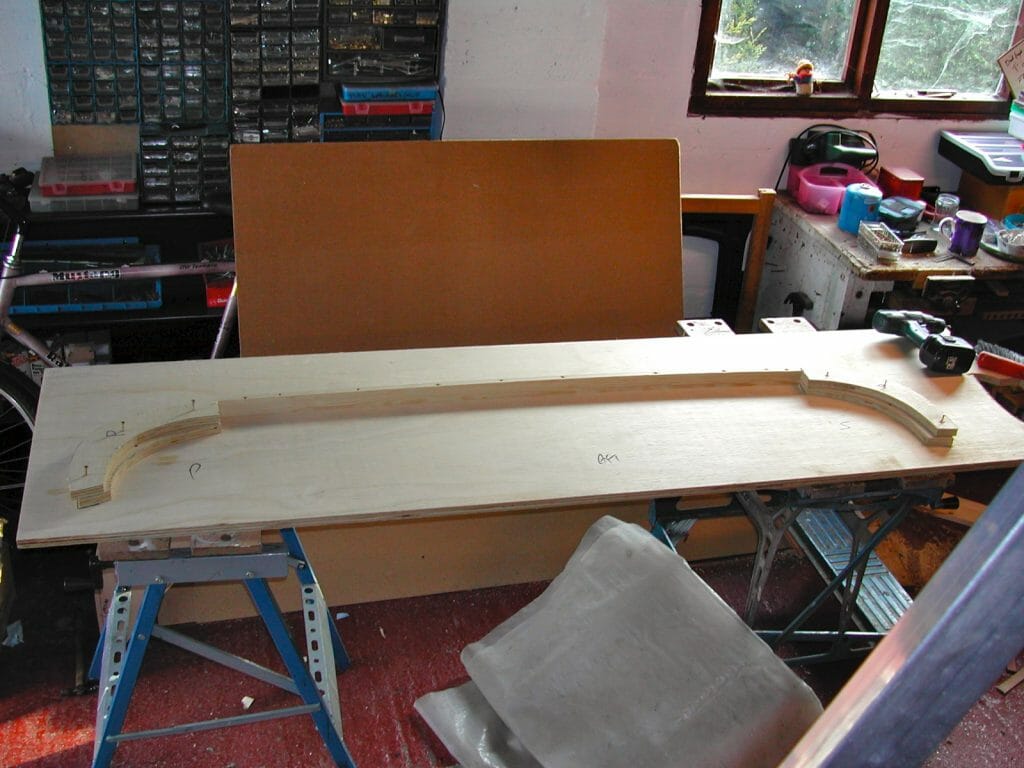
A124 These are iroko ‘slices’ in the steamer – one end on the jig at a time. The forward beam was made out of mahogany veneer left over from a previous cold-moulded project.
-
A124 I decided to laminate two ‘hoop’ deck beams beneath the existing framing, tying the deck supports to the gunwale and doing away with the need for the deck support post. Each needed its own jig.
-
A124 A view with the aft beam temporarily positioned showing the rot in the original framing and the deck delimitation.
-
A124 The intersections of transverse and longitudinal deck ‘beams’ were very weak, and water ingress had caused some to rot.
-
A124 The hole was cut with the intention of framing under the new edges and cutting back the top veneer to overlap with new wood.

-
A124 Step 1 – cut out the ply repairs and back to sound laminates.
-
A124 And then I cheated. Rather than laminate from 3 layers of agba, I chose to lay a base of 5mm quality marine ply ….

-
A124 At the aft end I glued a plywood panel to the underside of the remains deck, between the longitudinal framing, to support the join between old and new.

-
A124 With new laminated deck frames braced to the gunwhale supporting new deck framing ….

-
A124 … the appearance and utility of the cabin was greatly enhanced, enabling removal of the support post. The frames were now very stiff – time to sort the panelling over the top!

-
A124 Care was taken to ensure, within my limited woodworking skill and time, each deck beam sat ‘on top’ of the hoop frames.

-
A124 A detail view of the forward hoop also showing my willingness to use (appropriately thickened) epoxy to make up the inevitable gaps between old and new wood.

-
A124 The new framing was in iroko (rather than the original laminated form). Note the doubler required to form a landing for the new deck against the hatch rail to starboard.

-
AOA_Events Fort Amherst
-
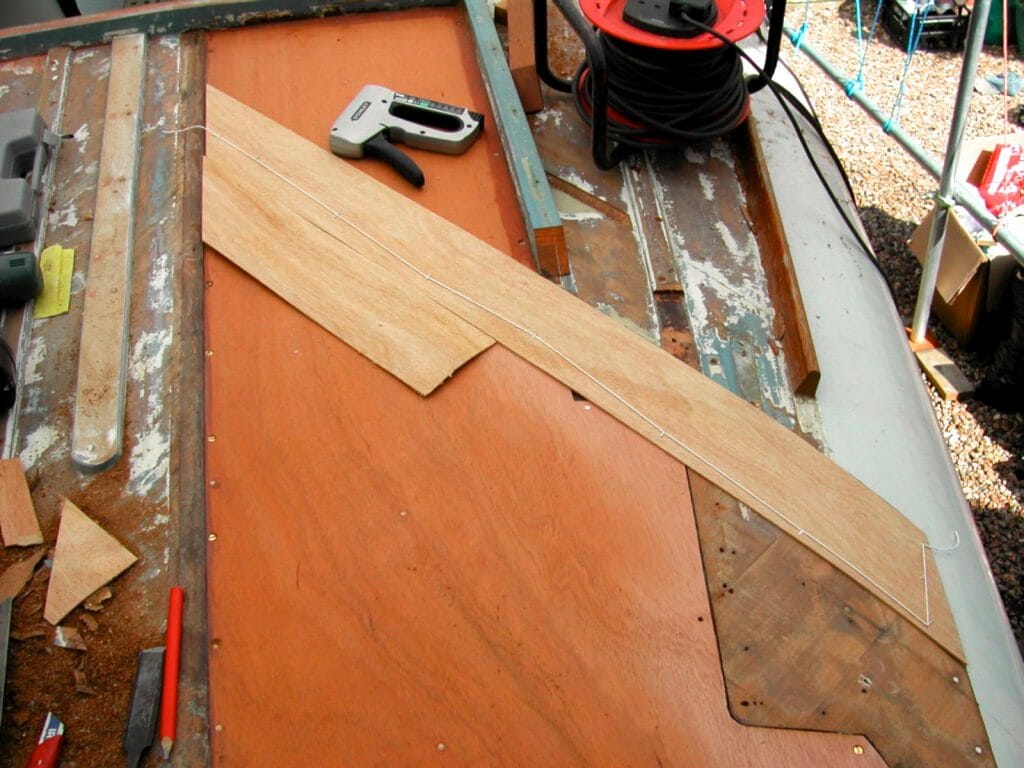
I tried string and tape for the staple remover but had bought staples which were too thick and held too strongly. This meant using scraps of veneer and bigger staple holes in the finished deck.
-
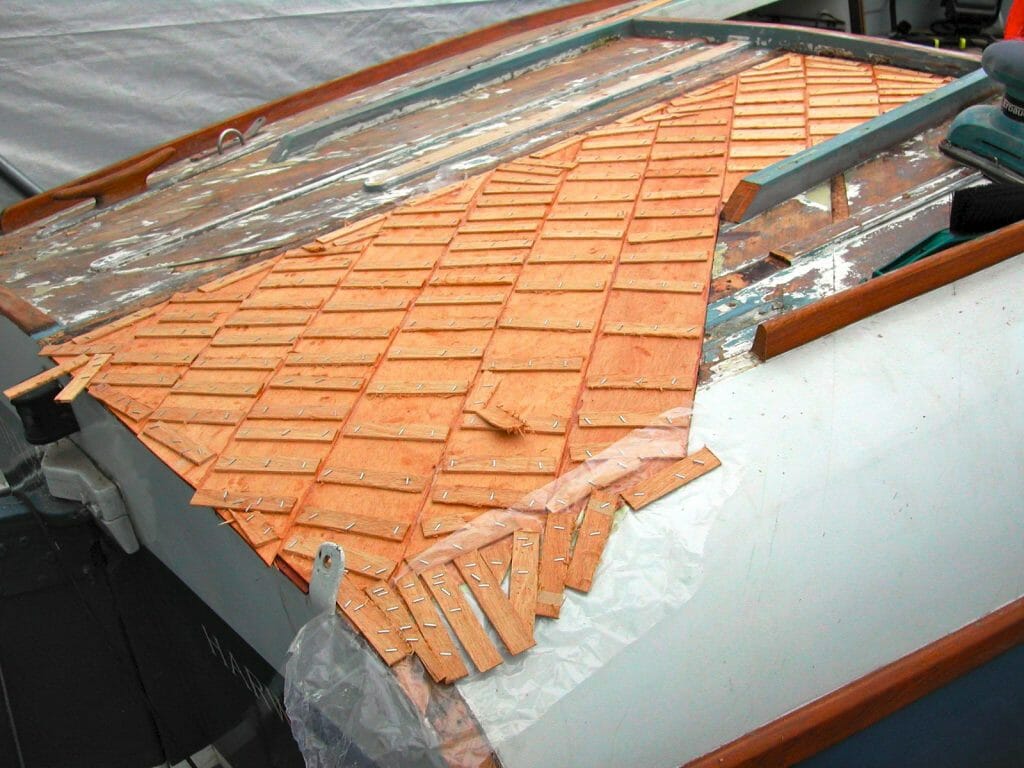
A124 … with a single lamination over the top. The ply was tied strongly to the existing deck by screws and epoxy on the framing. The top veneer of the old deck was then cut away well beyond the join and a 2.8mm veneer laid.
-
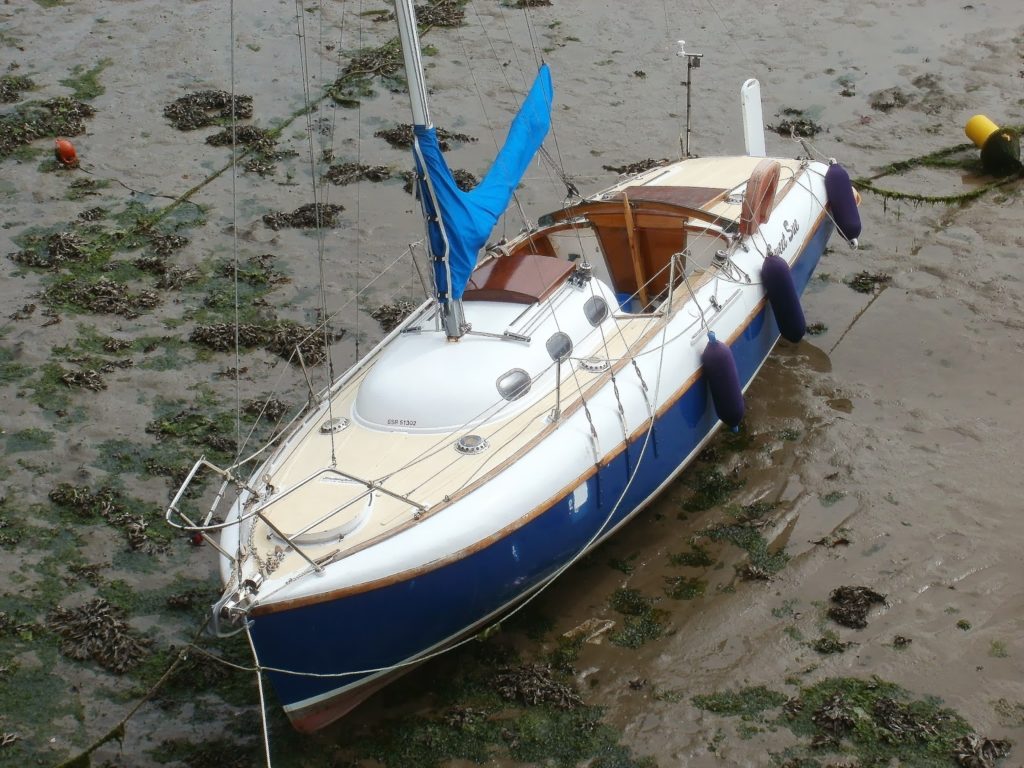
A138 A138 Sweet Sue in 2008 in Guernsey 009

-
A138 A138 Sweet Sue in 2008 in Guernsey 010
-
A124 Fixing 6mm ply to the underside of the decks.

-
A124 Fixing 6mm ply to the underside of the decks.

-
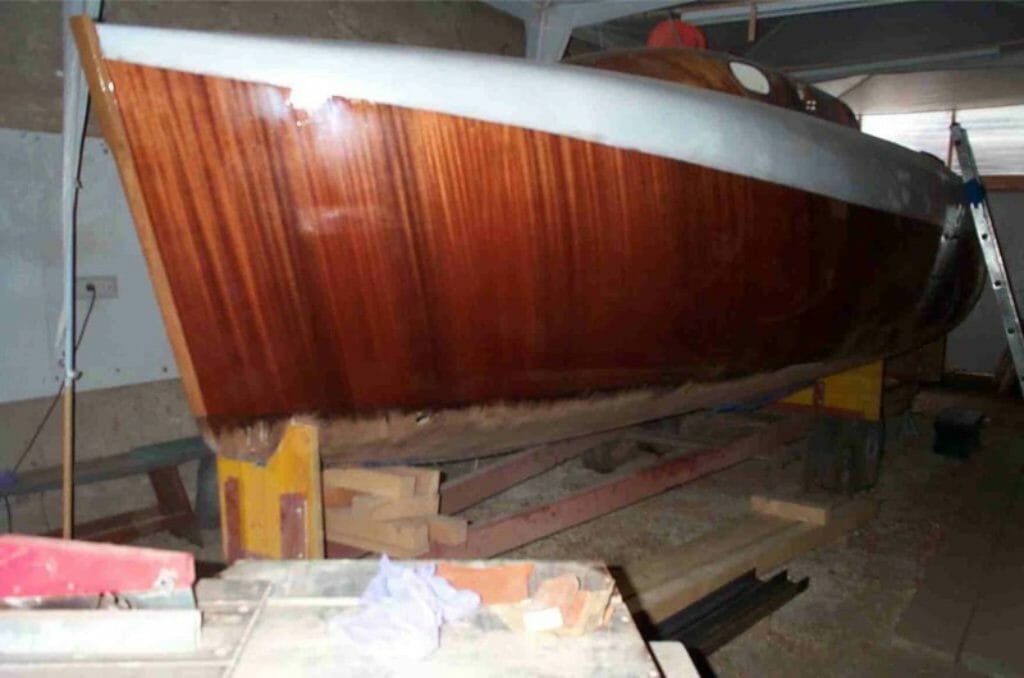
A150 2008 Additional Veneer layer on hull topsides looks fantastic

-
A150 2008 Additional Veneer layer on hull topsides looks fantastic
-
A150 2008 Cockpit modifications

-
A150 2008 Cockpit Modifications